|
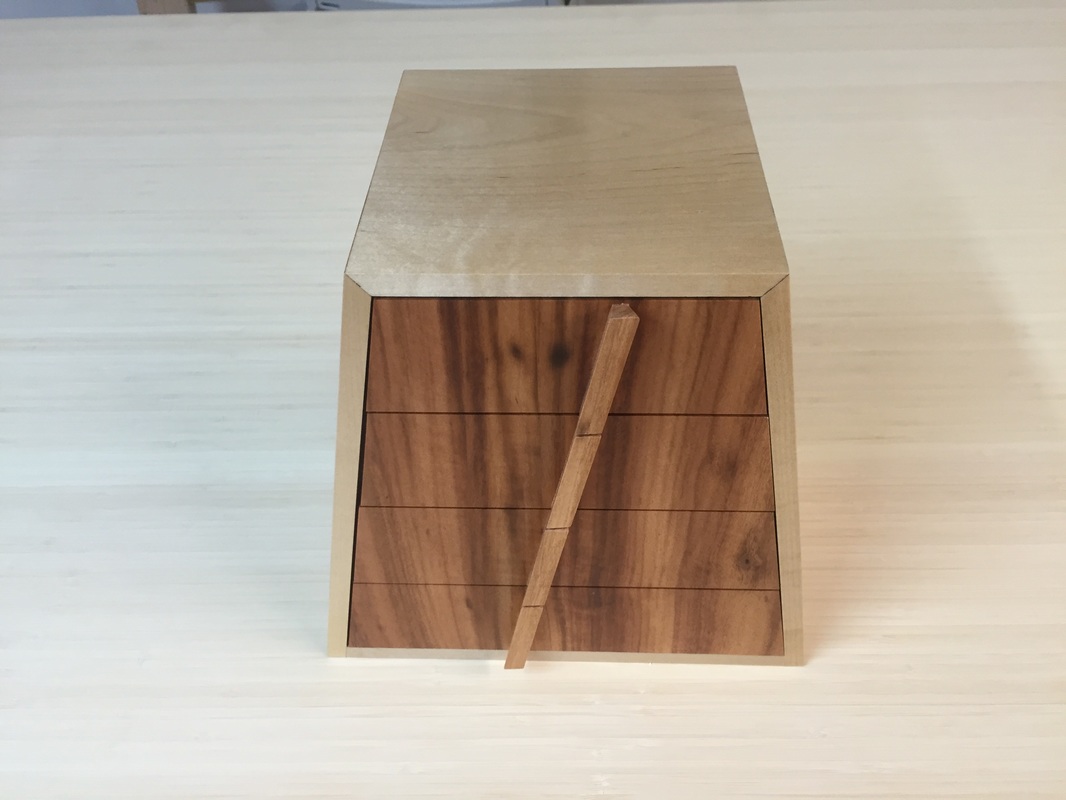
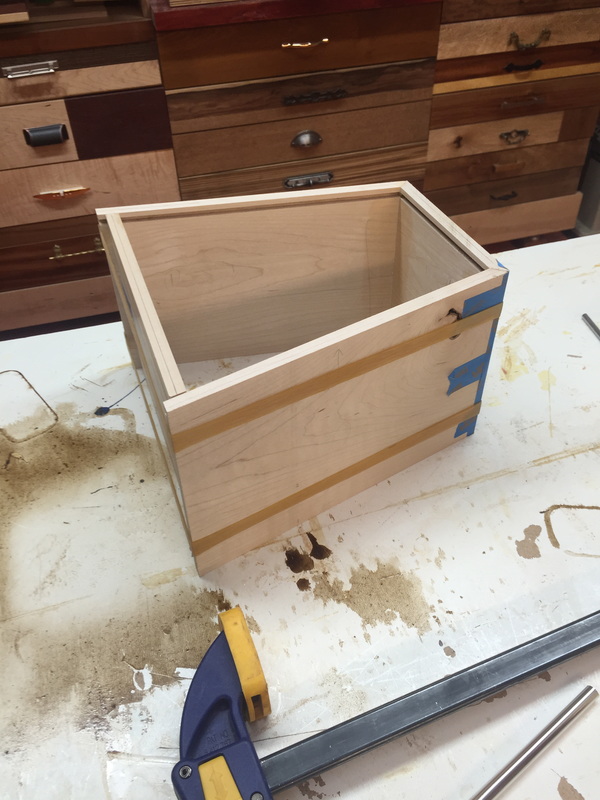
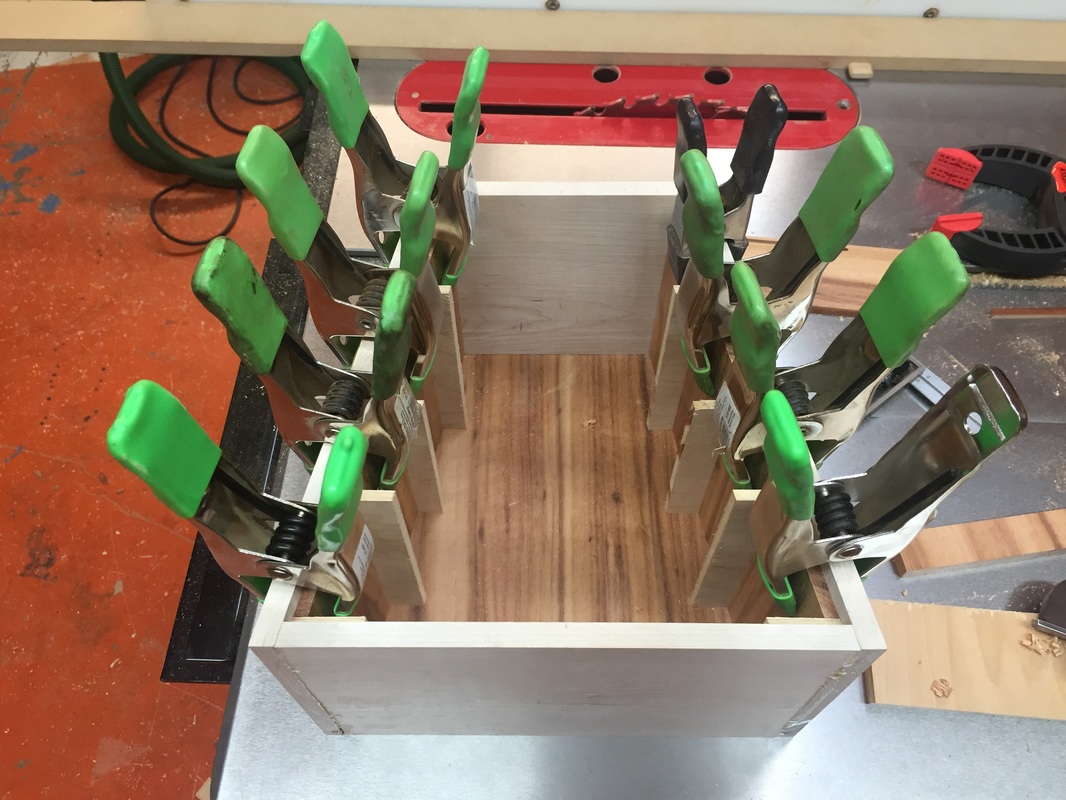
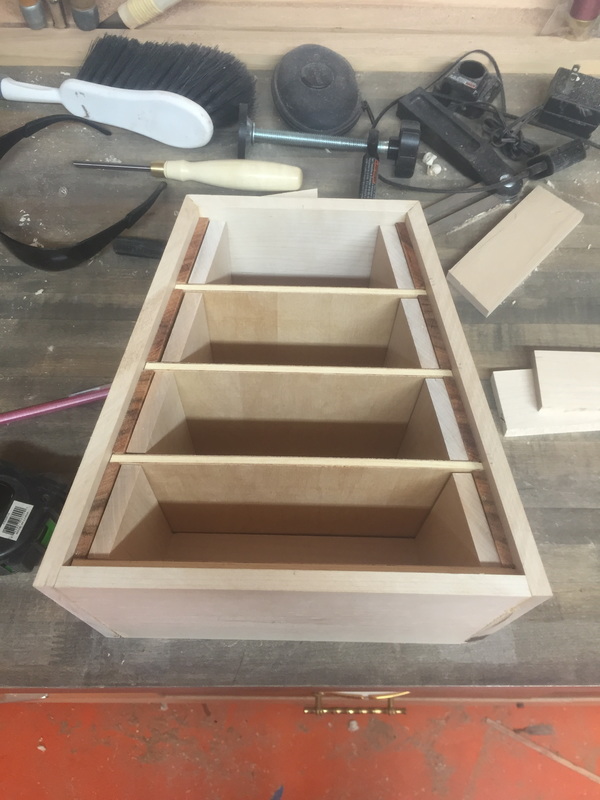
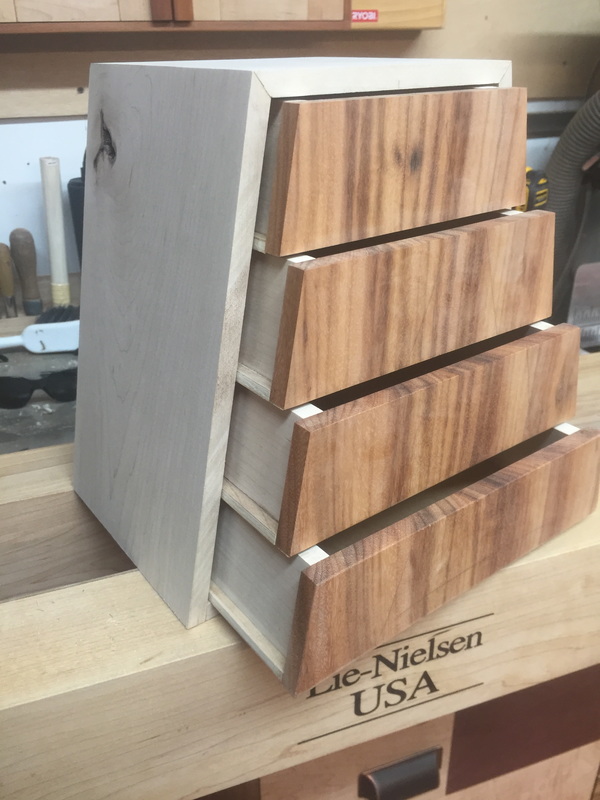
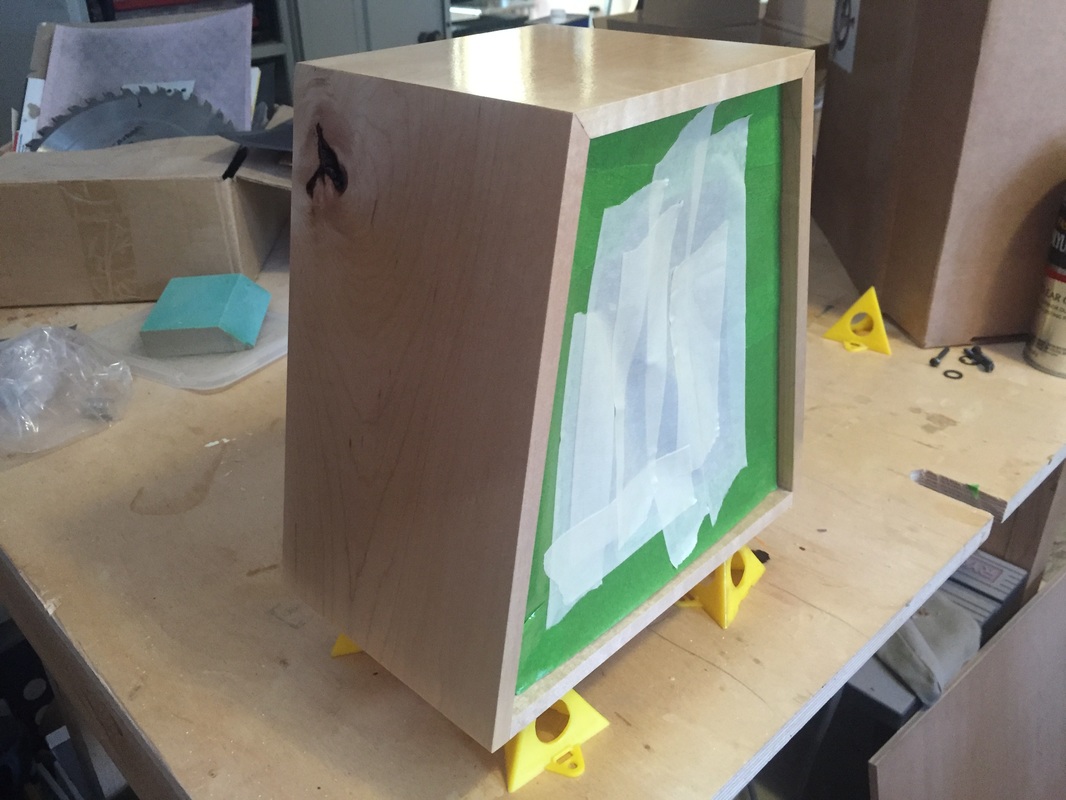
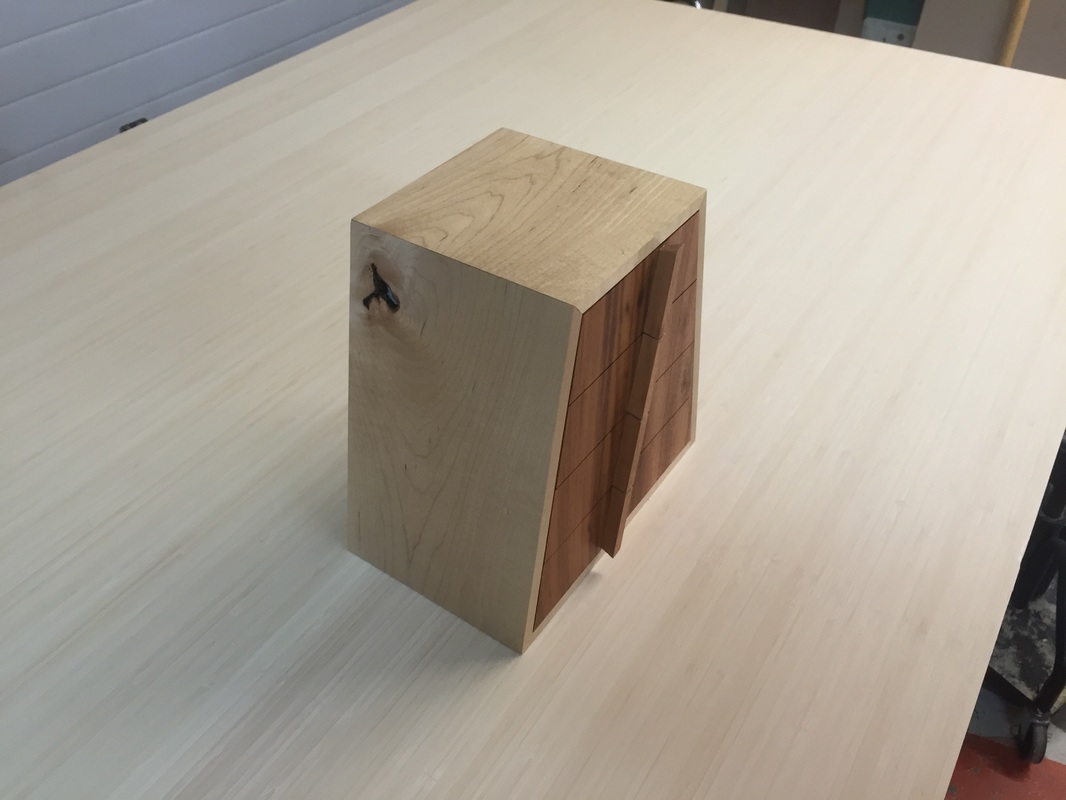
Now that the bench is finished I have been able to turn my attention to a few other projects. Like this Maple and Tigerwood jewelry box. This box had a few challenges but was a fairly easy build all in all.( the drawers do actually line up perfect but one was open a little when i took the picture.) Here are a few pics of the build, the top drawer has a blue flocking but the other three were left with just bare wood.
1 Comment
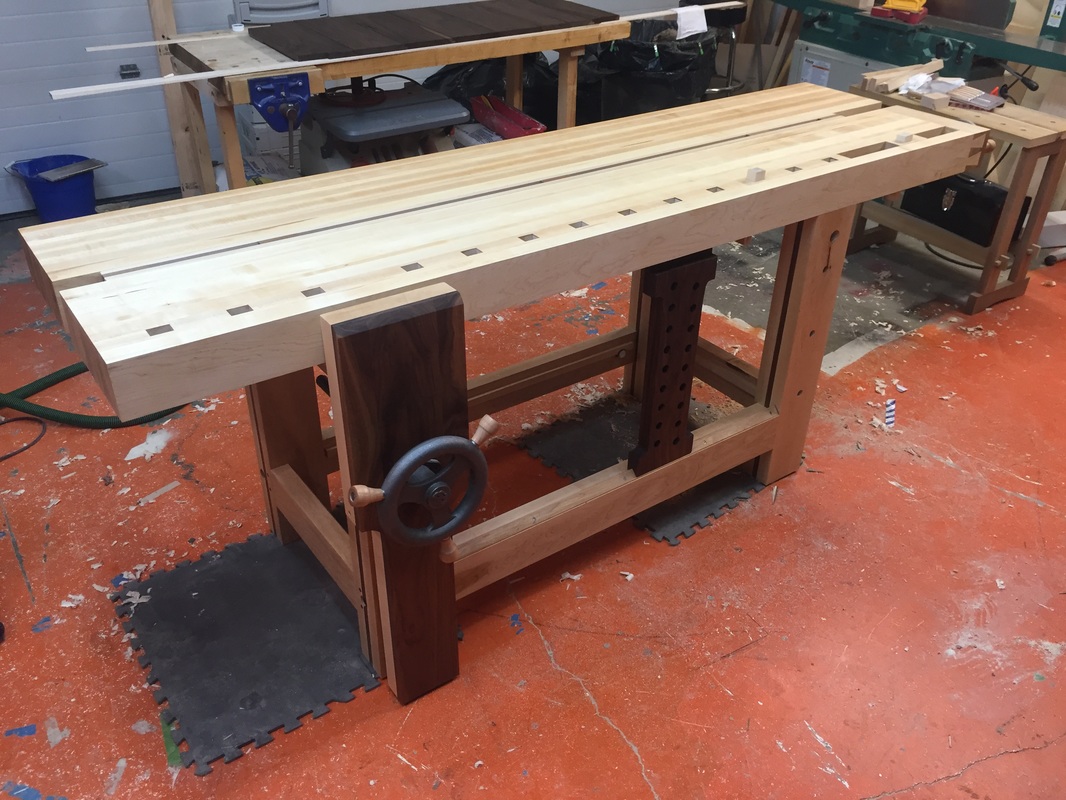
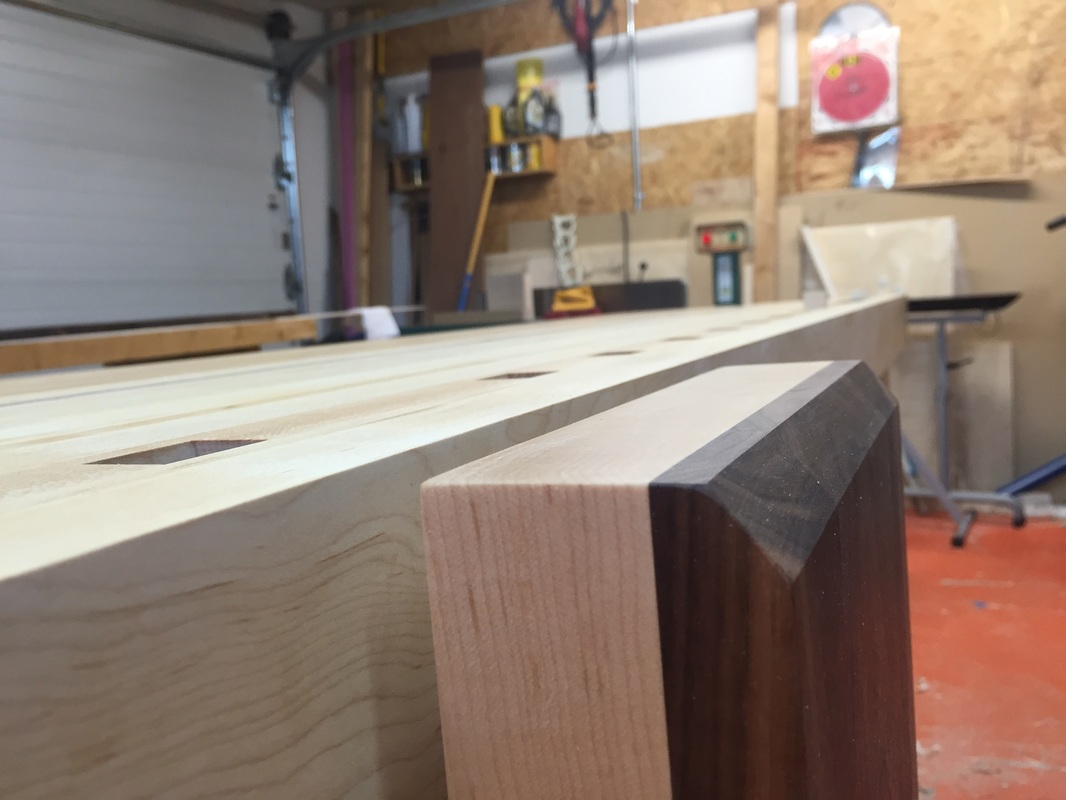
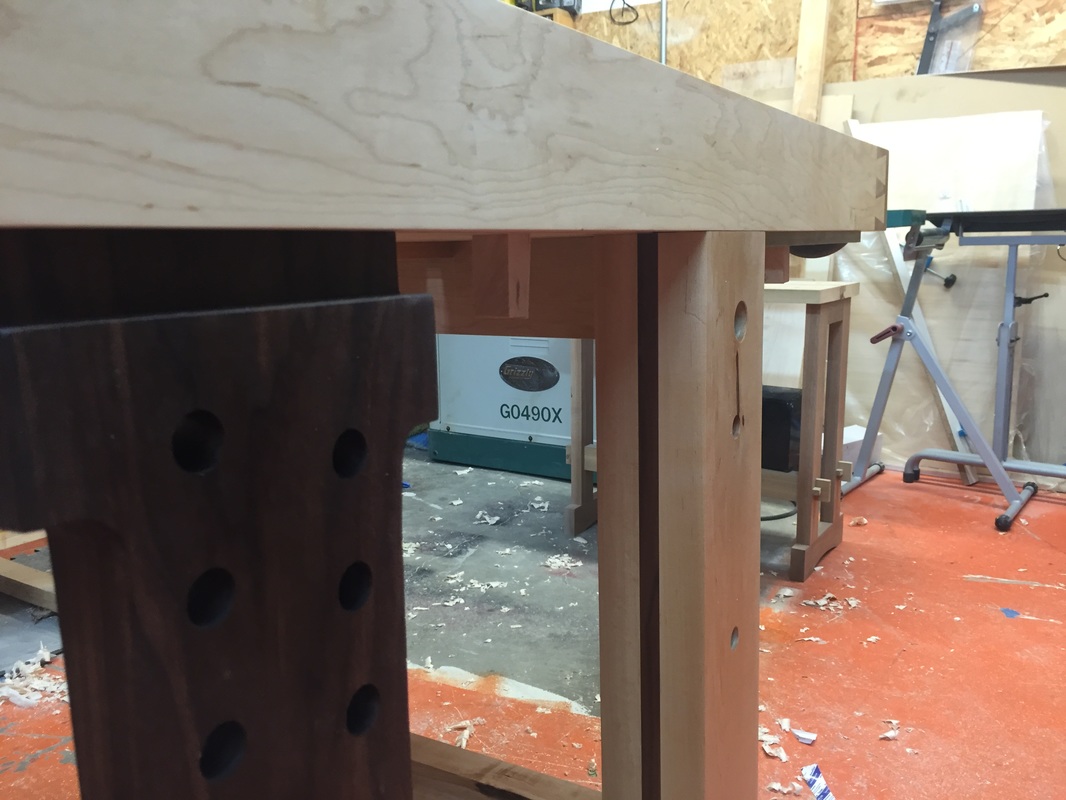
DONE! DONE! DONE! We have made it, all done ready to take to the show with 4 days to spare. Or actually 4 days to work on my piece for the show! Here are some finished pics. Don't forget to buy your raffle tickets.
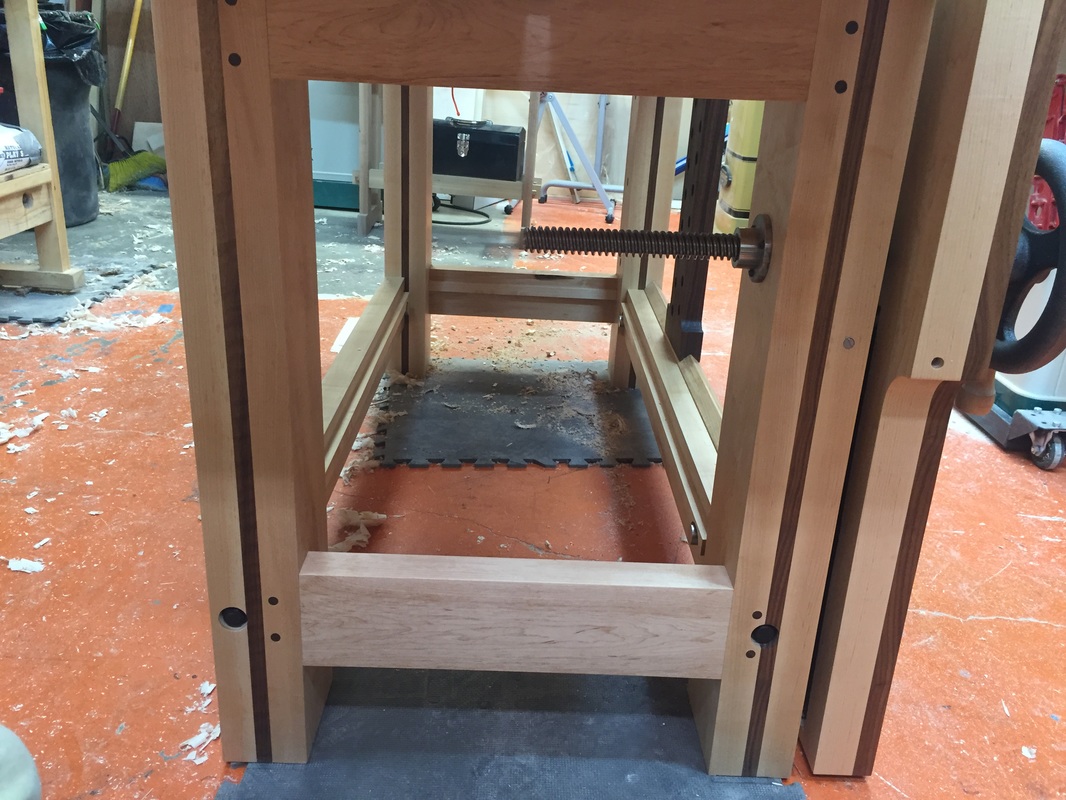
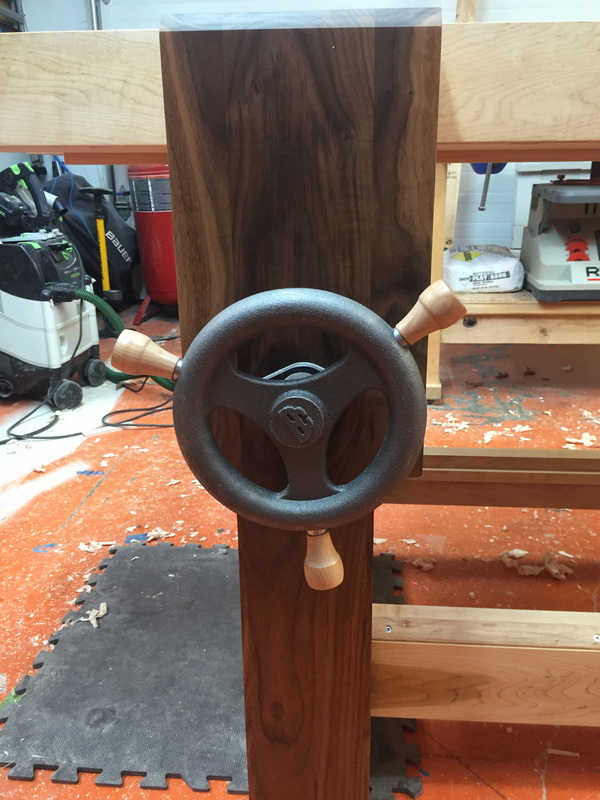
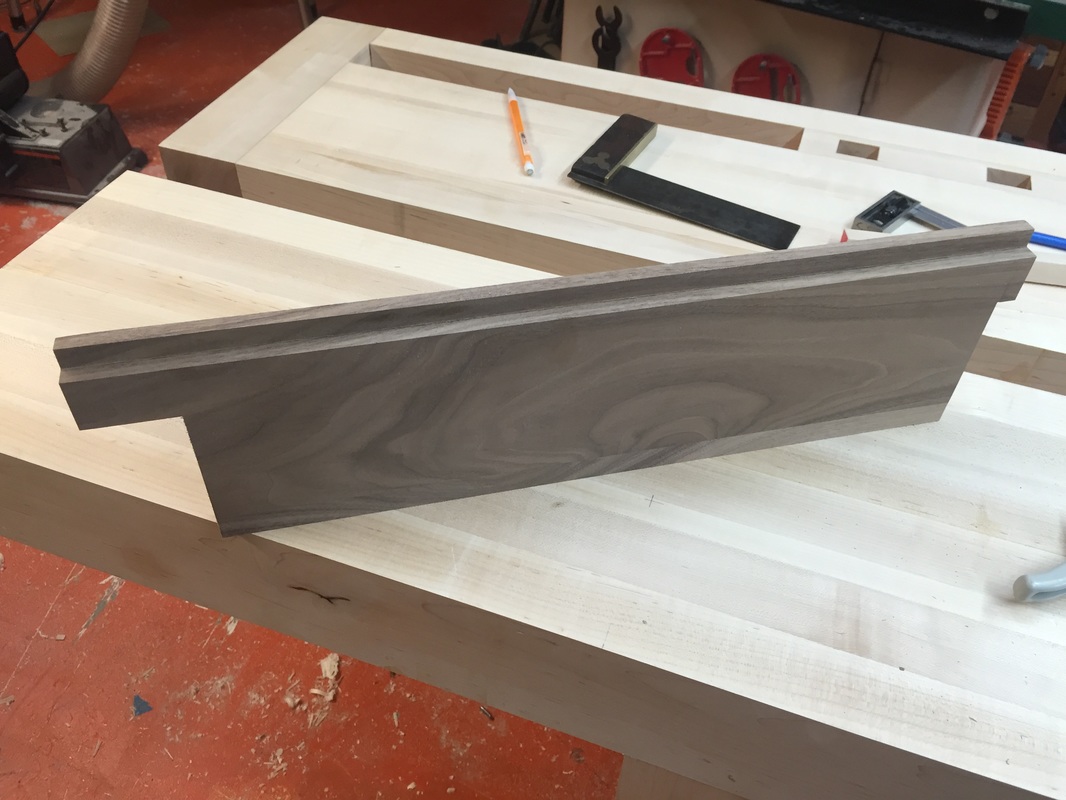
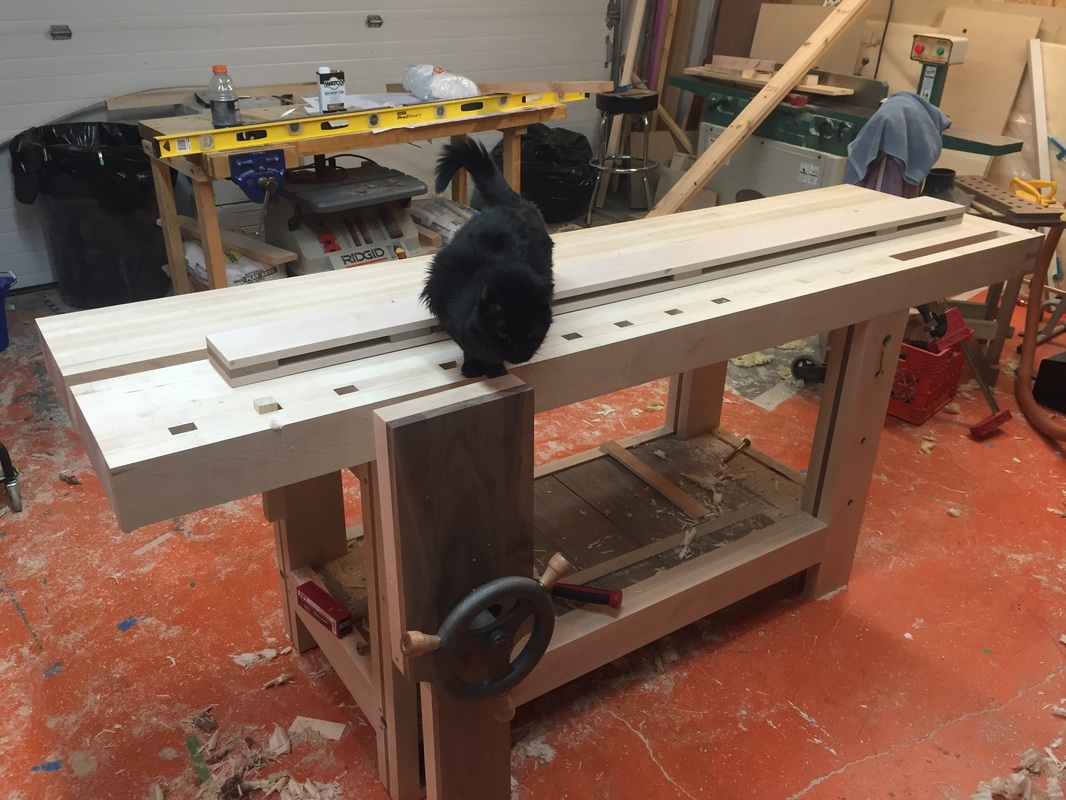
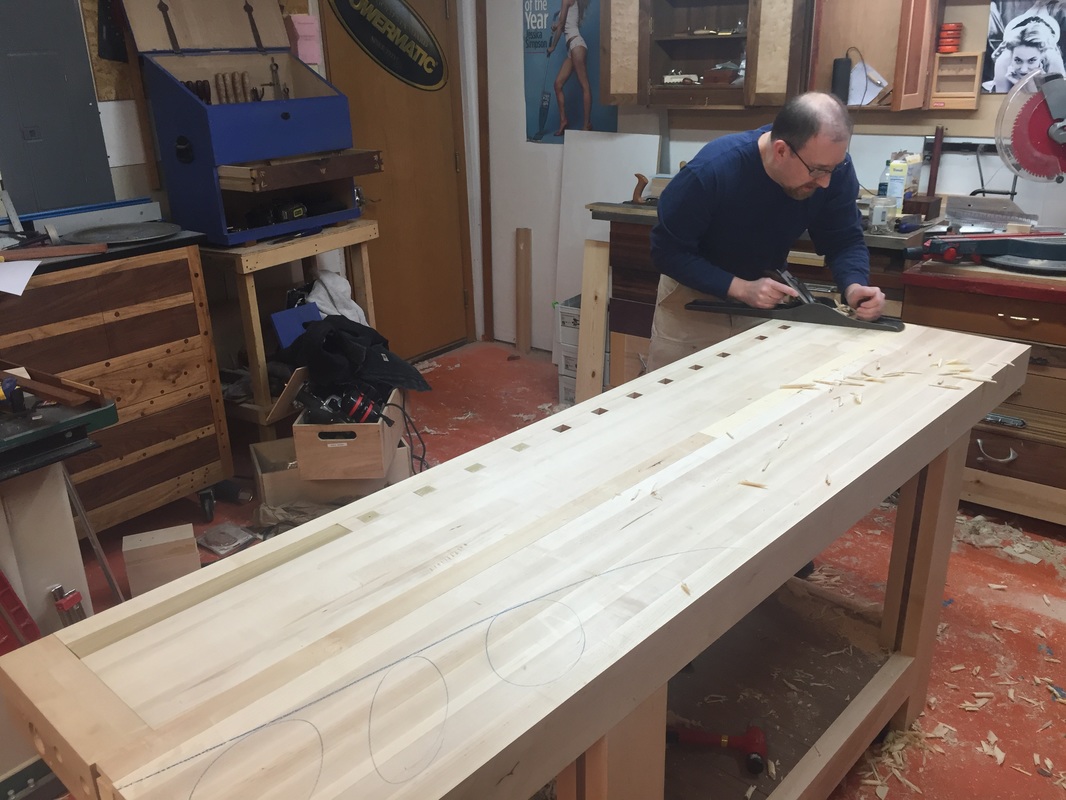
We are sooo close now, all the hardware is installed (but removed for finishing) all that's left is to flatten the top by hand and install the accessories. Jim has got the sliding dead man finished and ready to install. Dave dropped off the ship lapped walnut shelves and I cut the notches for the legs and installed them. They sit loosely on the cleats that run along the lower stretchers. Pickel inspects the leg vise for smooth operation, I think it passed. Jonathan spent a few hours getting the top as flat as he could with his superior hand skills. Now I hope to put on a finish by tomorrow night, we will use a Danish oil form the local HD. Get ready to buy your raffle tickets they will go on sale soon!!
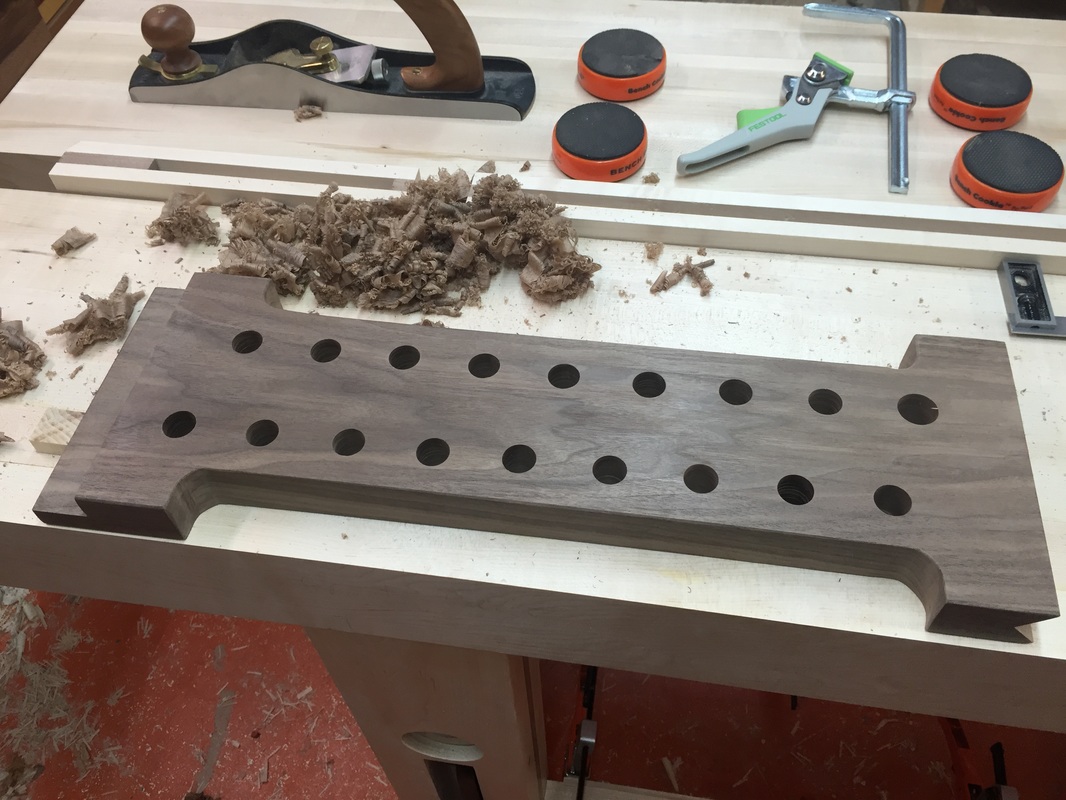
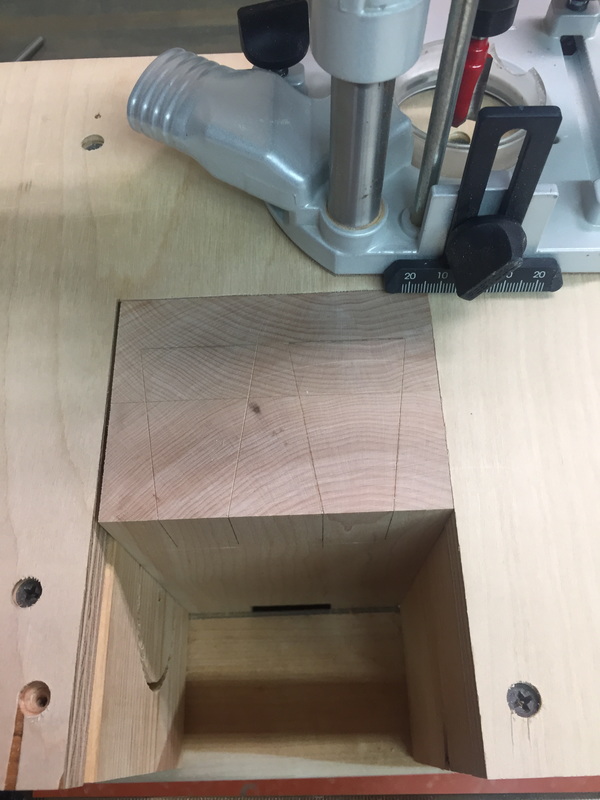
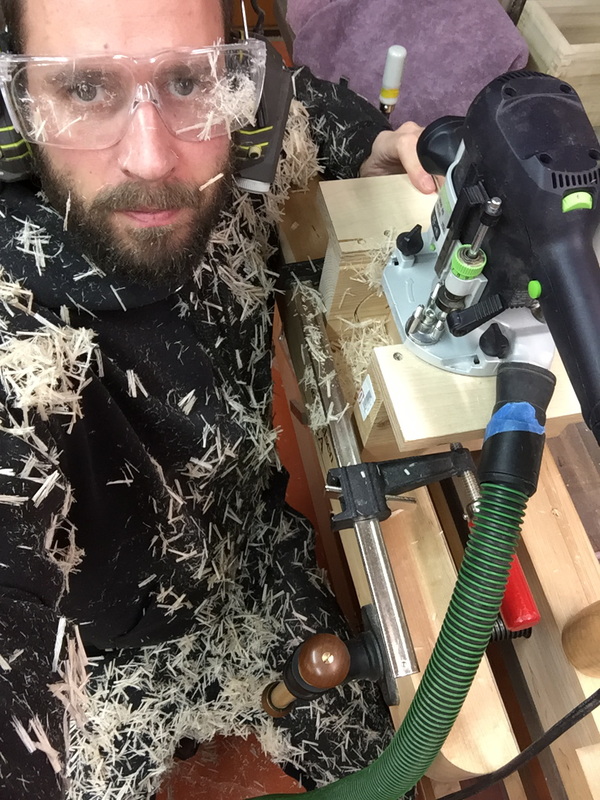
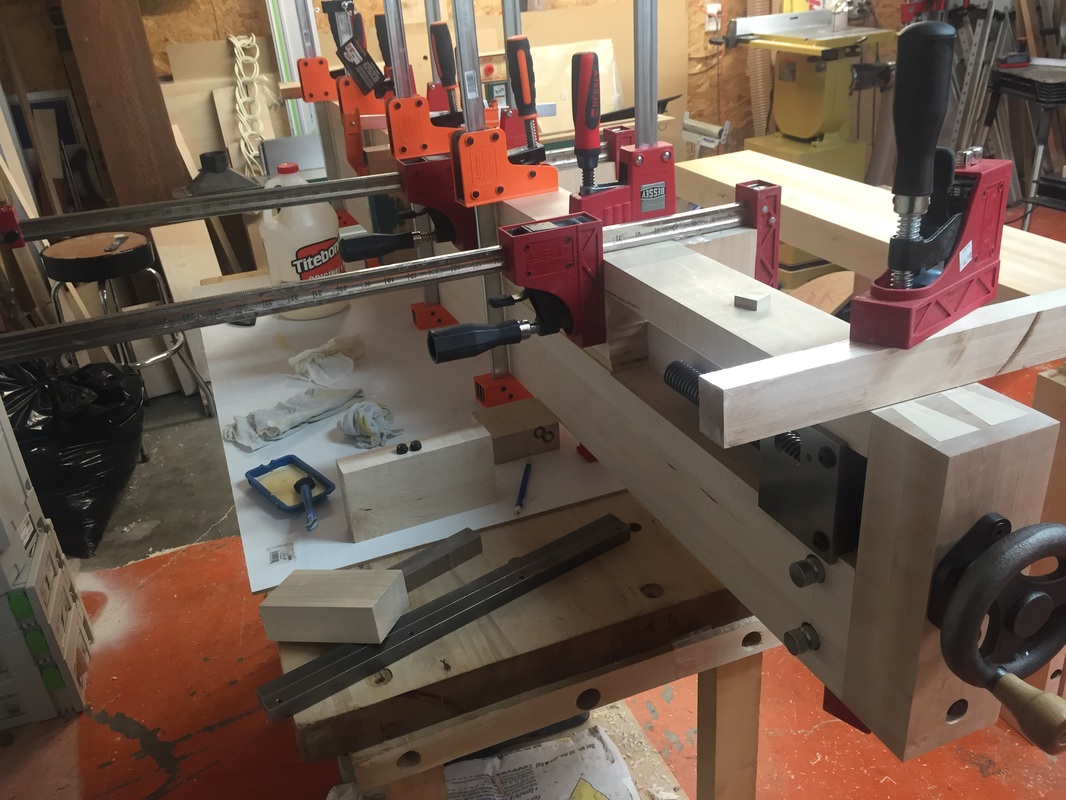
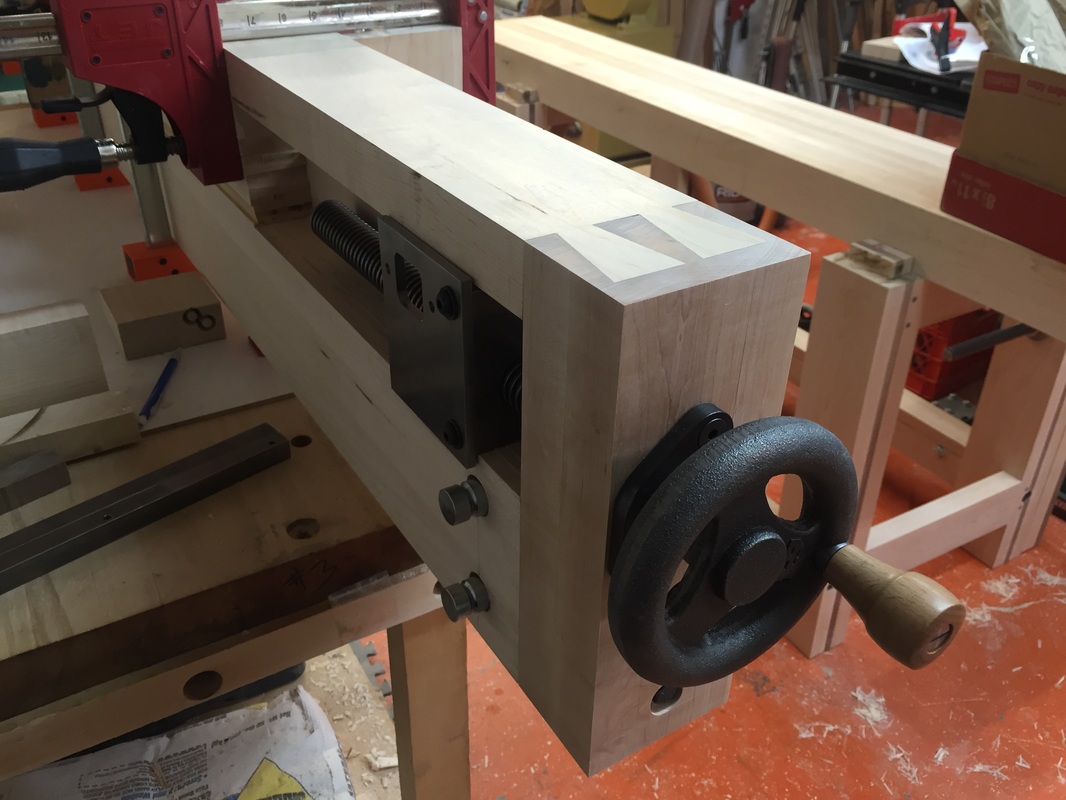
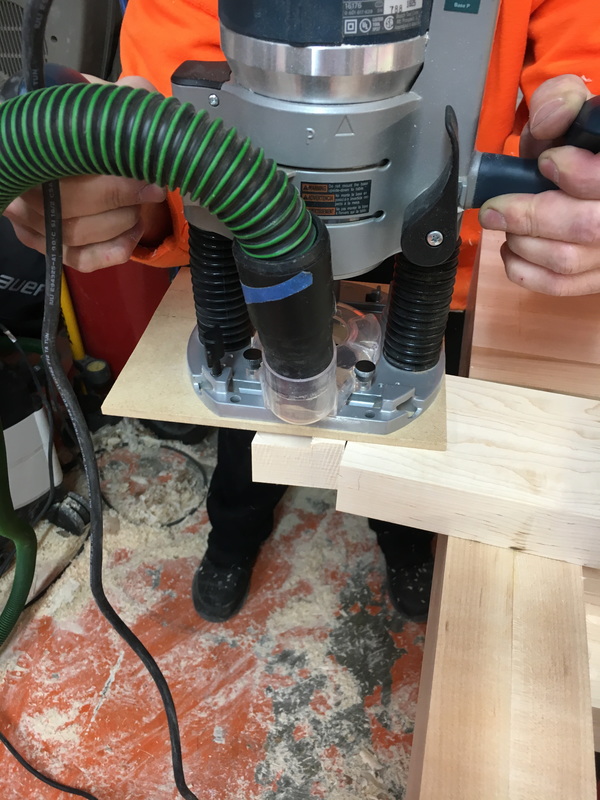
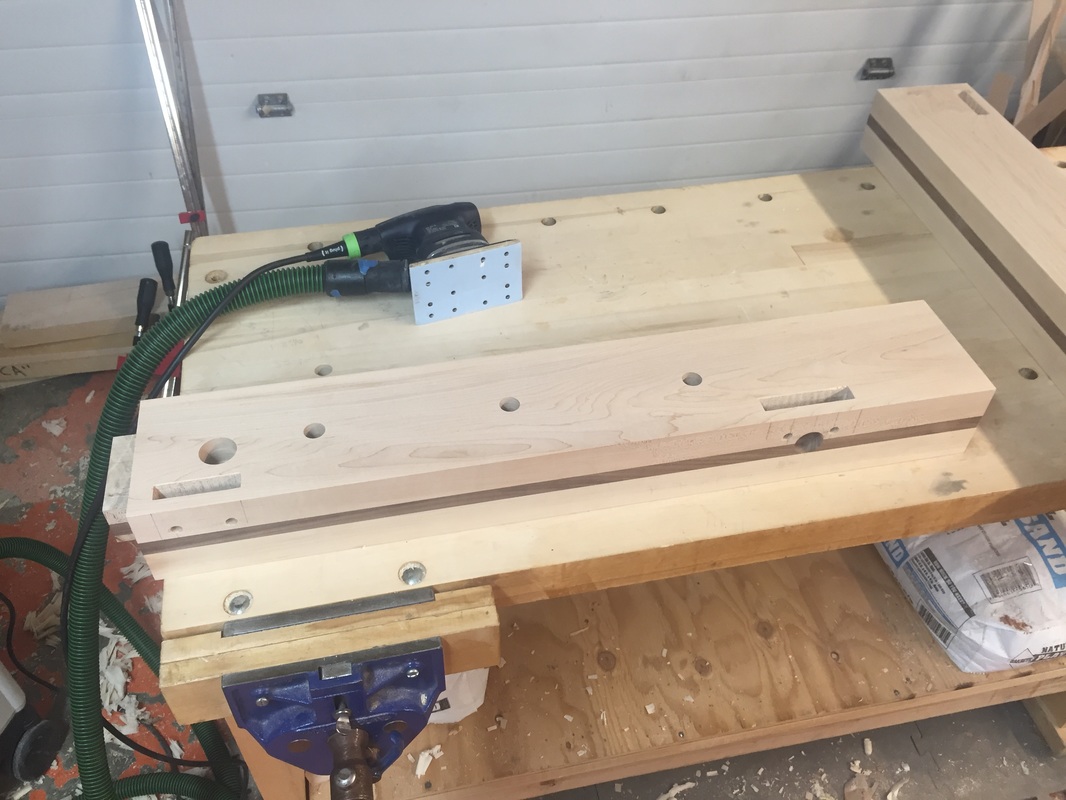
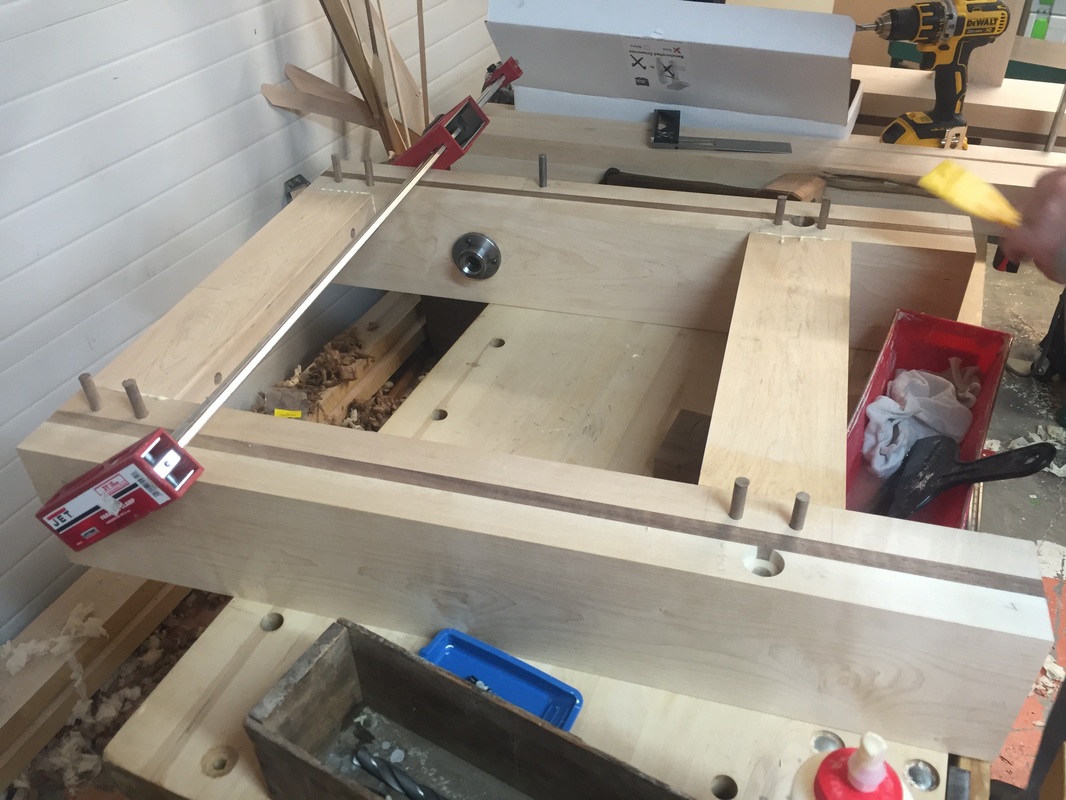
Today's work on the workbench was all about the end cap. I marked out the pins then took the cap over to the drill press to drill the counter bores and through hole for the end vise. Safety first! using a router to hog out the pins works very quickly and only leaves you a small bit of wood to clean out of the corners by hand with chisels. Here we have the LAST piece of the top glued on and most of the leg vise hardware installed. I'm hoping to be done with the bench by Saturday night!!!!!
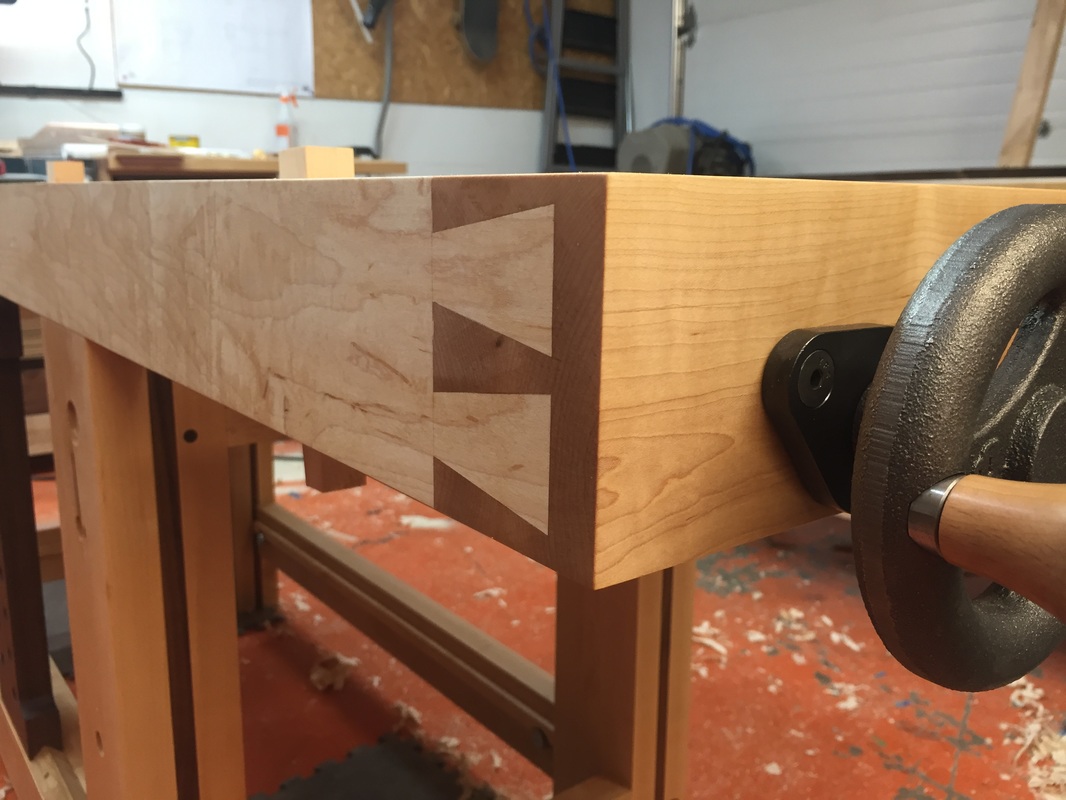
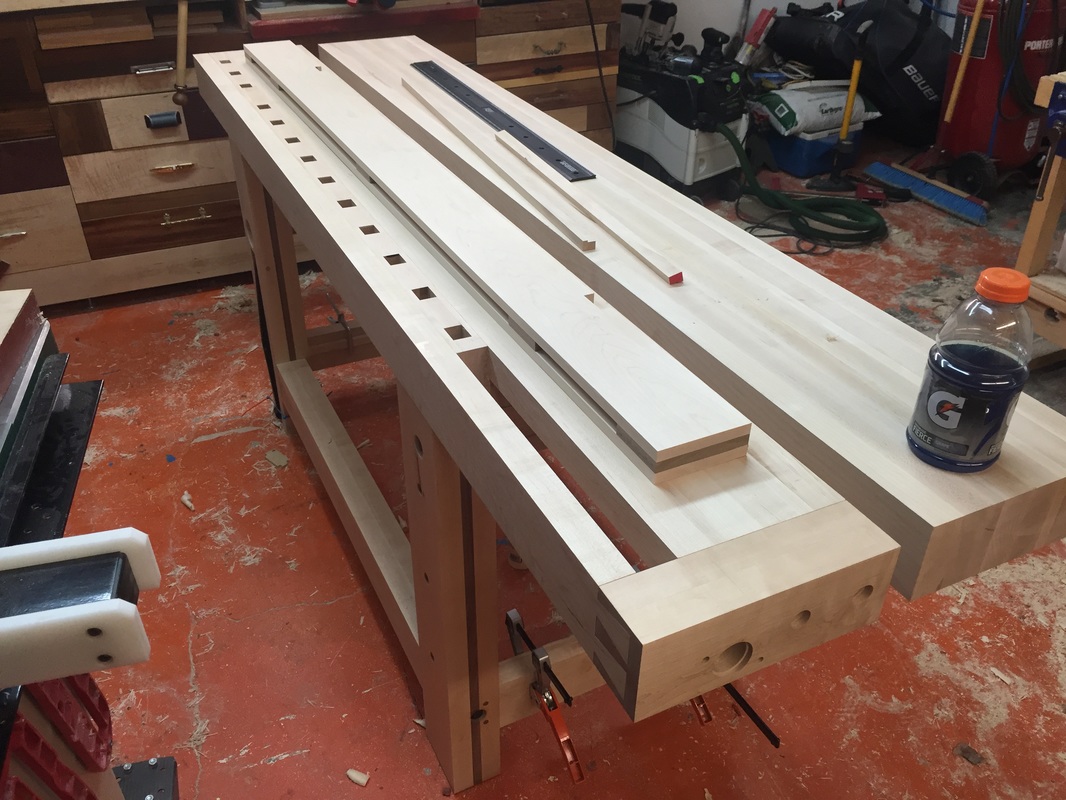
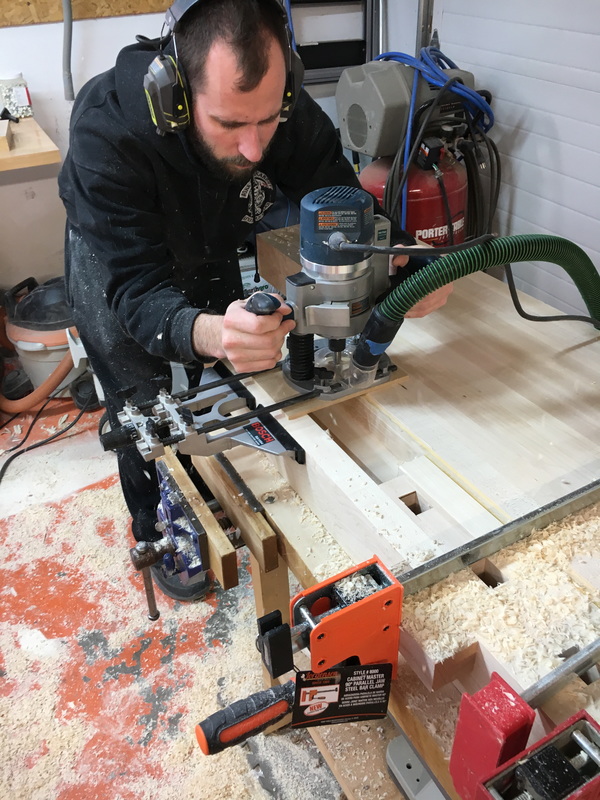
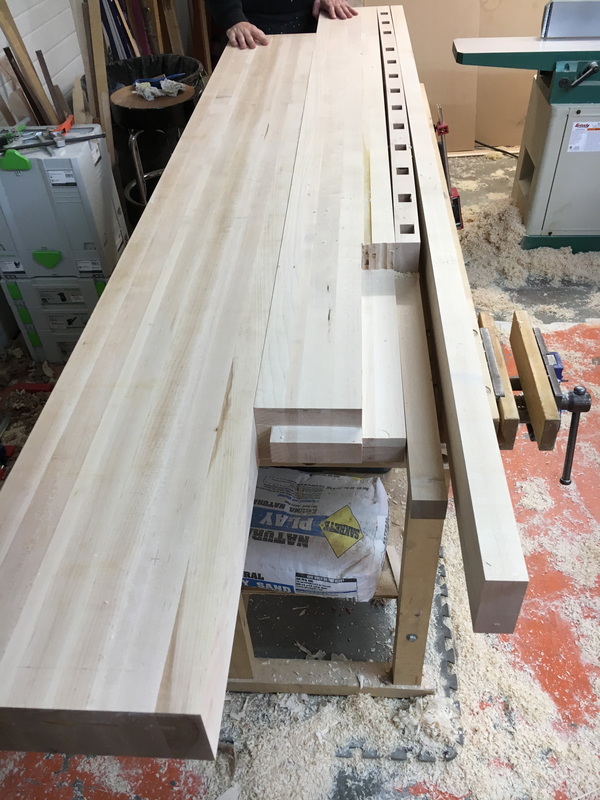
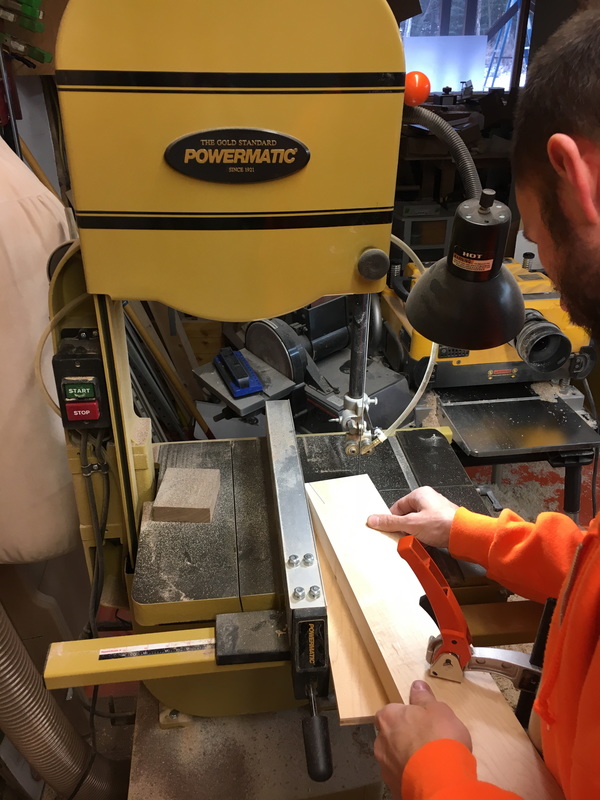
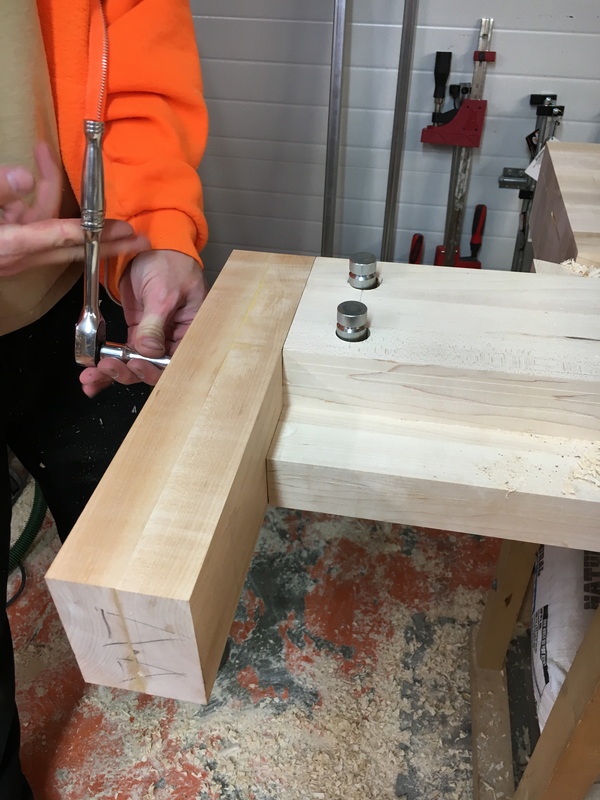
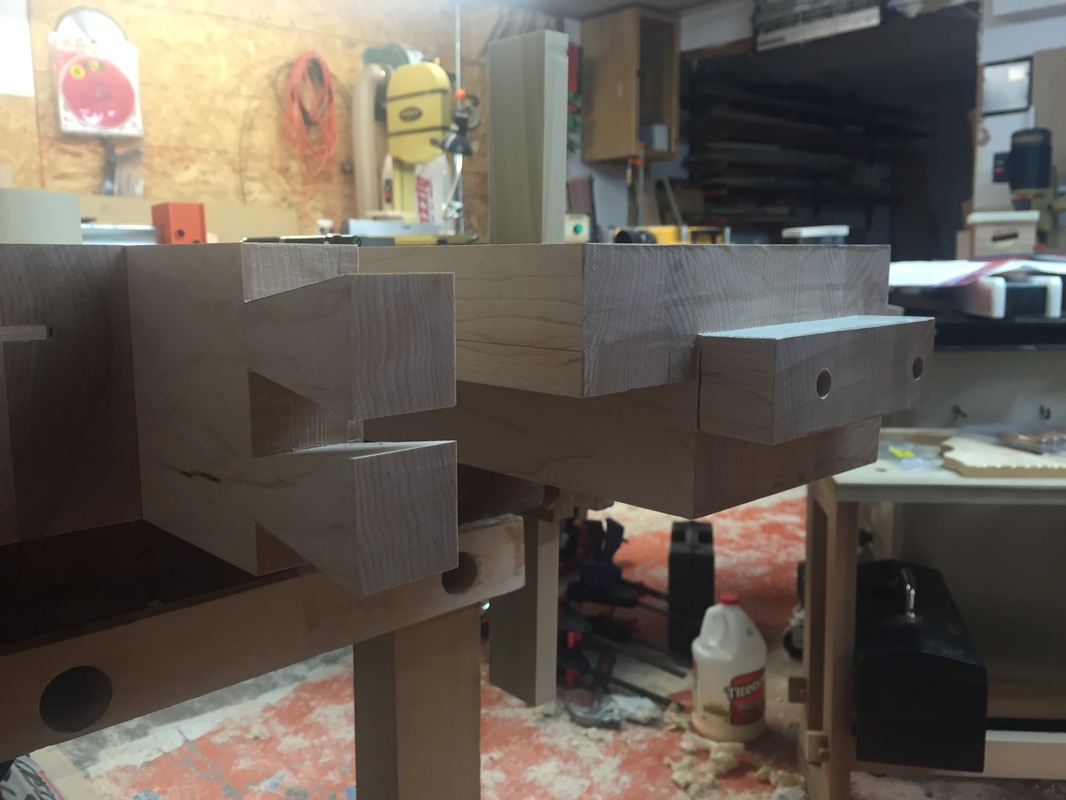
I would have to say this is the largest woodworking project I have done. When I think about it that sounds silly it's just a workbench, but is it? I think fine furniture would be a more appropriate term. Now that the tops are glued up we have been able to turn our attention to more of the detail and technical side of the build. Here we are routing out the mortise on the end of the bench that will house the tail vise assembly. This is done in many passes with a router and a 3/4" spiral up-cut bit. After we excavated that material we were able to glue in the dog strip. As you can see the strip has warped between the time it was made and now which was only a few days. We are able to pull it straight with clamps so its not a big problem. With dovetails this big we used the band saw as opposed to a hand saw to cut the tails, then used a router and coping saw to clear out most of the waste. Once that was done we used a pairing chisel to finish it off. Now we drilled the holes for the carriage bolts and barrel nuts that hold the end cap in place. This can be stressful trying to blindly line up the holes for the barrel nuts in the bottom of the bench top. The joinery on the end of the bench for the tail vise is complete now to fit the end cap, but I have to get the dishes done before my wife comes home so that will have to wait til tomorrow.
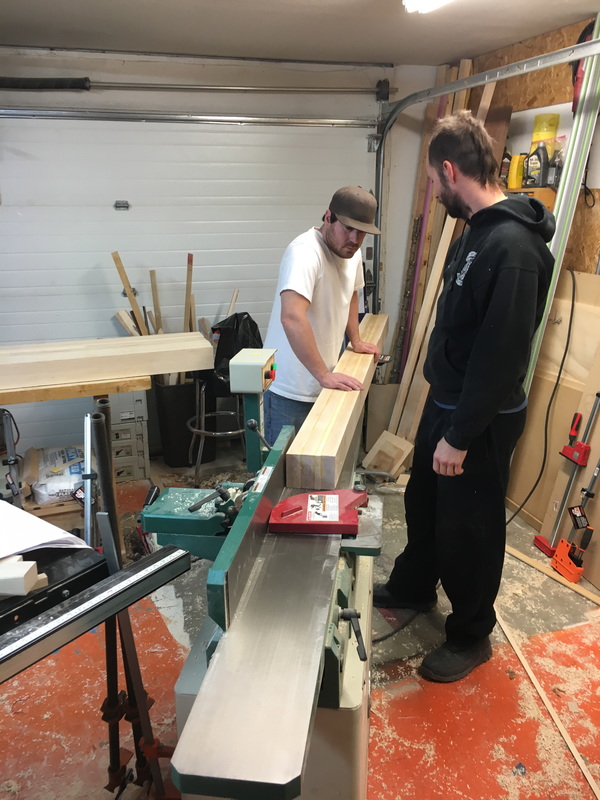
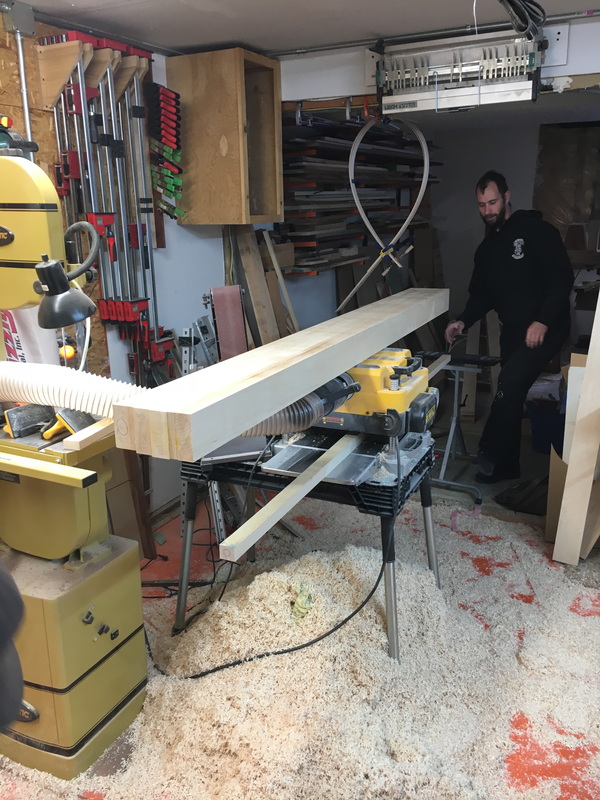
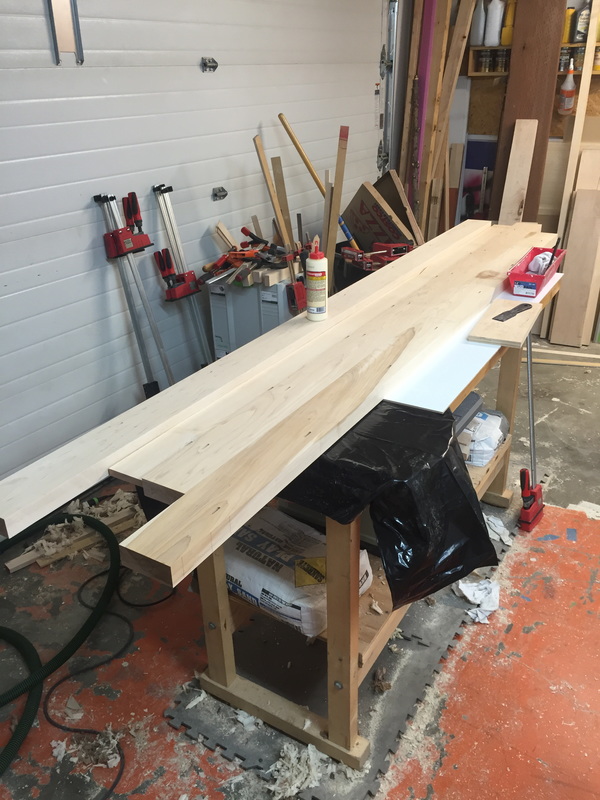
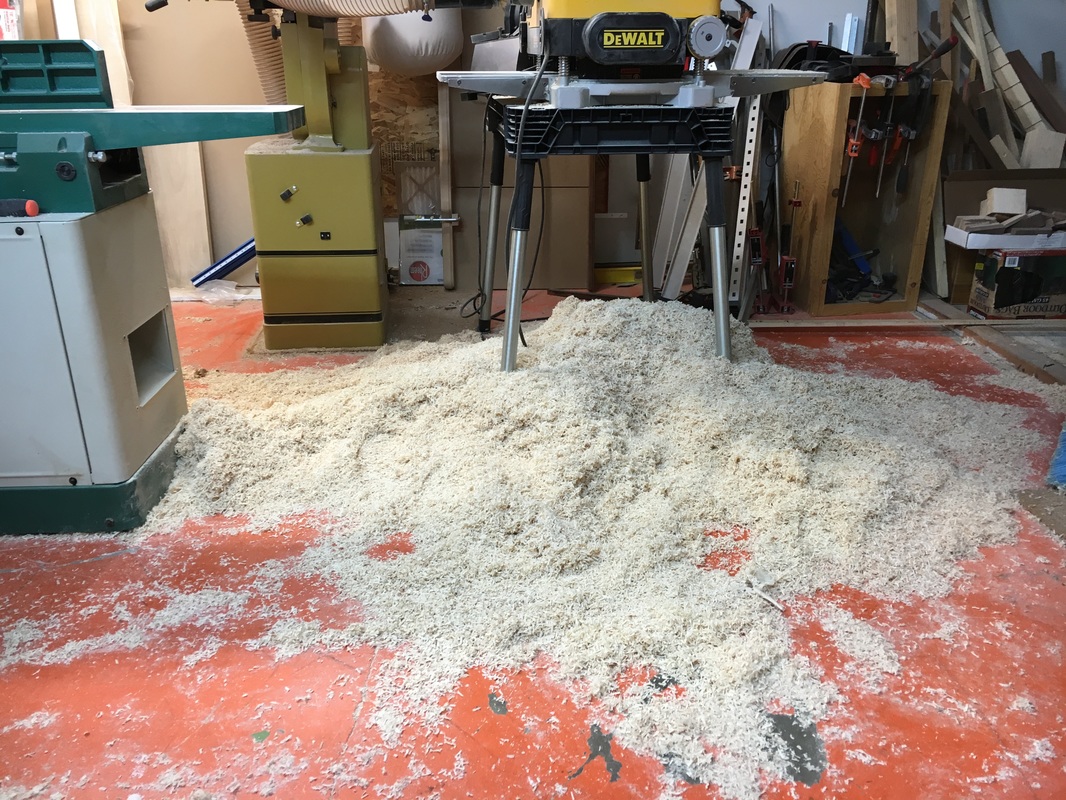
My shop is starting to feel the pains of a month long build. Some places have amassed more than a foot of saw dust, along with every tool I own being not where I can find it. We are on the home stretch though, a lot of work has been done over the weekend and today. We managed to get three glue ups done in the last three days which was a nice treat. As far as glue goes now all we have to do is glue on the front strip and dog holes. We had to run each of the top halves over the jointer and through the planer before the last glue up because the final width would not fit on my jointer. Once they were relatively flat again we glued the two halves together. It's starting to look like a bench top (don't worry the dog strip doesn't actually go there!) Here I am cutting the front half to final size. I'm tired and ready for a few days rest, but we are so close must keep moving forward. Hopefully we will be done in 4 days at least that's the goal anyway, we shall see.
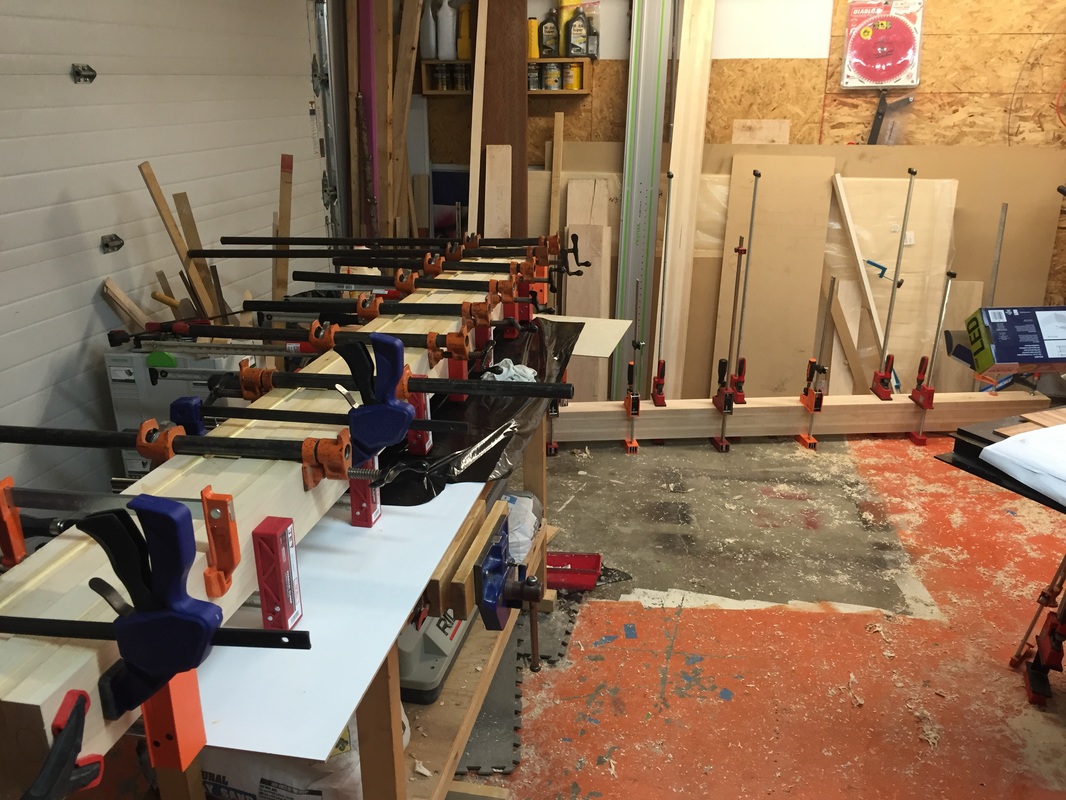
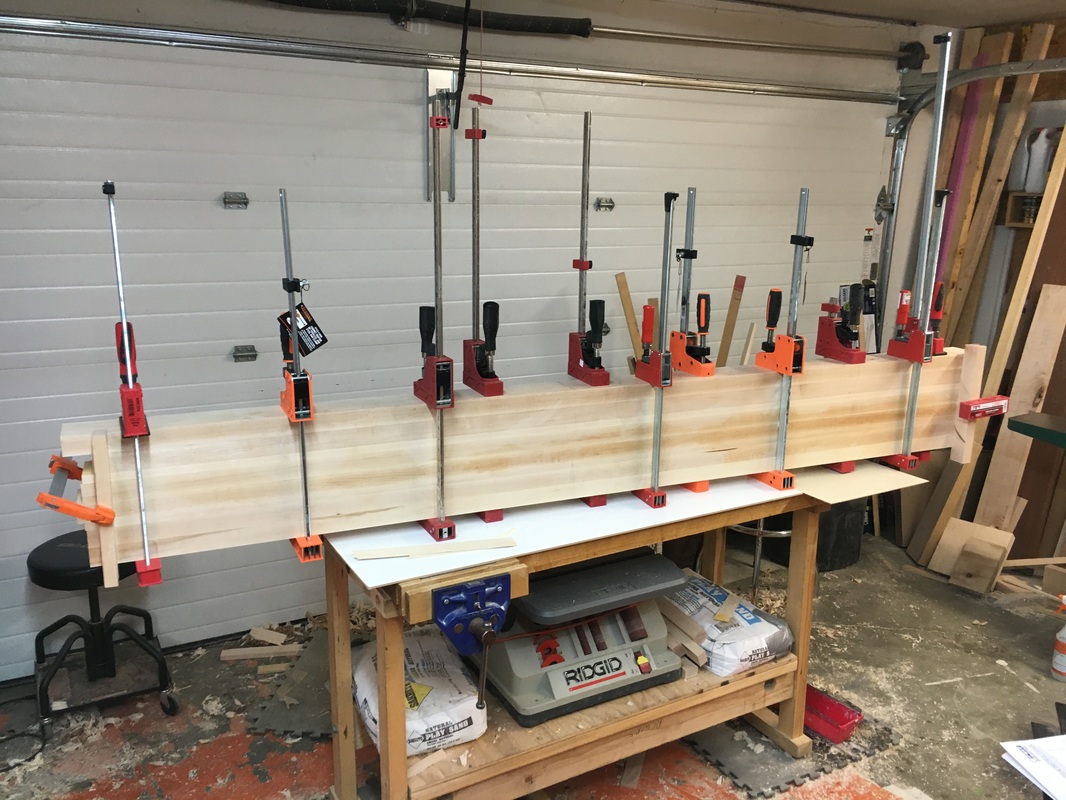
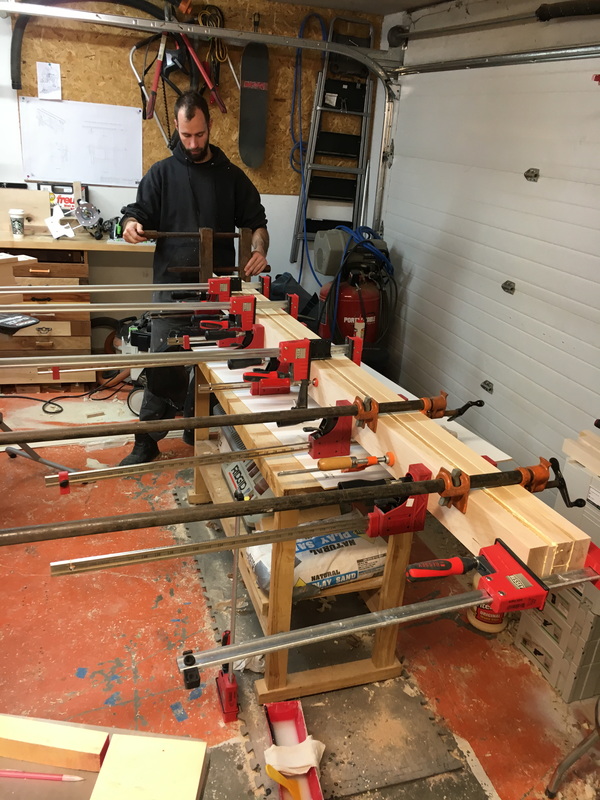
The woodworking never ends as work on the top continues. Today we were able to mill 90% of the boards to within a fraction of final size. This will allow us to glue up everything and then trim the slightest bit off to get her right to final size. I marked out the lines for the domino's, then started cutting. I think we put about 6-7 in between every board. Next we brought over all the clamps we would need plus all the glue supplies as well. I laid a white board down on the bench so the glue does not stick to it. Now time for the glue, this time I did it in a time lapse video to add drama! now for some reason I cannot figure out how to stop it from rotating the video upon upload, so you'll have to turn your head a little lol. You can never have enough clamps! Only not enough. That's a fact Google it.
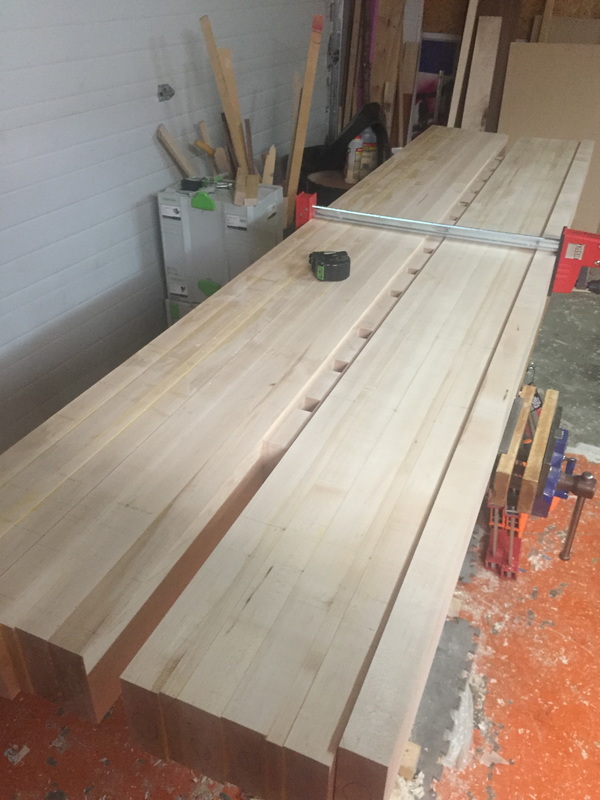
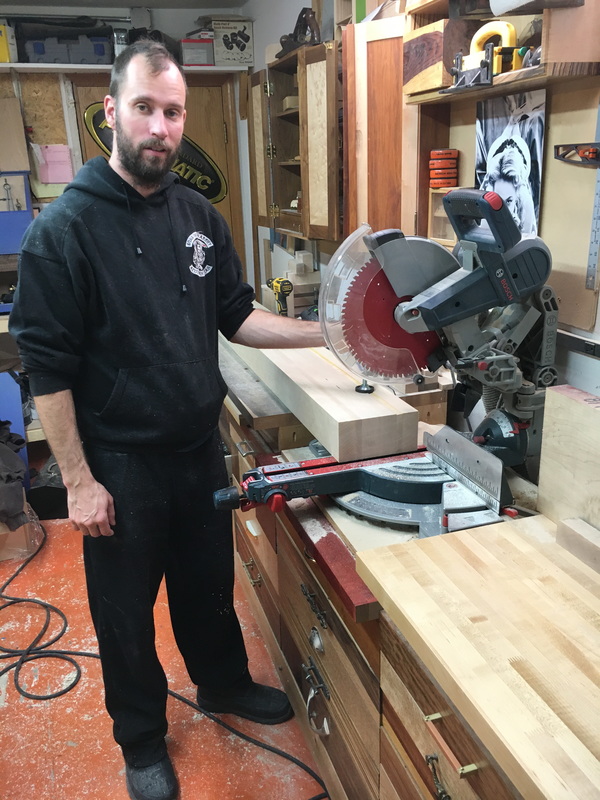
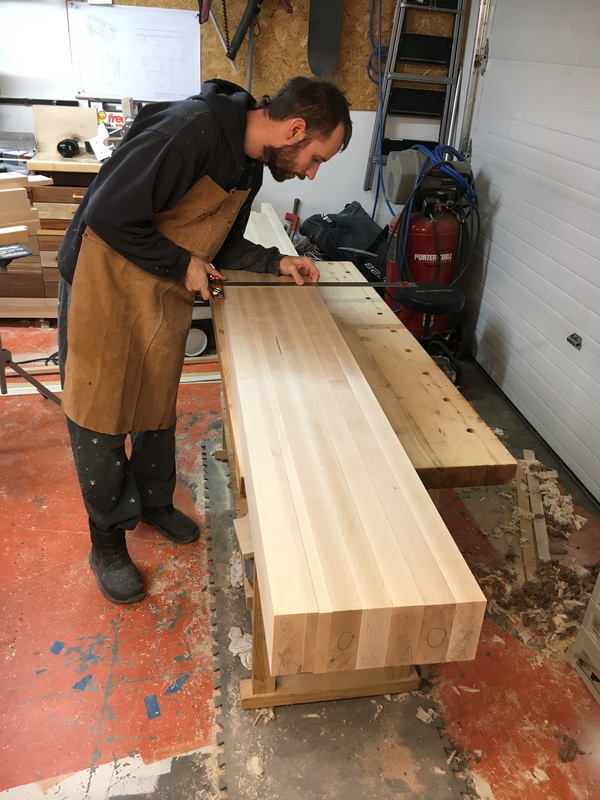
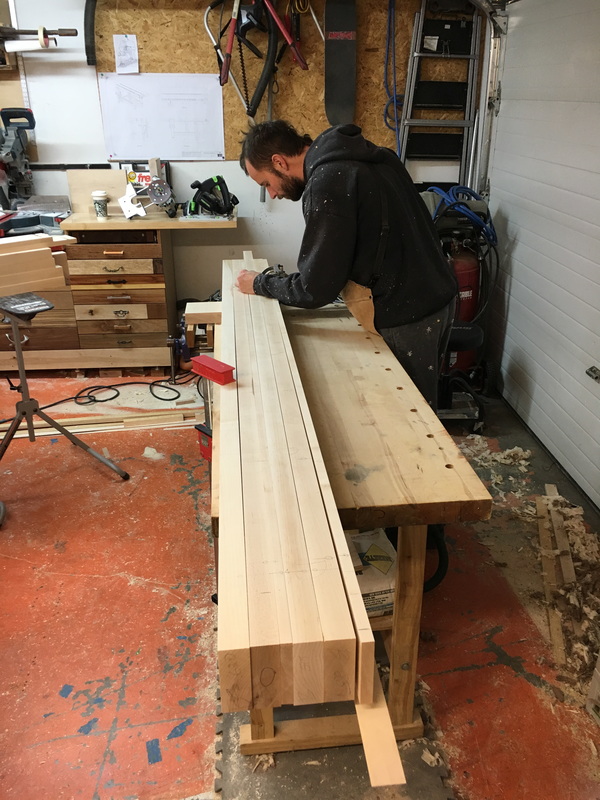
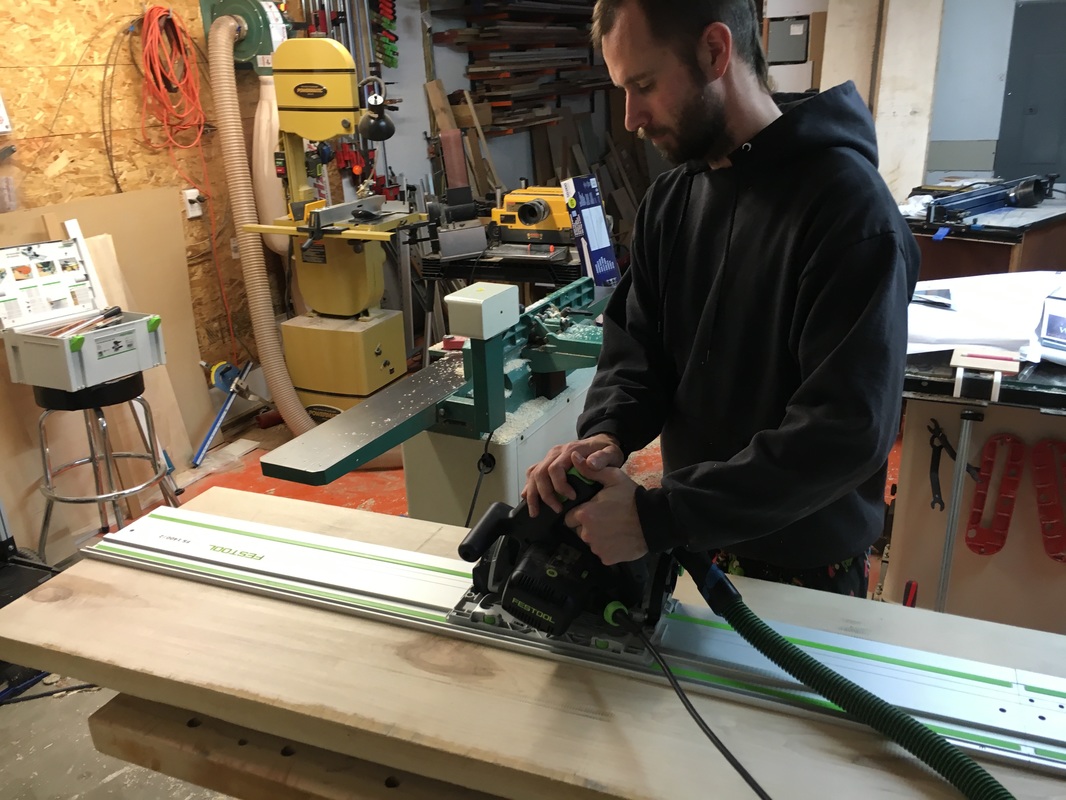
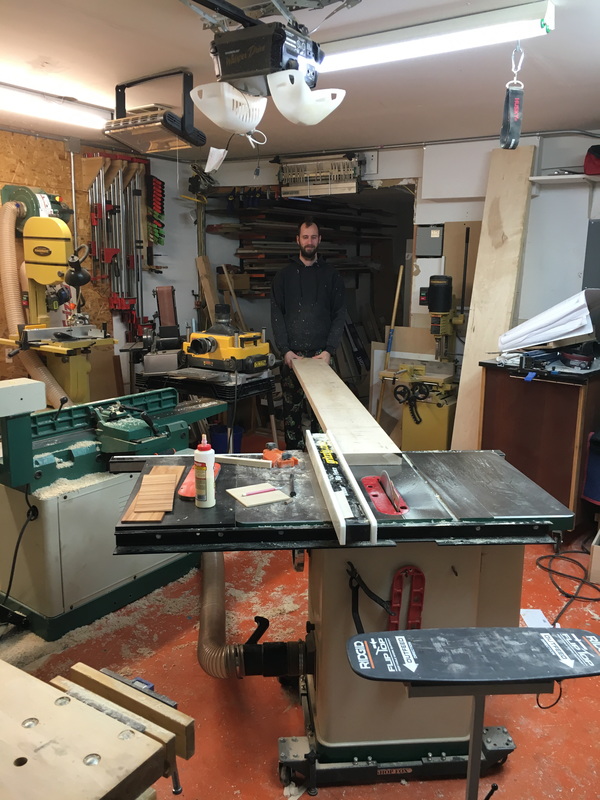
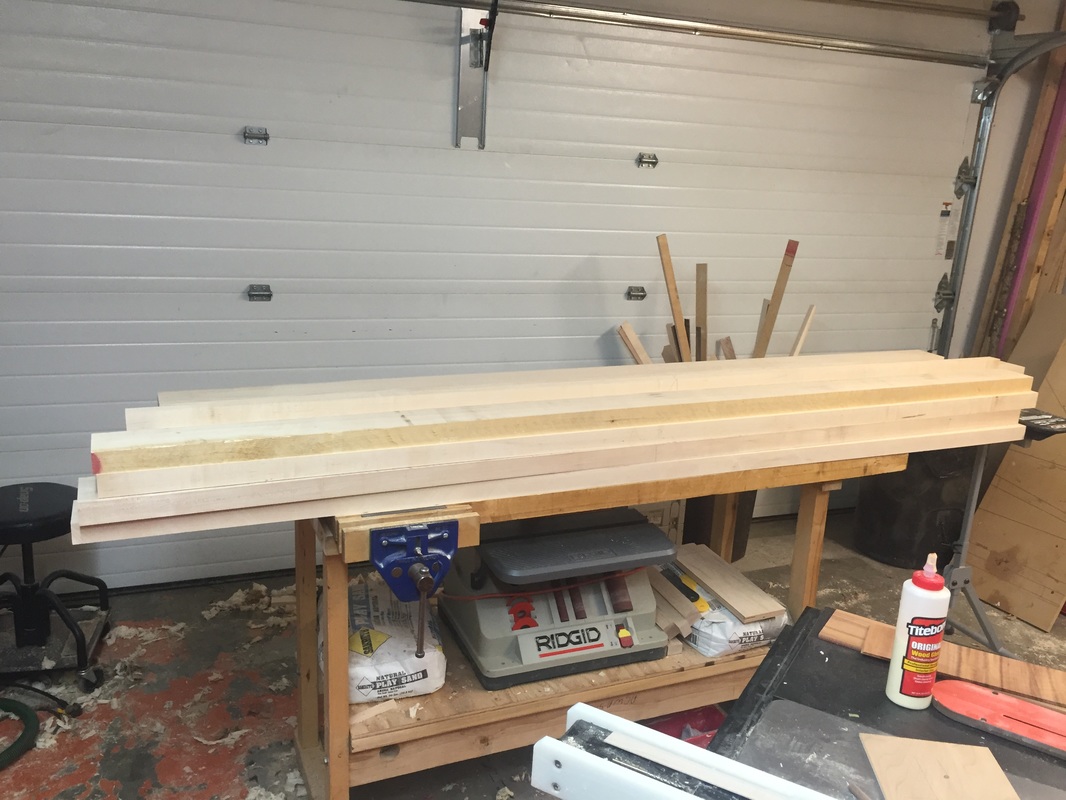
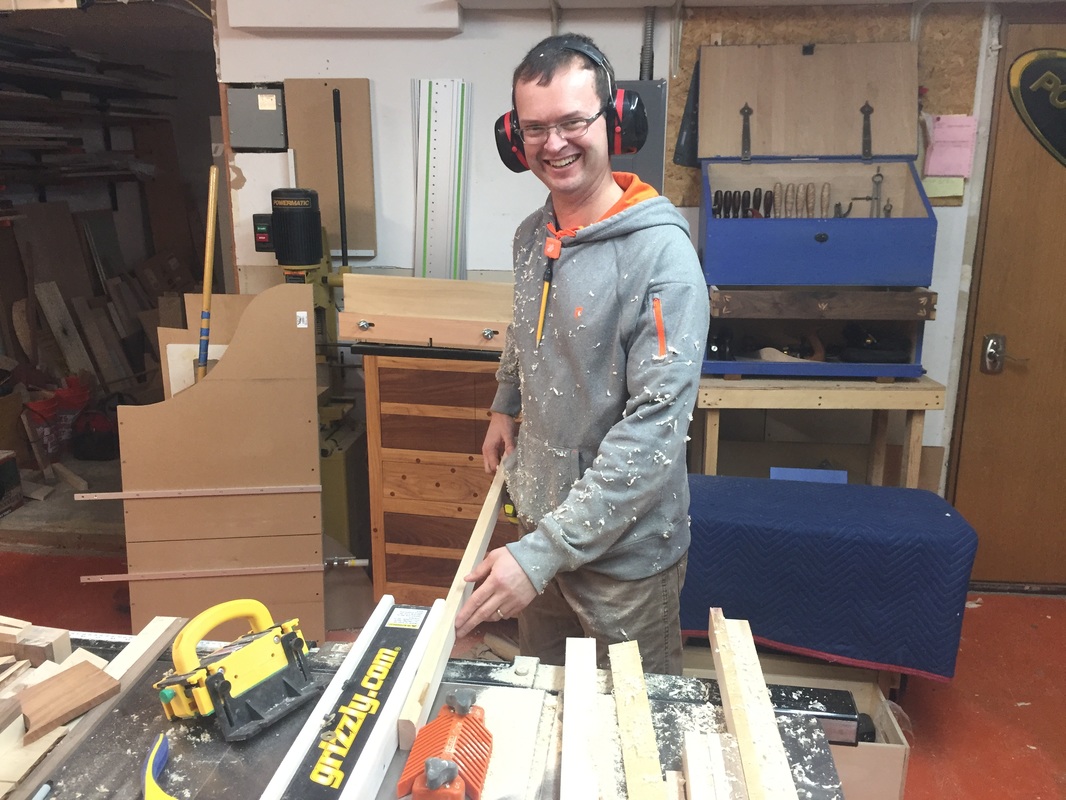
Today it felt more like work than woodworking, these boards are heavy! It's the first day working on the top and we were able to get most of the boards milled on 2 sides. We will let them rest until tomorrow then mill them to final size. We started by using the Festool track saw to make the long cuts but the boards proved to be too much work for it. We switched to the table saw which is not as accurate but since we are only cutting them too ruff width its not that big of deal. After we had them to ruff width it was time to run one face over the jointer then stand it up and joint the edge. It's safe to say we have enough hamster bedding to last a lifetime! Here are all but about 4 boards that we need to build the workbench top. After a short trip to hardware specialties tomorrow we will have all we need to finish.
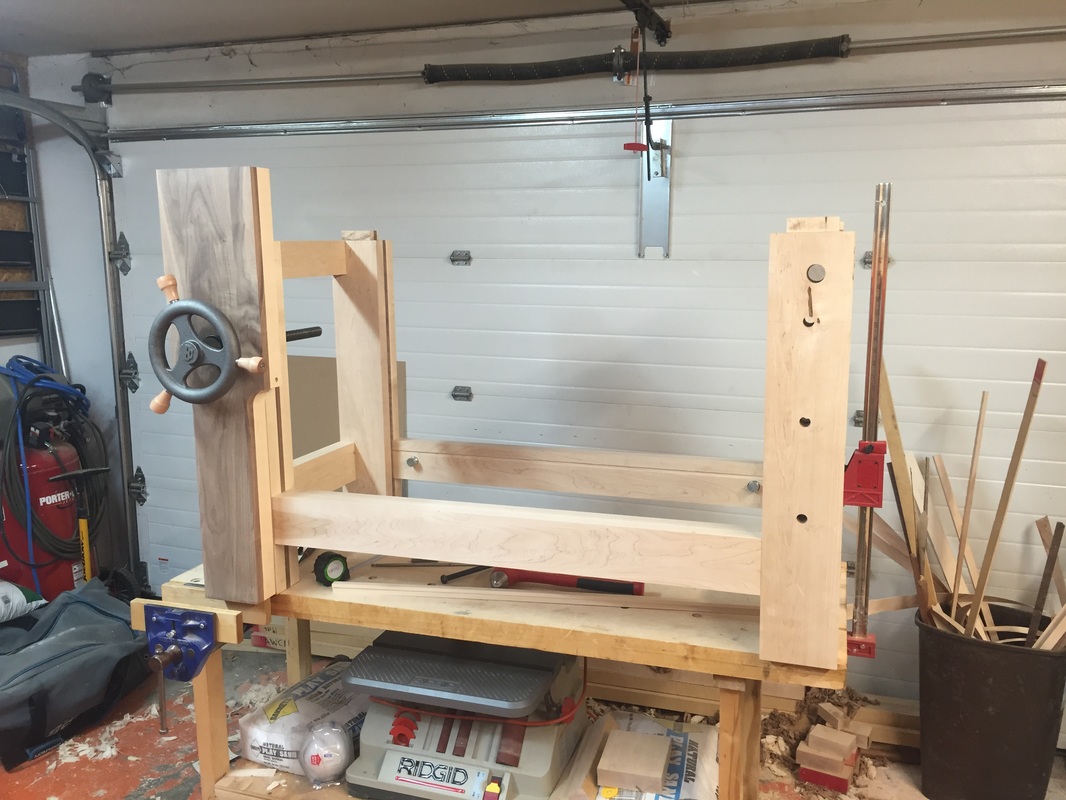
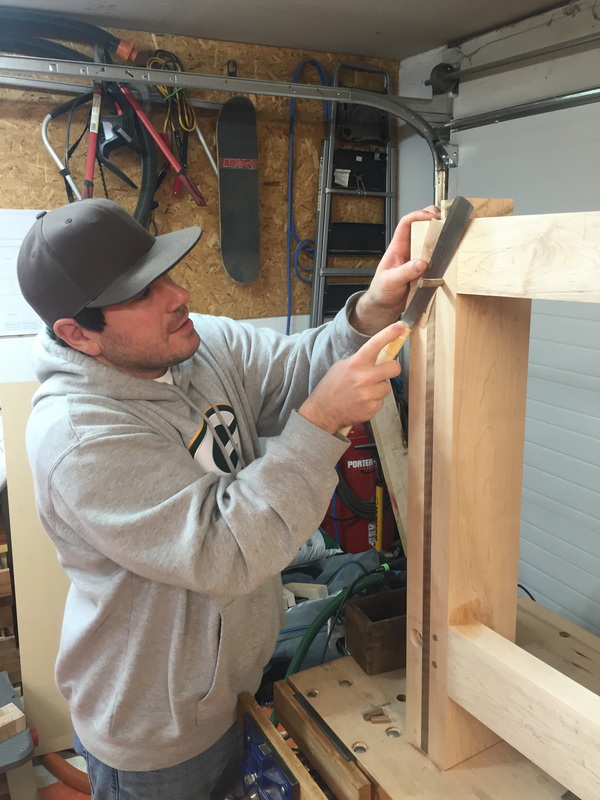
Well here we are, the base is done and not a moment too soon. Let's see if I can remember everyone that helped with this phase, thanks to Steve T, Jeremy H, Dohn W, Jim P, Dave J, Jonathan S, Tony S, Bill P. I don't think I've left anyone else out but if I have sorry. No time to sit back though, 9am tomorrow we are back at it working on the top and we have even less time to get it done. Today was a busy one. We made a good amount of progress and I think we are in good shape for finishing the bench in time Artistry in Wood. We started with cleaning up the rest of the inward facing pieces of the legs and stretchers. Then dry fit everything, checked for square and drilled the draw bore holes in the tenons. Glue up is always a stressful time in any wood shop but thanks to the draw bore pins this one couldn't have gone any easier. Just clean off the extra glue and we're done. While we waited for the glue to set up Steve got to work on cutting out the cleats that will hold the shelf on the bottom of the bench, I think he needs to learn how to use a dust collector. once the glue set a little we trimmed the pins flush. We will let the leg sections sit overnight to give the glue a chance to cure all the way. Then we will finish sand and plane the base, drill the holes for the carriage bolts and barrel nuts. After that it will be time to turn our attention to the bench top.
|
AuthorGoogle told me that if I started a blog my page ranking would go up! So here it goes. Archives
March 2016
Categories |

 RSS Feed