|
Yesterday was all about the chop and leg vise. After removing the chop from the clamps it needed a slight bit of final flattening with a hand plane and a power plane. Once we had it to final thickness I could start the layout of the large mortise, screw hole, and the overall shape of the chop. 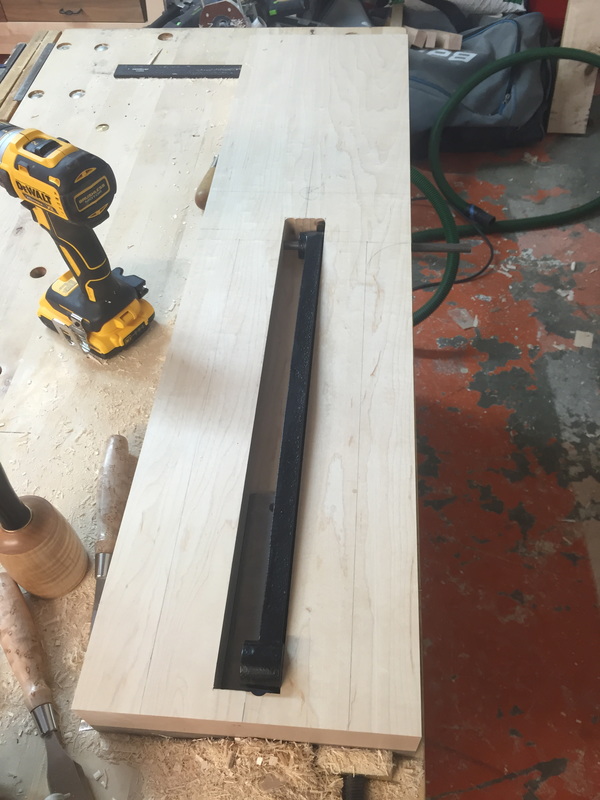 Next I took a short break from woodworking to catch my daughters hamster Sugar who had got loose in the wood shop the night before!  Now back too work. After we made all the necessary cuts and did a rough sanding of the chop I was ready to start installing the vise hardware. 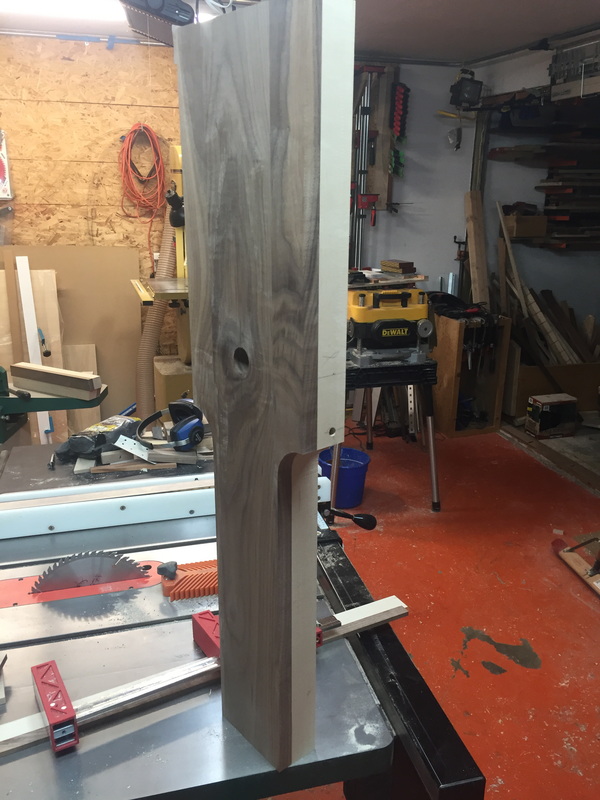 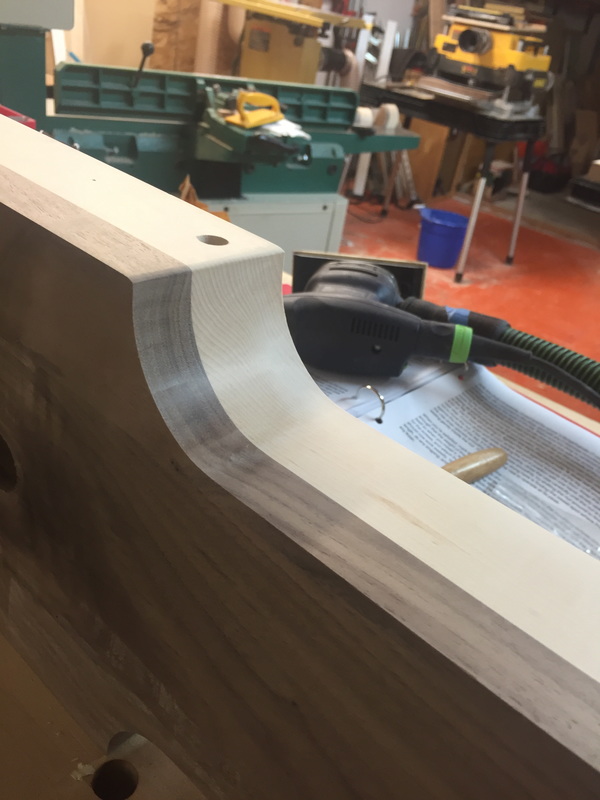 I started by installing the steel plates that the criss cross legs rub on during operation. Then pounded one of the upper pins in through the criss cross to hold it in place. 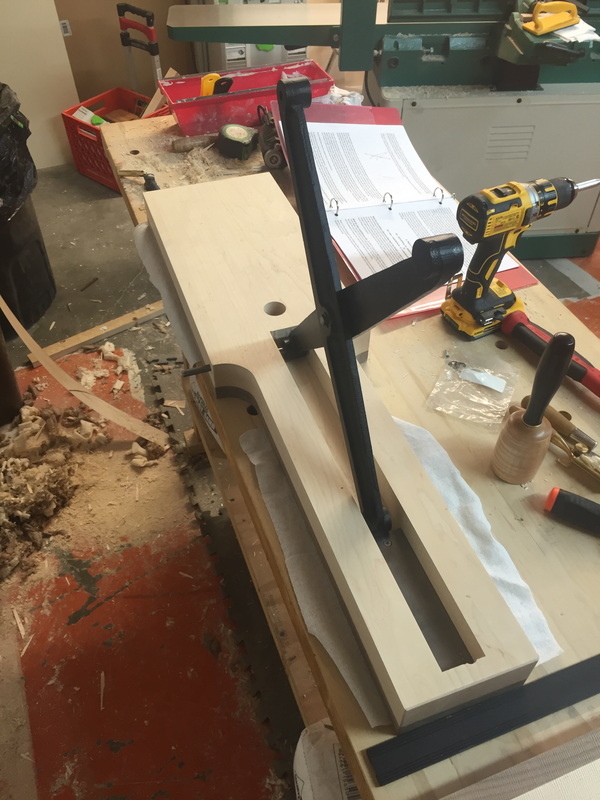 The screws in the flange on the vise handle are machined screws so we had to drill a 1/4" hole then tap using a 5/16-18 tap. 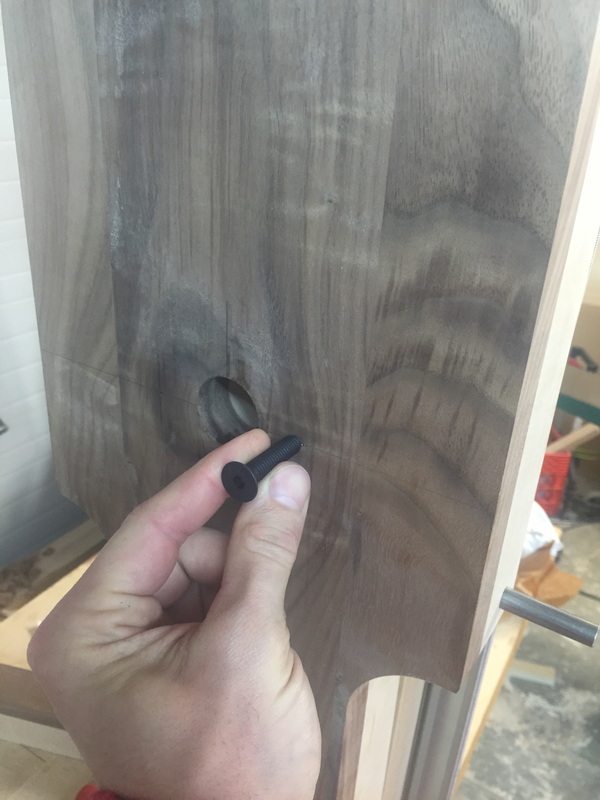 Here we are, a lot of work to get this far. I'd like to thank all the club members that have been involved in getting us this far I feel pretty confident that we are a good ways past half way. I think we have a good chance of finishing in time for the Artistry in wood show! 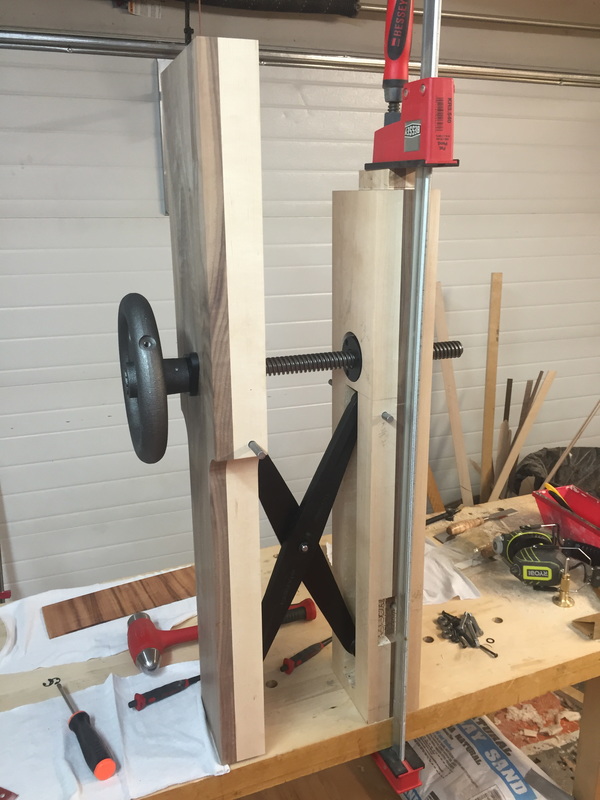
2 Comments
My grandpa passed away about 11 years ago around the time I got married. A few years ago, I was looking around his old garage and found an old hand plane sitting on a shelf. I was surprised because I did not know him to be a wood worker. I took the plane home with the hope of restoring it but it ended up sitting on the shelf for another few years. Today, one of the club members came over to work on the club bench. He also has experience tuning and restoring old hand planes. He showed me how to tune up and work on it. Now I am happy to say my grandpas old plane is now in working condition. Now I will be able to pass this down to my children. 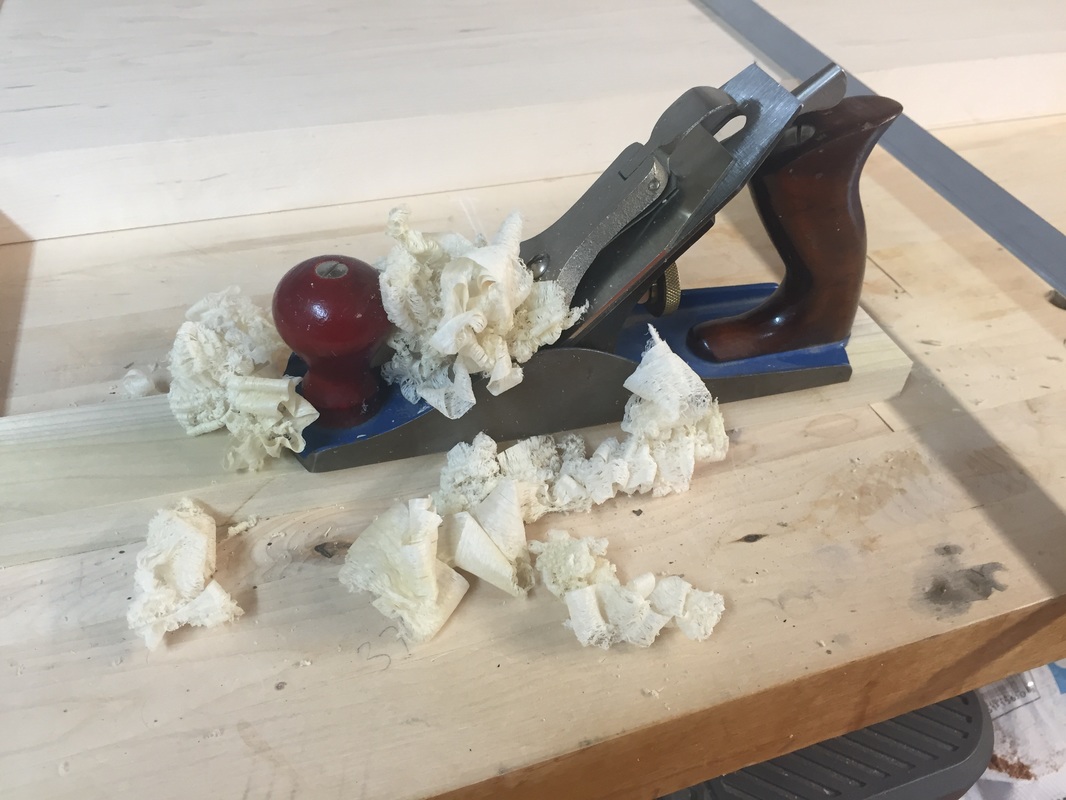 Today was all about the leg vise and chop. We cut the holes in the leg for the all thread and the flange. 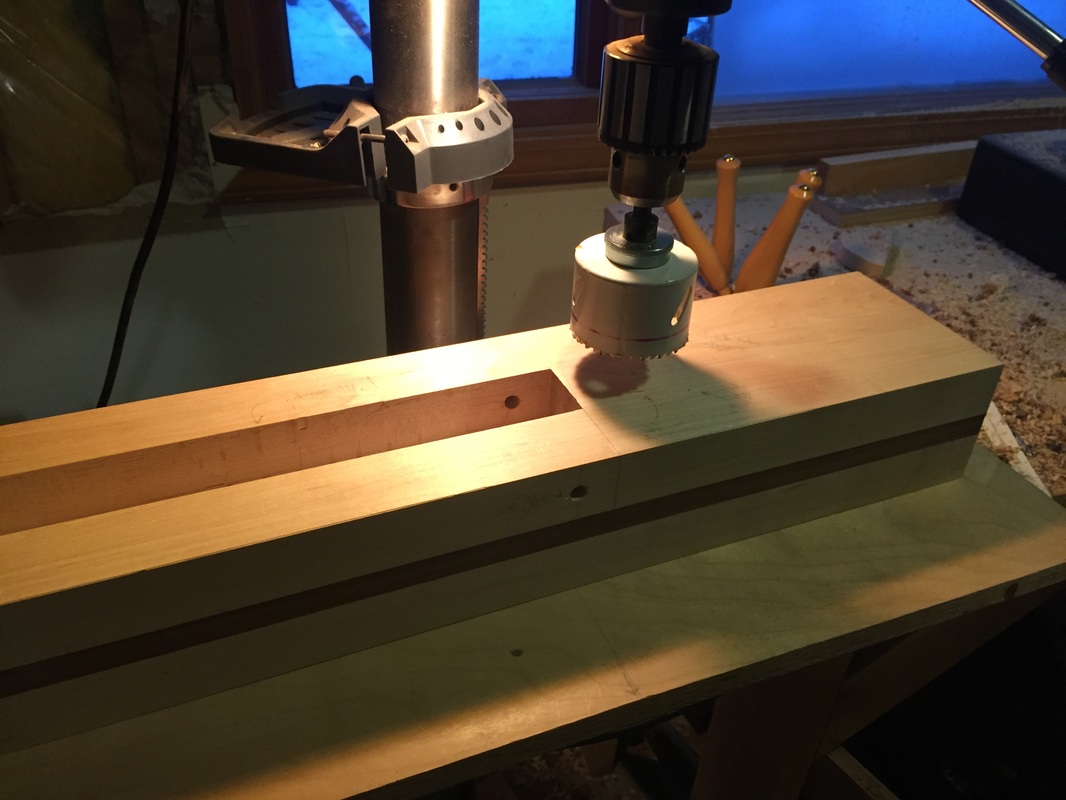 Next I cleaned up the inside faces of the legs to get them ready for glue up. I used a number 4 1/4 plane that I picked up from Lee Valley. 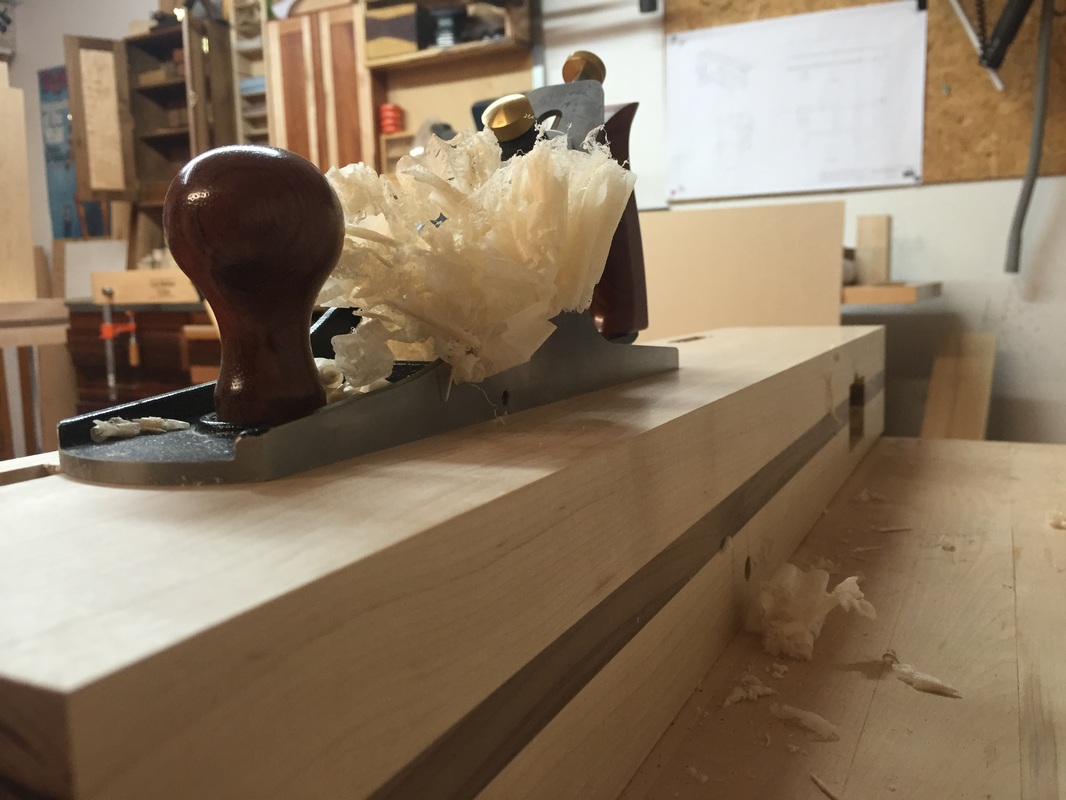 Here's Jeremy sneaking around behind a clamp bush! Tomorrow we should be ready to pull it from the clamps and cut the chop mortise and all thread hole. 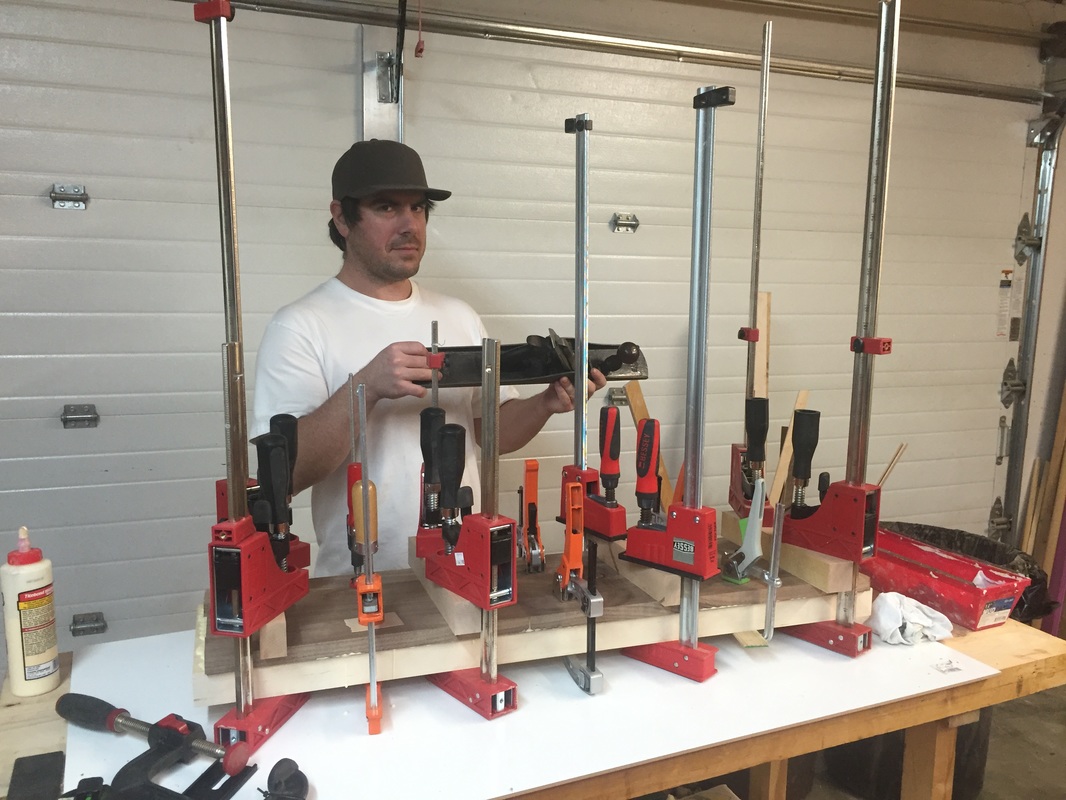 So here it is Tuesday on week 2? or is it 3? We've got about 2ish weeks left to try and get this woodworking masterpiece done if we are going to display it in the Artistry in Wood show that starts in the middle of next month. At this point that looks like a tall order but still doable. Started my day with chopping out the massive leg vise mortise. Did most with the mortiser and finished it off with my Festool router and edge guide. Now had I had the bigger router I would have elected to do the whole thing with it but the mortiser did the job fine. 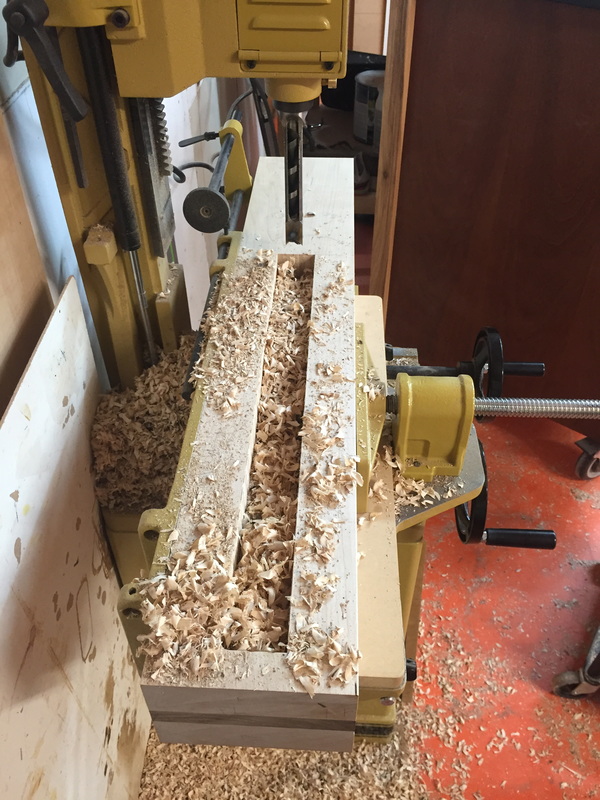 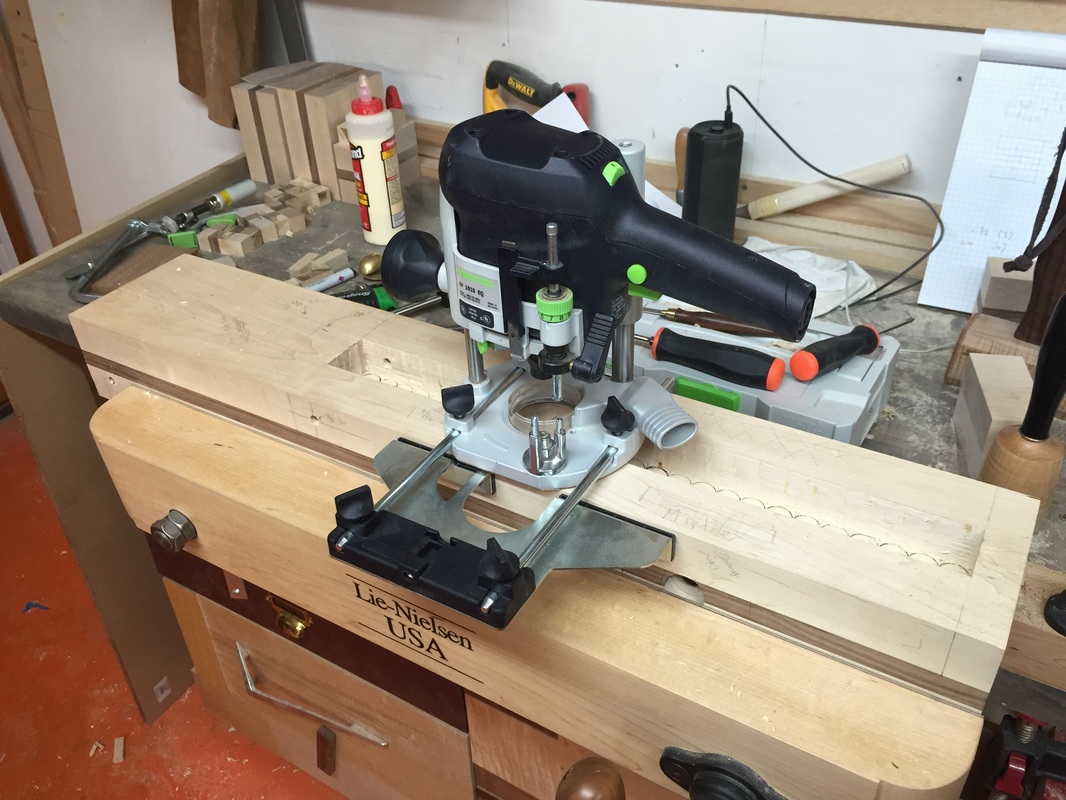 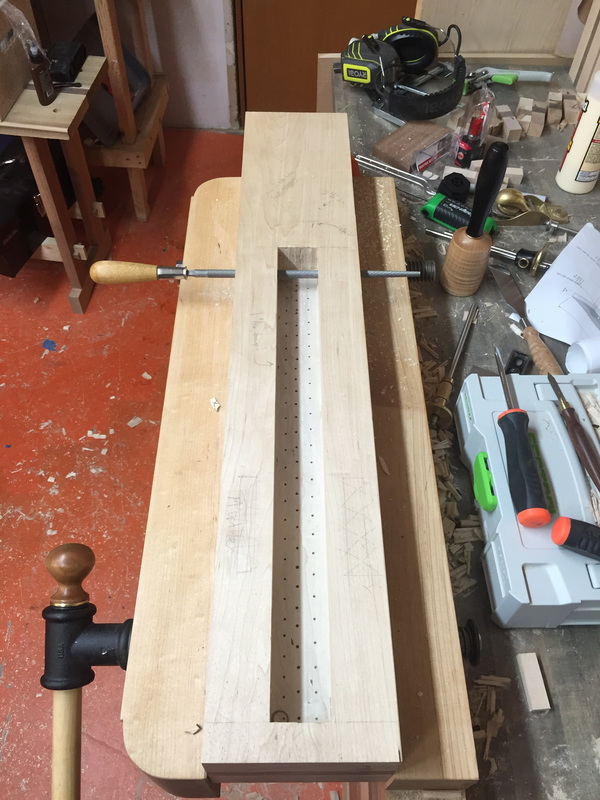 Here she is finally ready for some finish sanding and a few grooves for the lower shelves. I've placed half of the leg vise assembly in the mortise so you can get an idea of how it will mount. 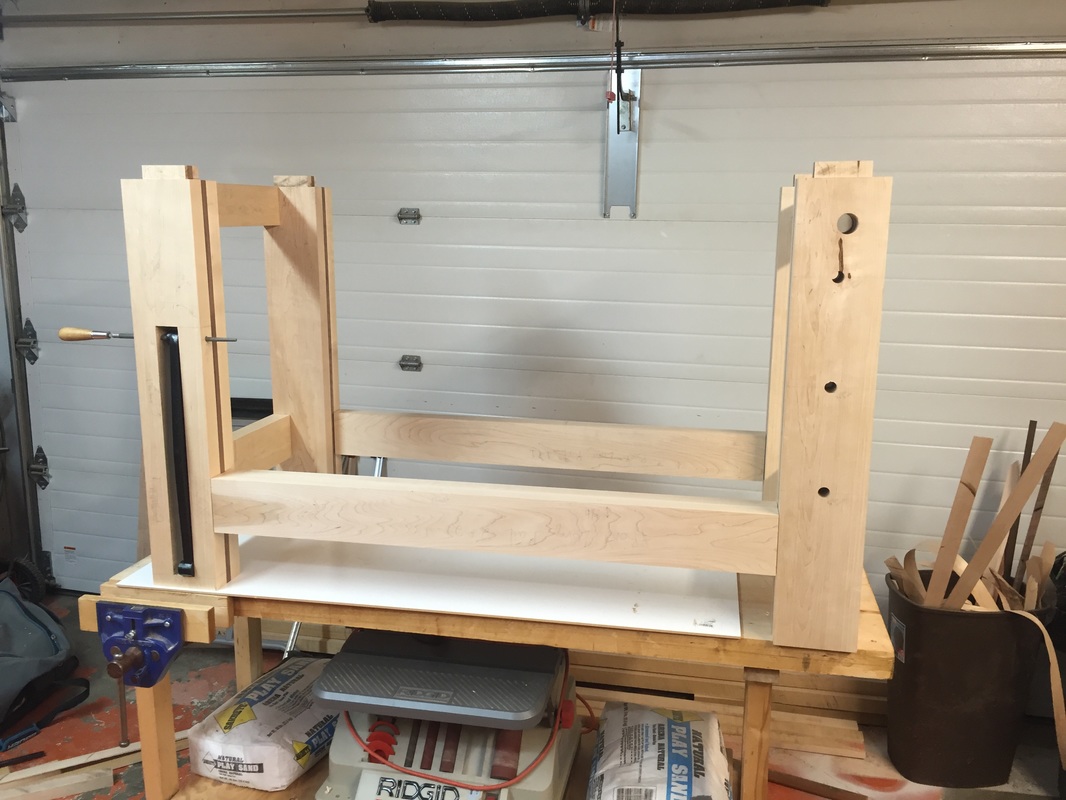 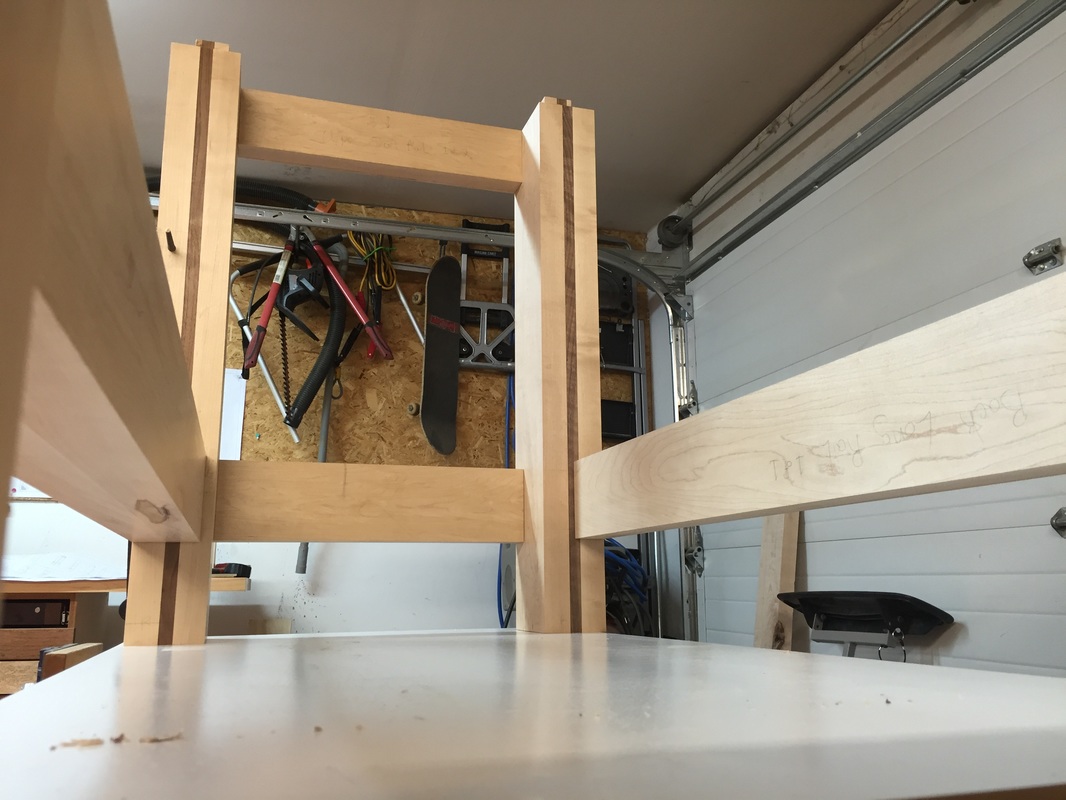 You can see below that the draw bore holes have been drilled in the legs but not the tenons. I will use a drill bit to mark the location of the hole on the tenon through the leg, then I will dis assemble the leg and drill the hole about 1/32" over from the mark. This way when the leg is assembled the oak dowel will pull the joint together when it is hammered in place. 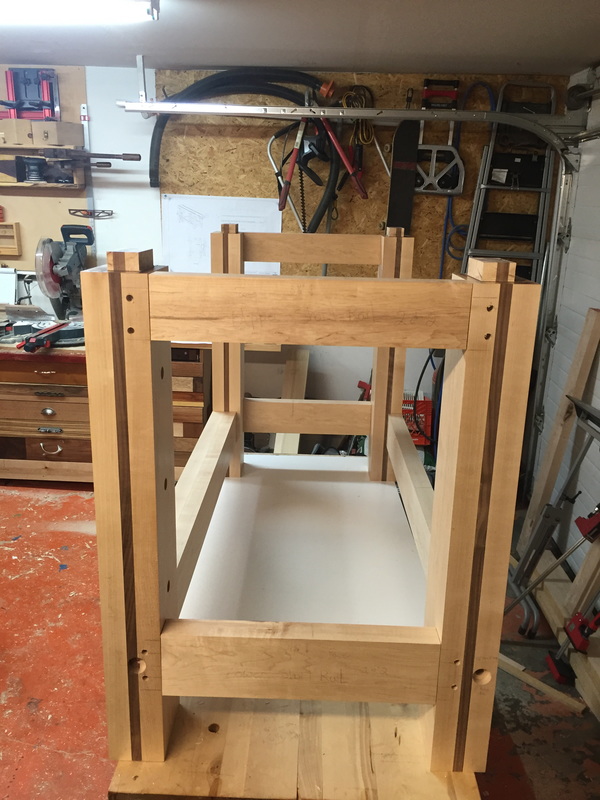 Did you know that woodworking could be this much fun? Not much got done over the weekend but I did manage to pose for this picture. 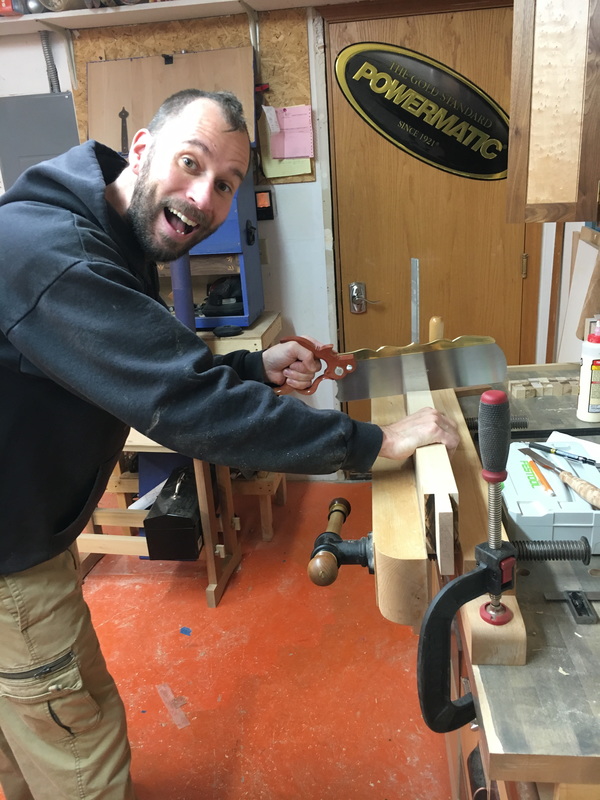 All of the short stretches have been fit now they are awaiting layout for the draw bore holes. The front and back long stretchers have also been cut to length and the layout for their tenons is done. She's starting to look like something now, maybe a table? or a child's day bed. 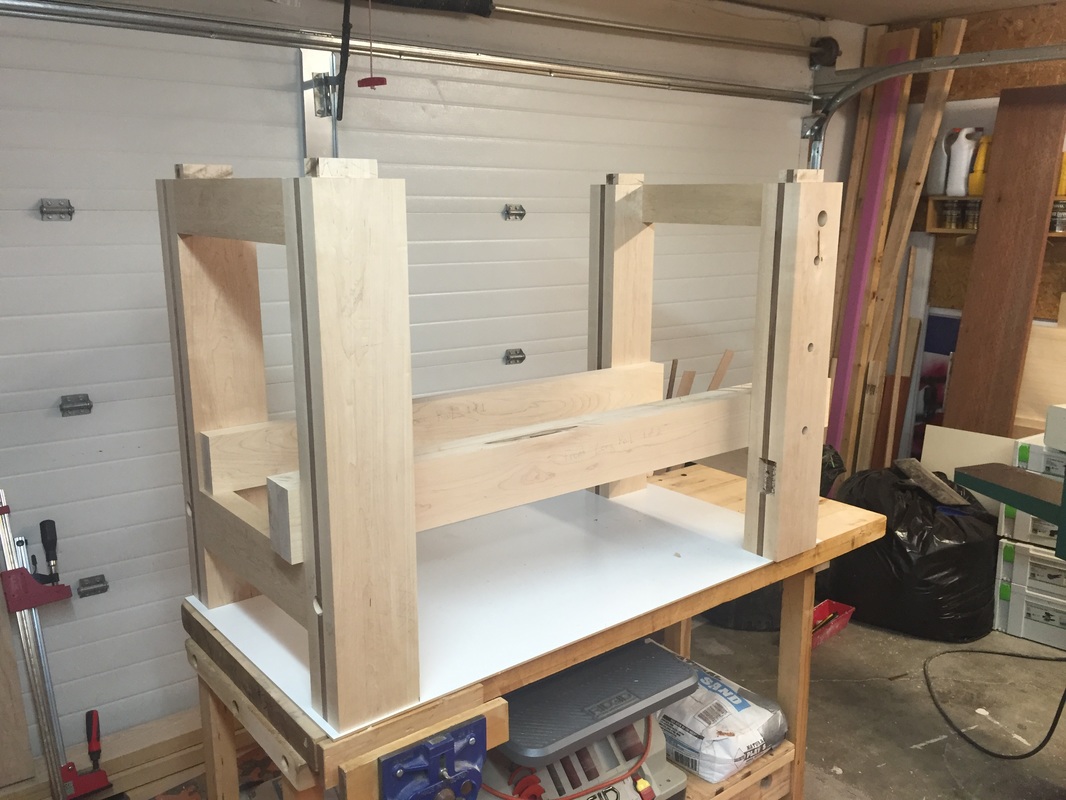 To cut the tenons I clamped them upright on the crosscut sled and cut all the shoulders. Then moved the stop block and cut the cheeks off. 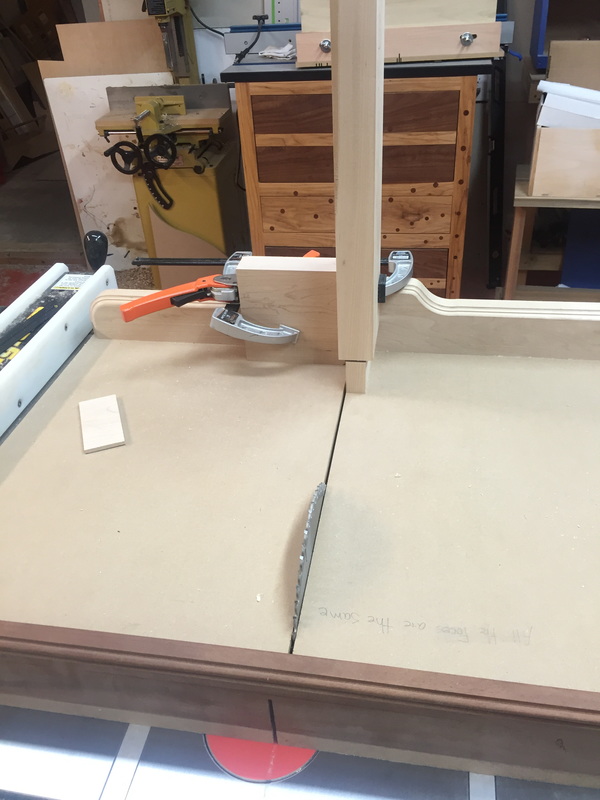 Here it is Monday morning and I am all alone fitting the long stretchers into their legs. Almost everything has gone very well up to this point hopefully my luck continues. Once the last 2 tenons are fit then we will be ready for the leg vise hardware and glue up of the base. That hopefully will come on the next blog entry! 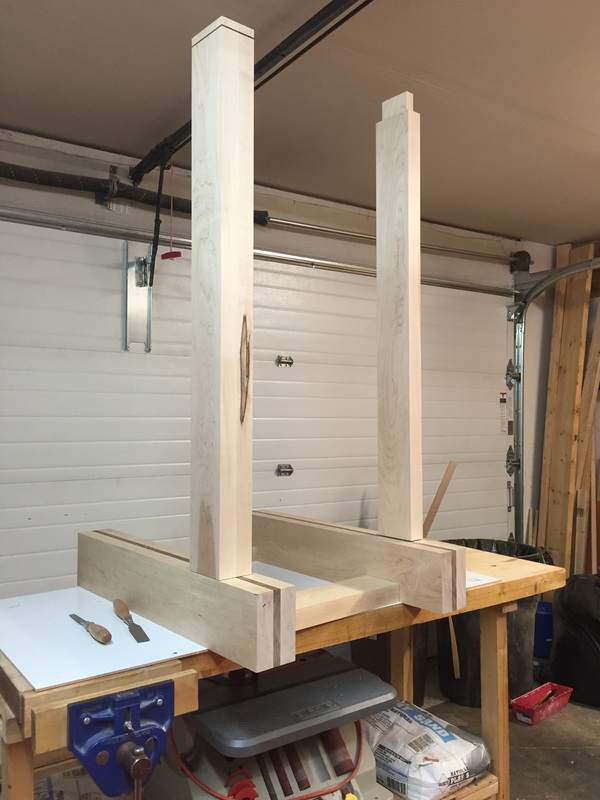 Have you ever tried to cut tenons with a blade you have not sharpened in 2 years? it does not work so well, I learned how to make smoke signals at least. Alright on to a new blade and things were moving well today. We cut all the tenons on the short lower and upper stretchers and started to fit them with a shoulder plane. 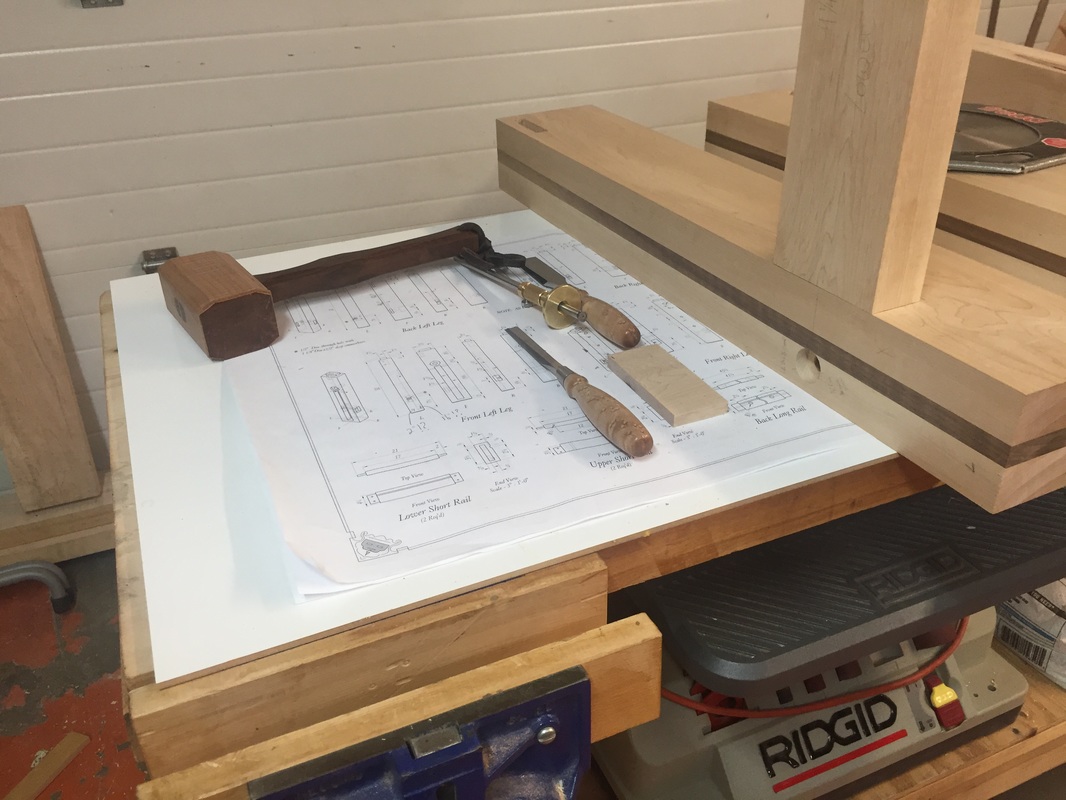 I was feeling like doing some hand work so I finished off all the shoulder with my new tenon saw from Ron Bontz. A little more work with the shoulder plane and pairing chisel and they should fit nicely. 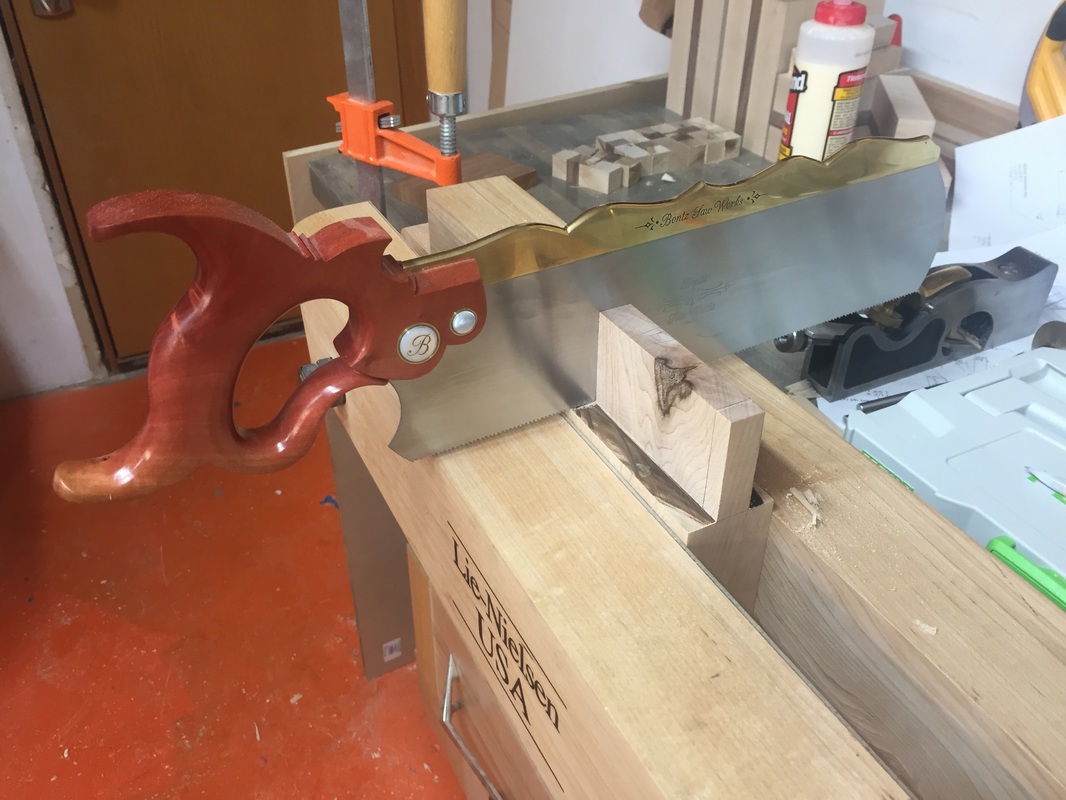 Everything is coming together now. A few more cuts and drill the draw bore holes then we will be ready to move on to the front and back stretchers. 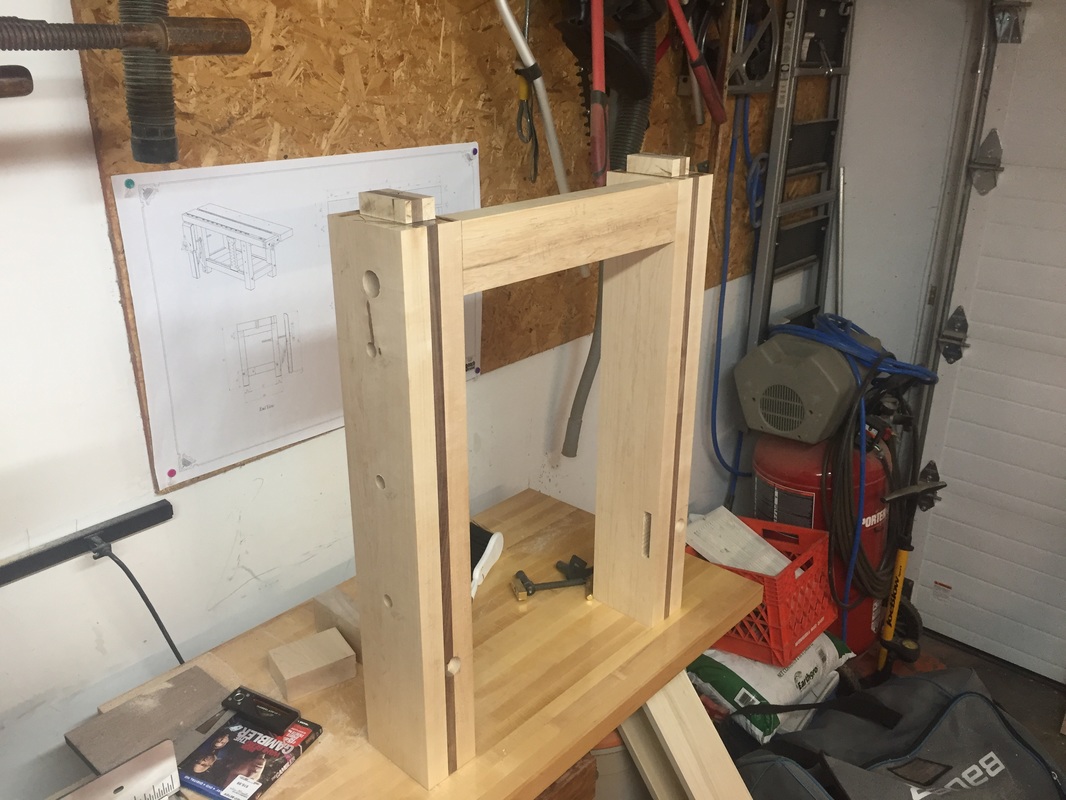 Today was action packed, we cut all the 1/2" through holes and counter bores. We cut all of the tenons which will need a little clean up with a shoulder plane. I also cut most of the mortises. Upon cutting the through holes we figured out that the carriage bolts were way too tight of a fit, so we bored them out just a bit with a hand drill now they slide right in. 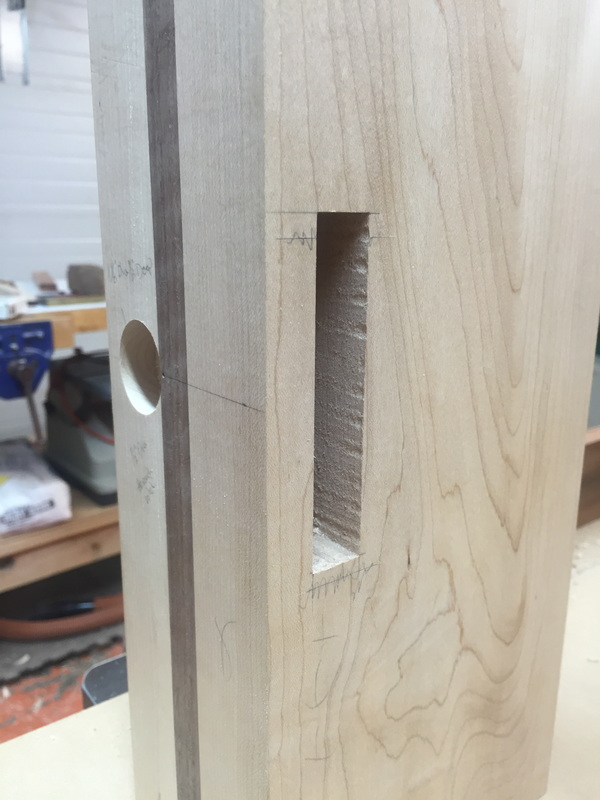 My Powermatic mortising machine made short work of all the mortises but you had to be careful on the second pass not to deflect the bit into the open cut. 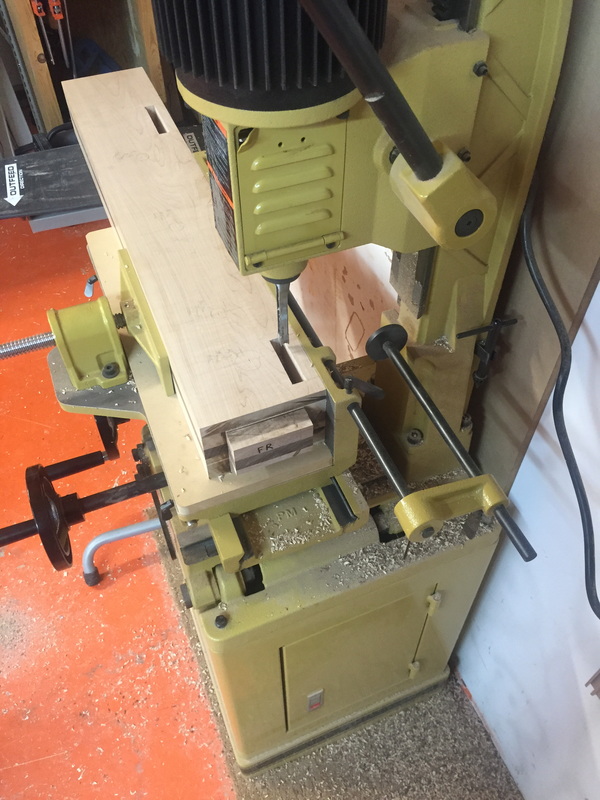 Hopefully tomorrow I will have all the leg work (hahaha) done so we can start to fit the stretchers. Its possible this thing will start to look similar to a workbench soon.
 Well its not everyday you spend 4 or 5 hours in the wood shop and don't really do any cutting. Today was one of those days, myself and another club member spent our time laying out all of the mortises and tenons on the legs. As you can see from the leg second from the left we apparently do not practice the whole measure twice cut once thing, but its ok because there is a mortise there (we got lucky).
Hopefully tomorrow we can get another set of eyes on our layout so we can start cutting everything. Then it will be on to the stretchers, you should always stretch after you do legs! Today I had to take on the bench build solo. I finished milling the legs to final width, height, and length. I set up a stop on the miter saw in order to ensure all for legs were exactly the same length, nothing worse than a rocking bench you just spent a month building! 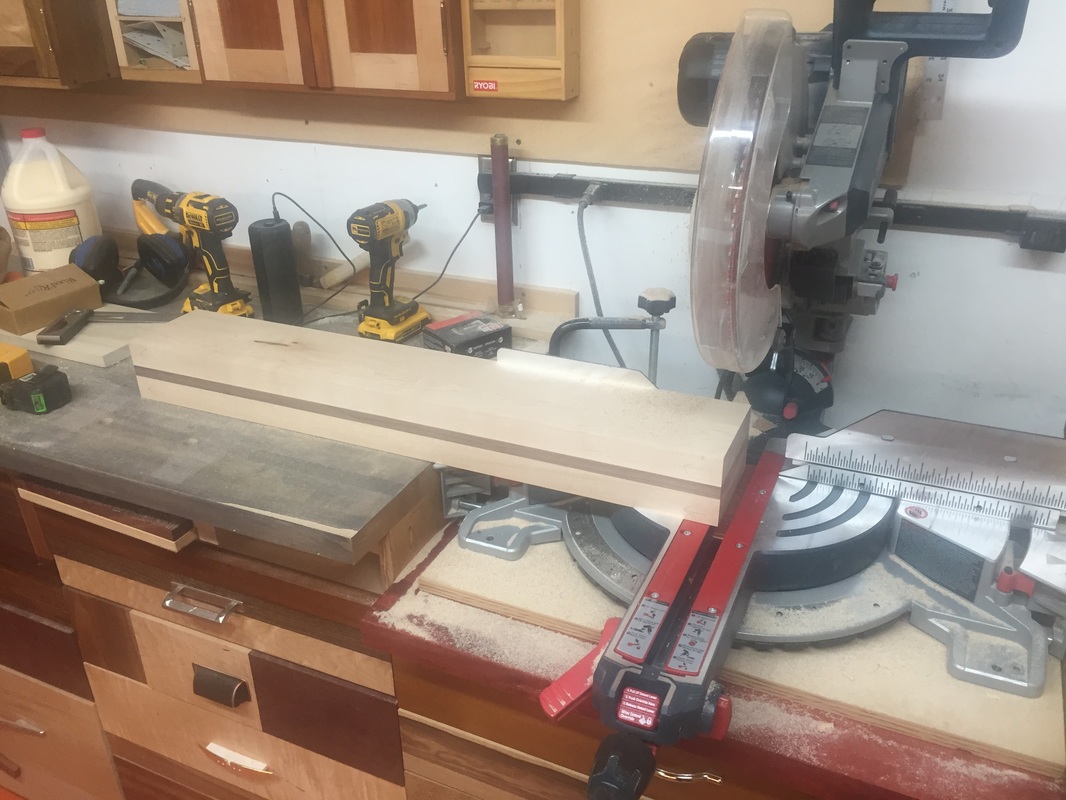 Next came the standing them up and deciding which piece I wanted where. You want the best looking faces in the most visible areas. 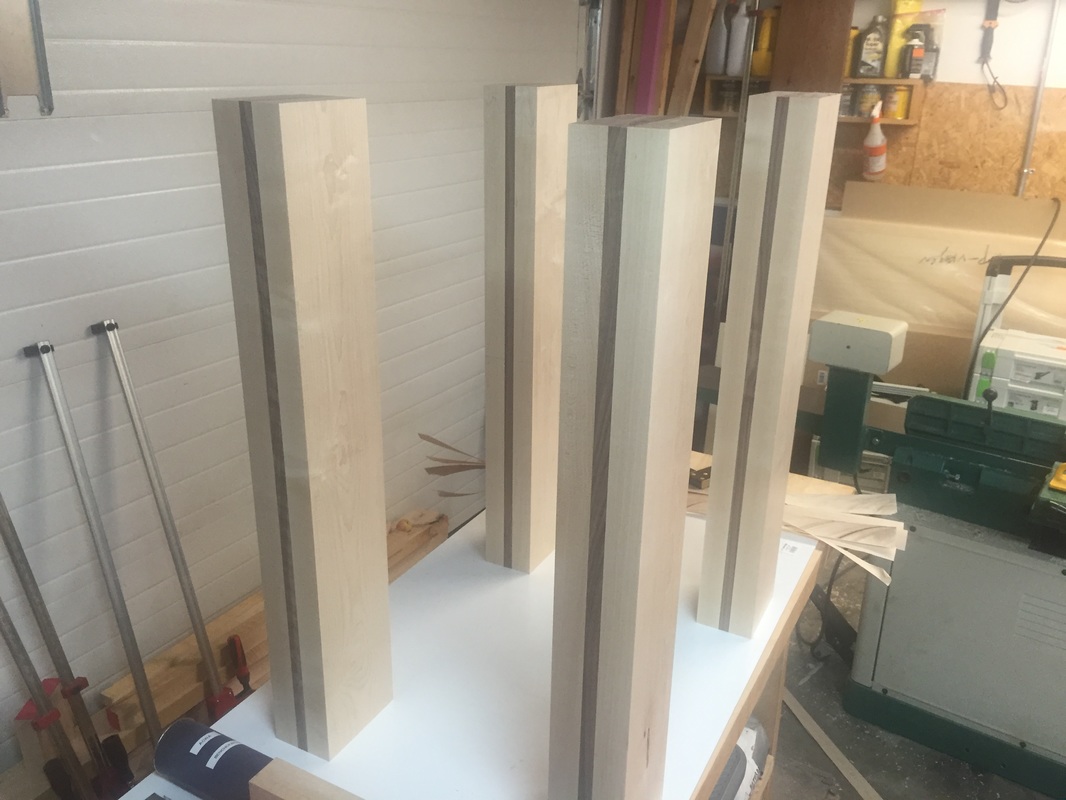 Lastly I marked the legs according to the plans so there would be no confusion when it comes time to layout the many many mortises. 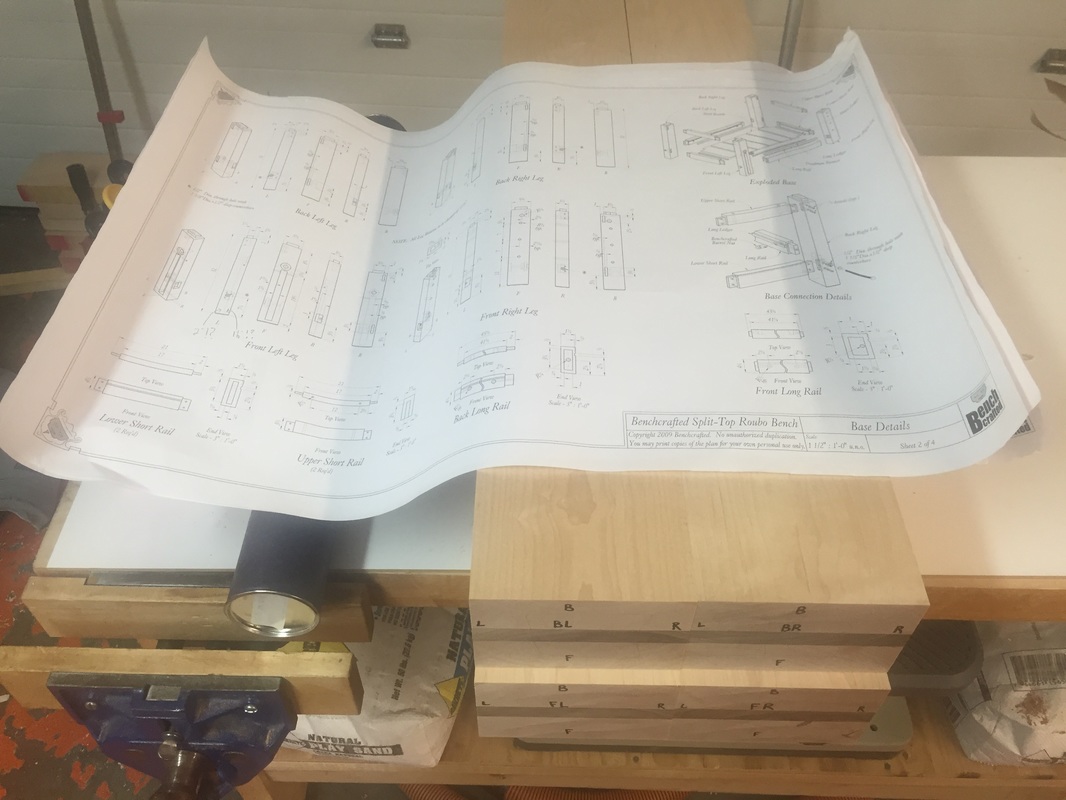 So let me fill you in, two years ago our club bought a bench from Lie Nielson to raffle off and make a little money for the club. Everything worked out great as we sold all the tickets and someone was very happy with their new bench. The thing is is that we are a woodworking club, why wouldn't we build and raffle a bench ourselves? Well after letting that stew for about a year the club bit the bullet and ordered the hardware to build a nice split top workbench. Fast forward to today and construction is under way. Now most of us have some sort of background in fine woodworking but this will challenge are skills and hopefully help us develop some new ones. 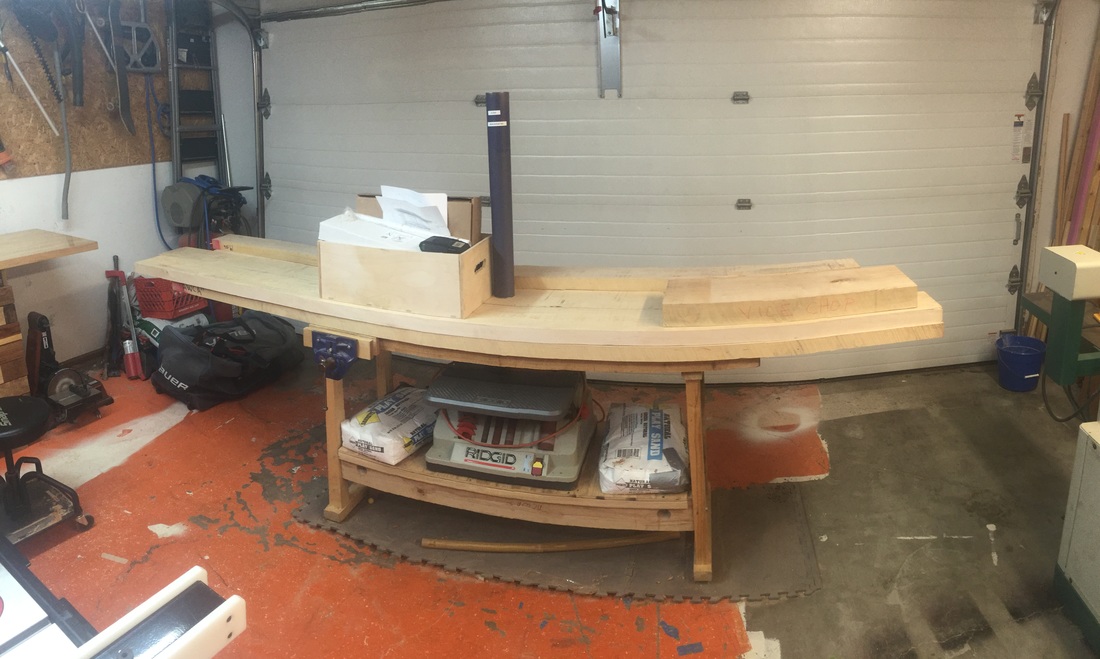 The last couple of days we worked on milling the rough lumber square for the 4 massive 5"x3.5" legs. We had to laminate 3 boards together to get the proper thickness, we decided to go with Maple 7/4 on the outsides and Walnut 2/4 in the middle. 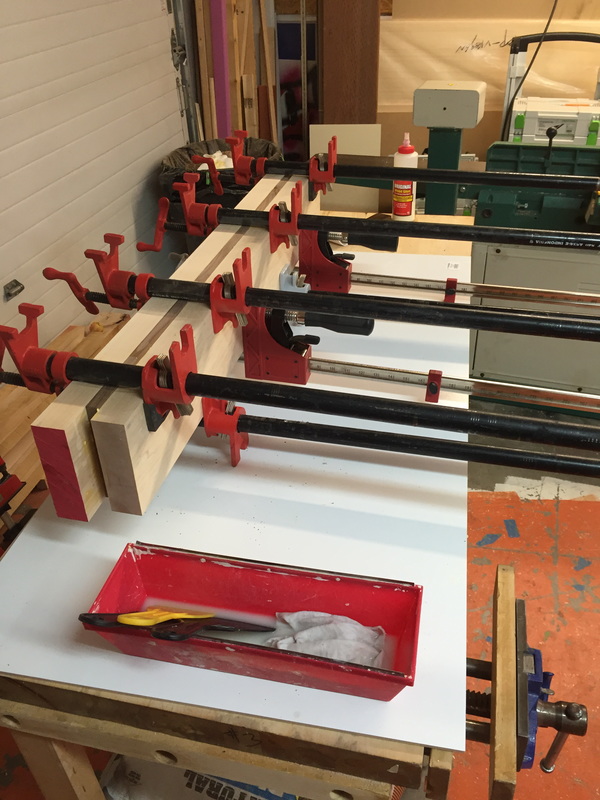 |
AuthorGoogle told me that if I started a blog my page ranking would go up! So here it goes. Archives
March 2016
Categories |
 RSS Feed