|
I had a little bit of time some I thought I would build my wife a step stool for the kitchen, after all she is only 5' tall. I started with a small Poplar board that I had lying around and cut the steps and sides to finished length. 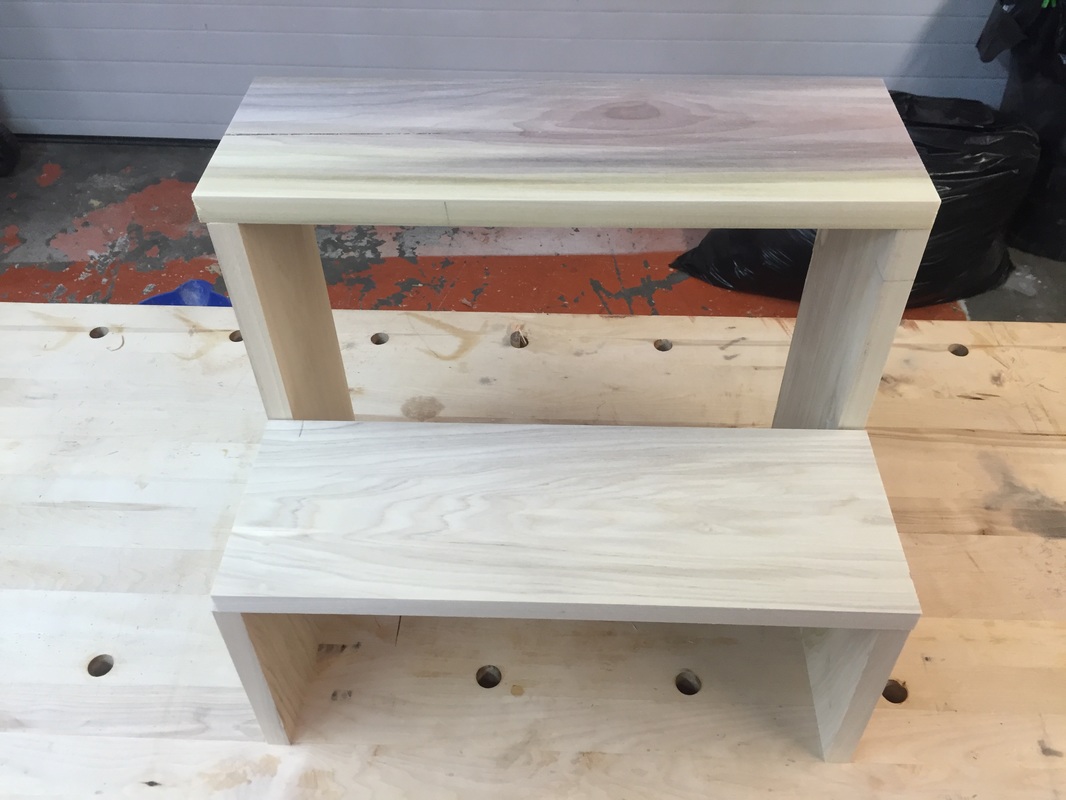 One of the boards had a crack on the end that I needed to deal with. I decided on a standard bow tie but with a curve on the ends. 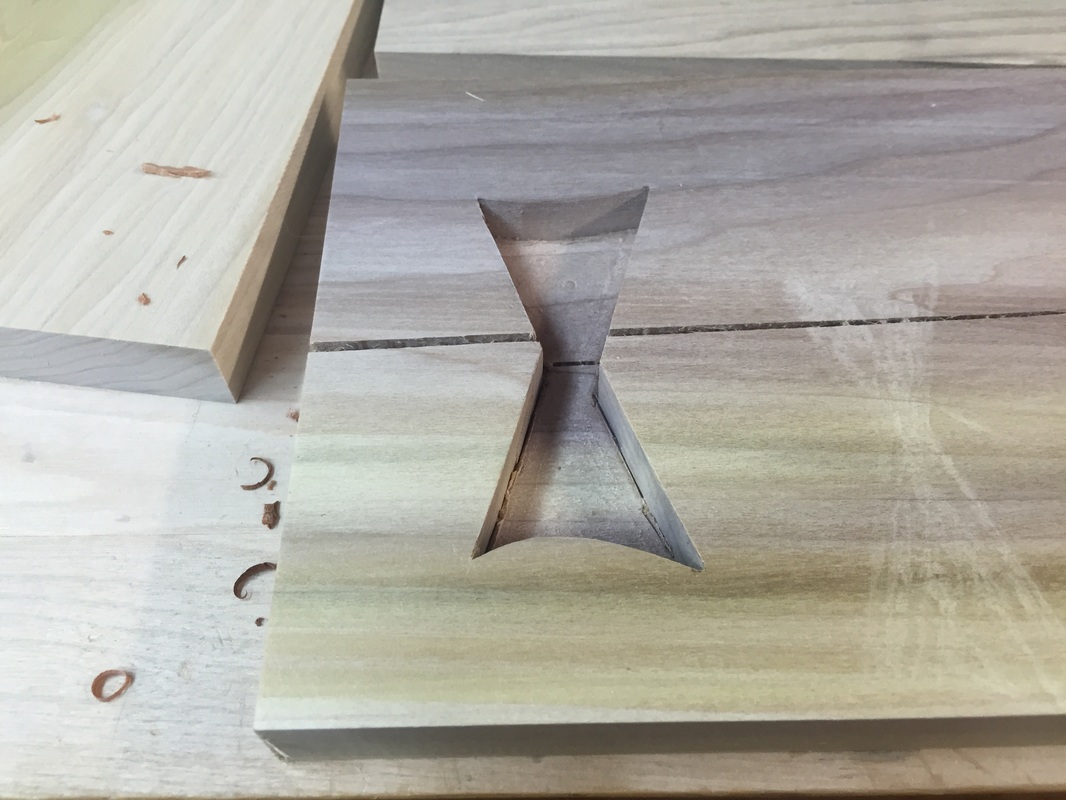 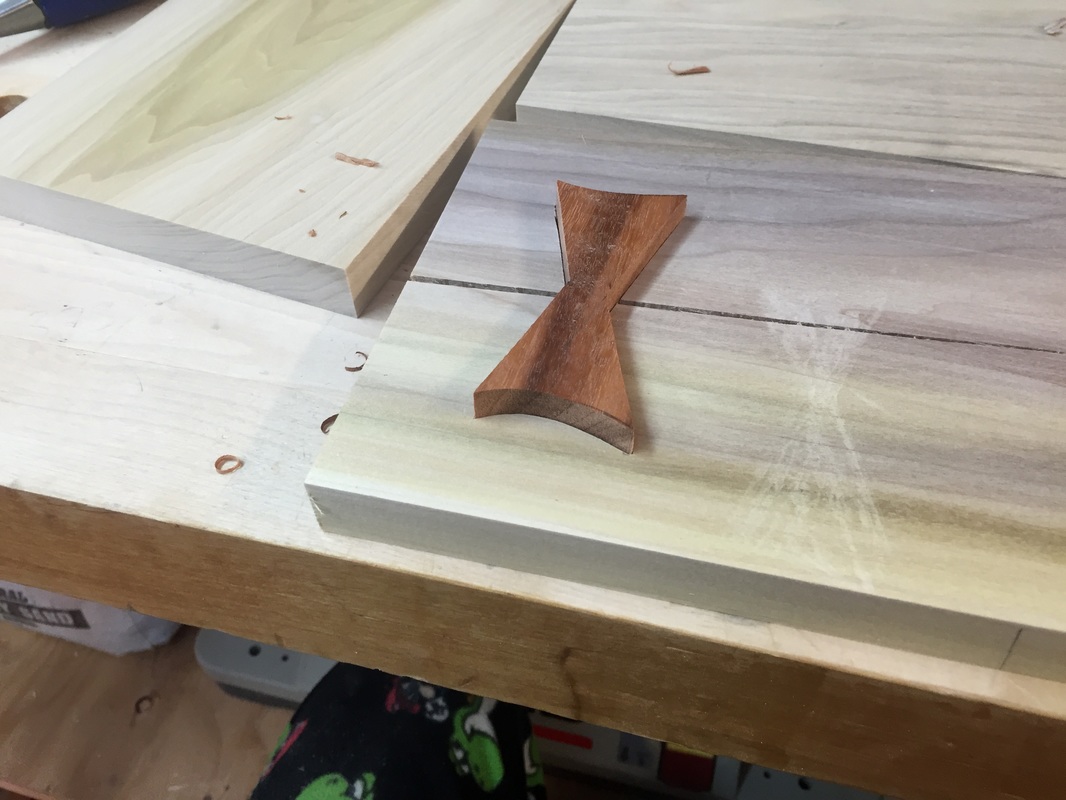 The next step was to hand cut the dovetails and then glue the 2 pin boards together. 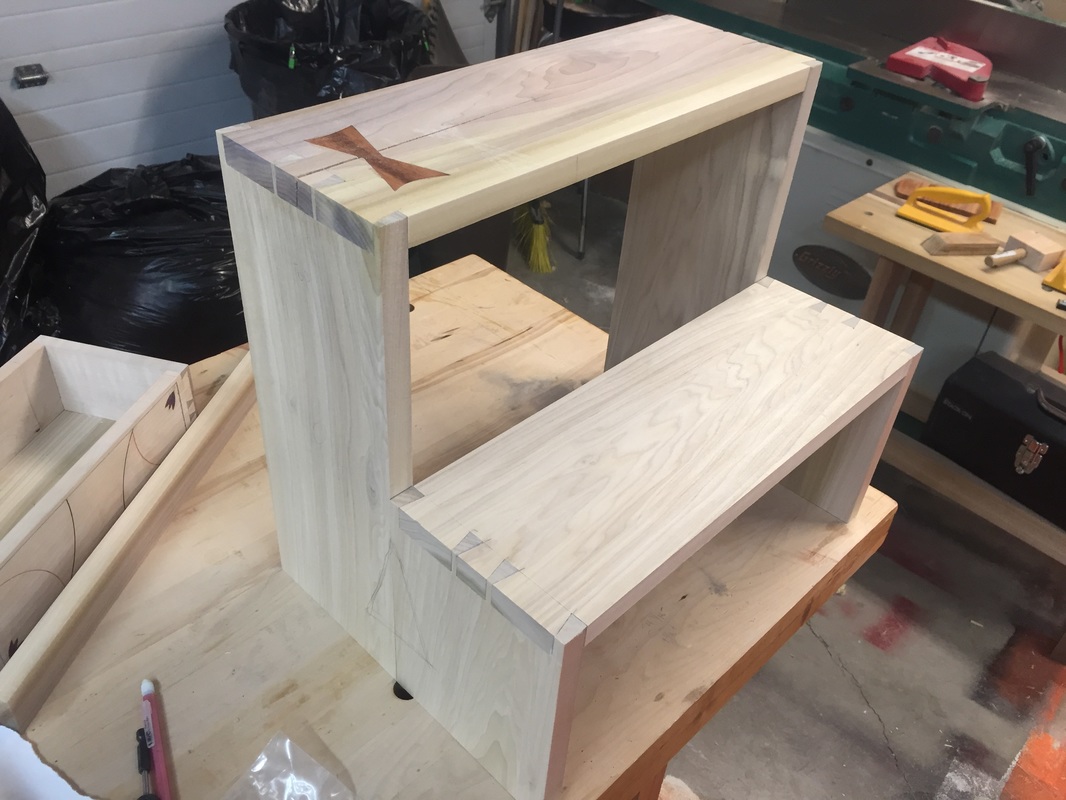 I needed to add a stretcher in the back to help keep the stool from splitting apart when you stand on it. 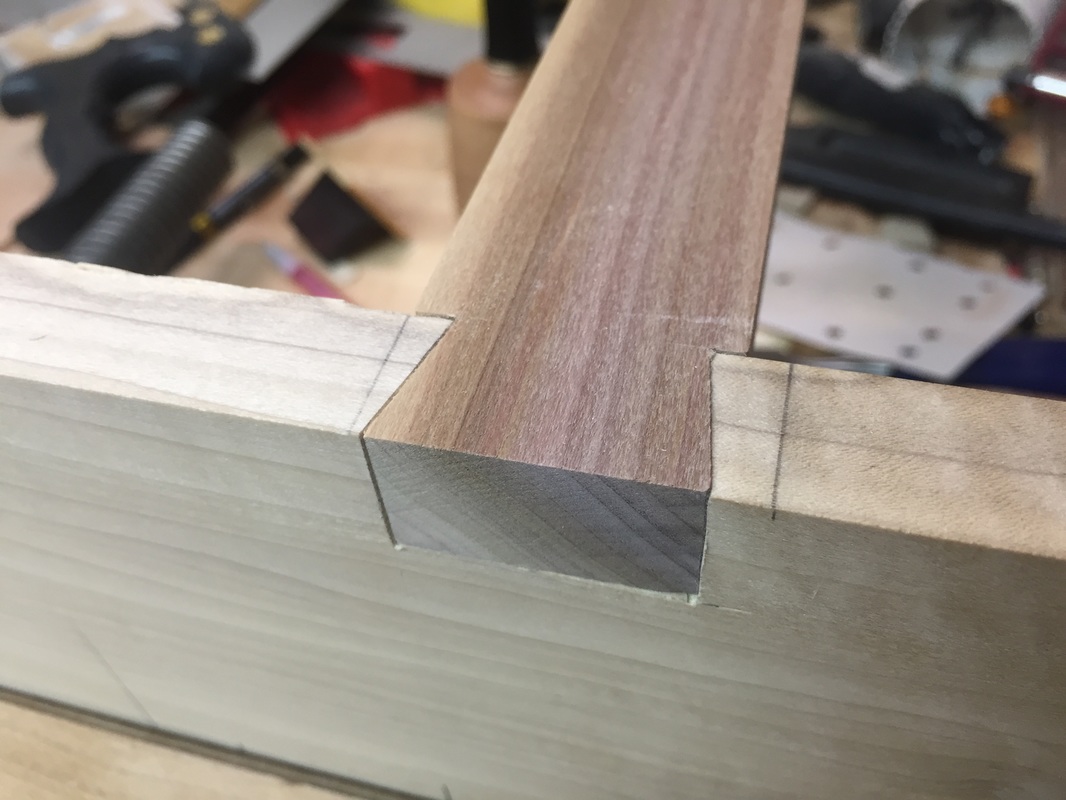 Before I was done with construction a new studio lighting kit that I had ordered came in the mail and I was eager to check it out! 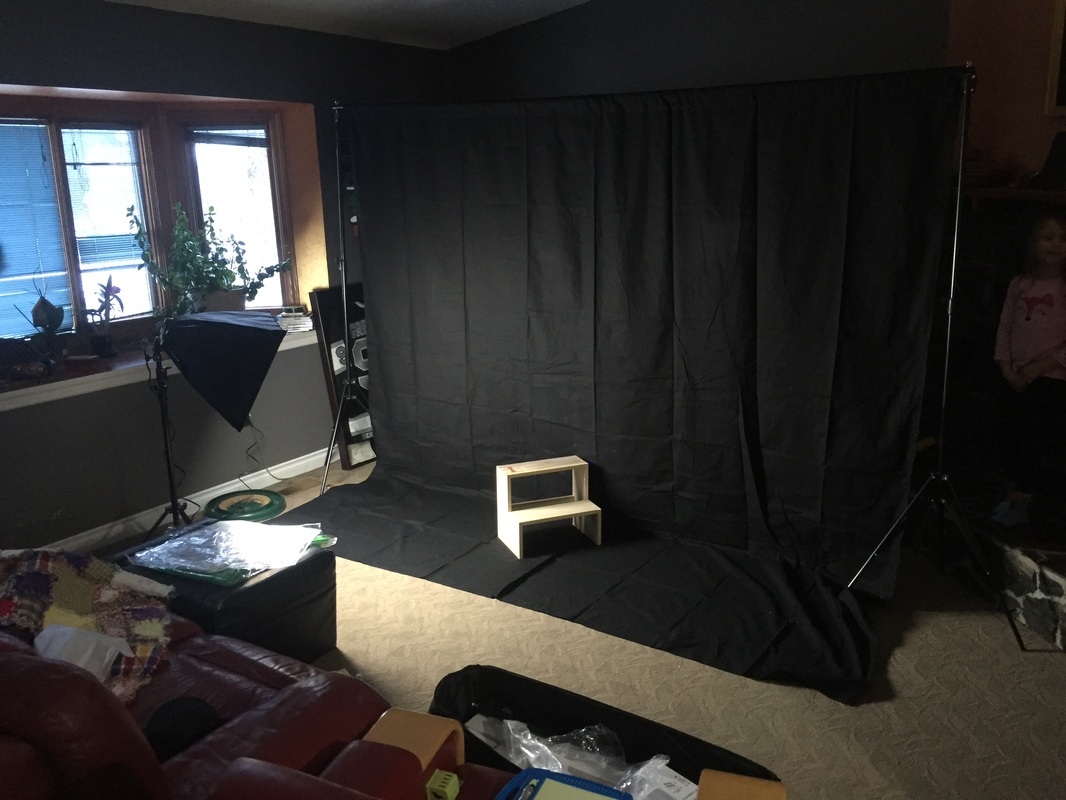 Put 2 coats of Danish oil on and she is ready for delivery. 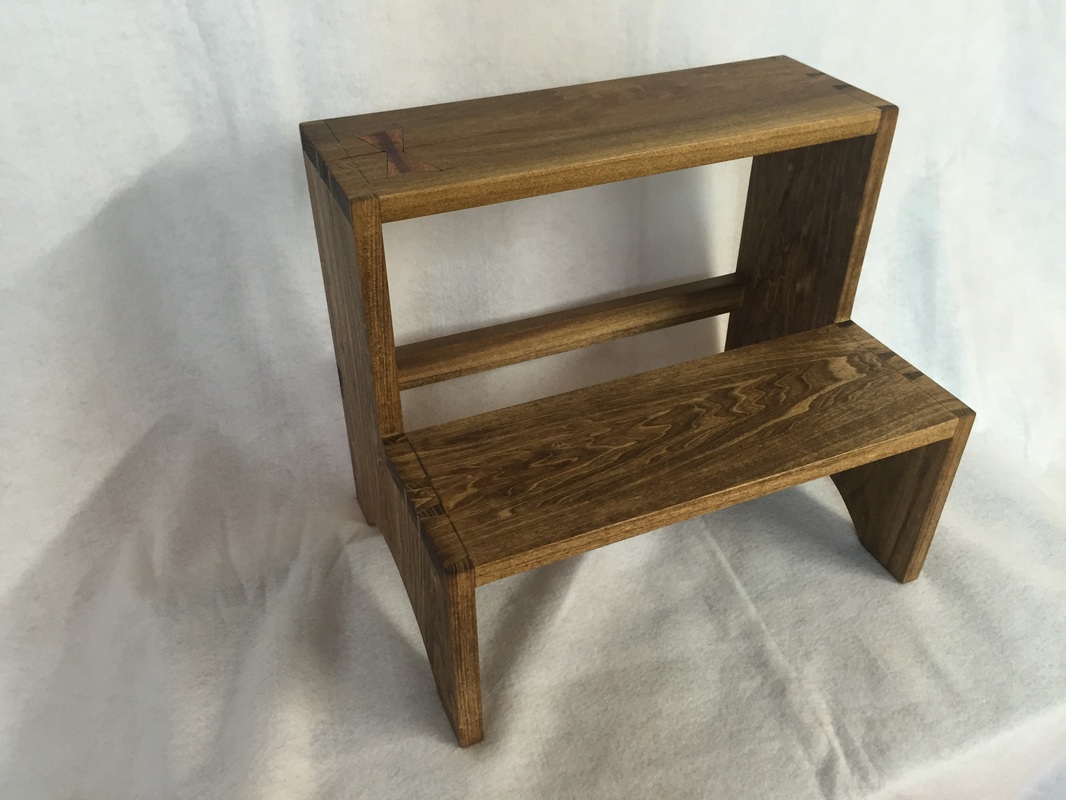 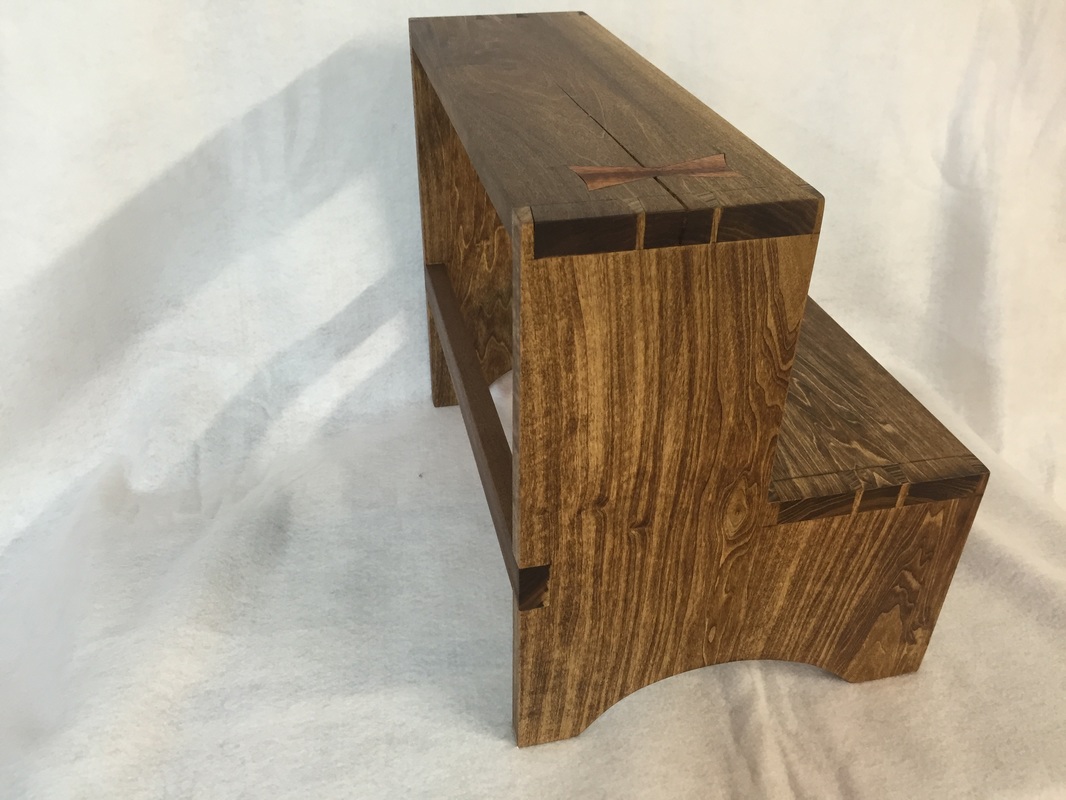
2 Comments
The basic construction of the crate is done now I can work on outfitting the inside, which is the fun part. I used a router with a V groove to rout the design then I filled it with orange acrylic paint and sanded the top off. 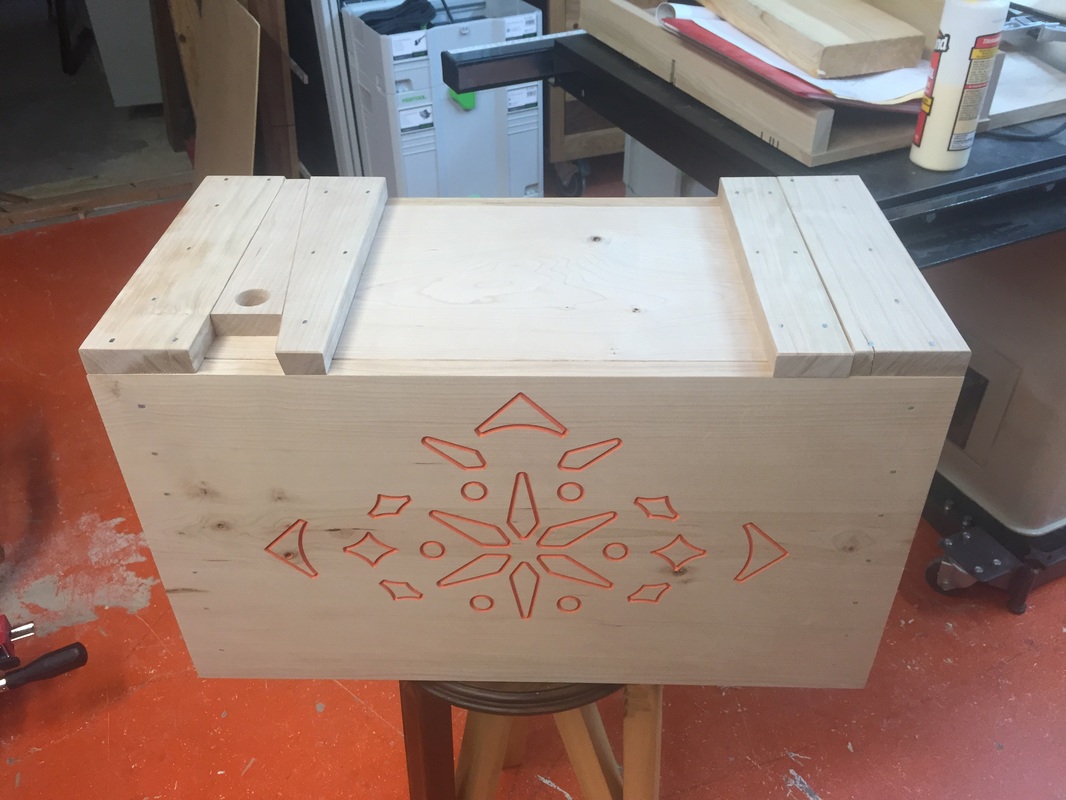 I started form the bottom up by adding a saw till and a divided area for hand planes. 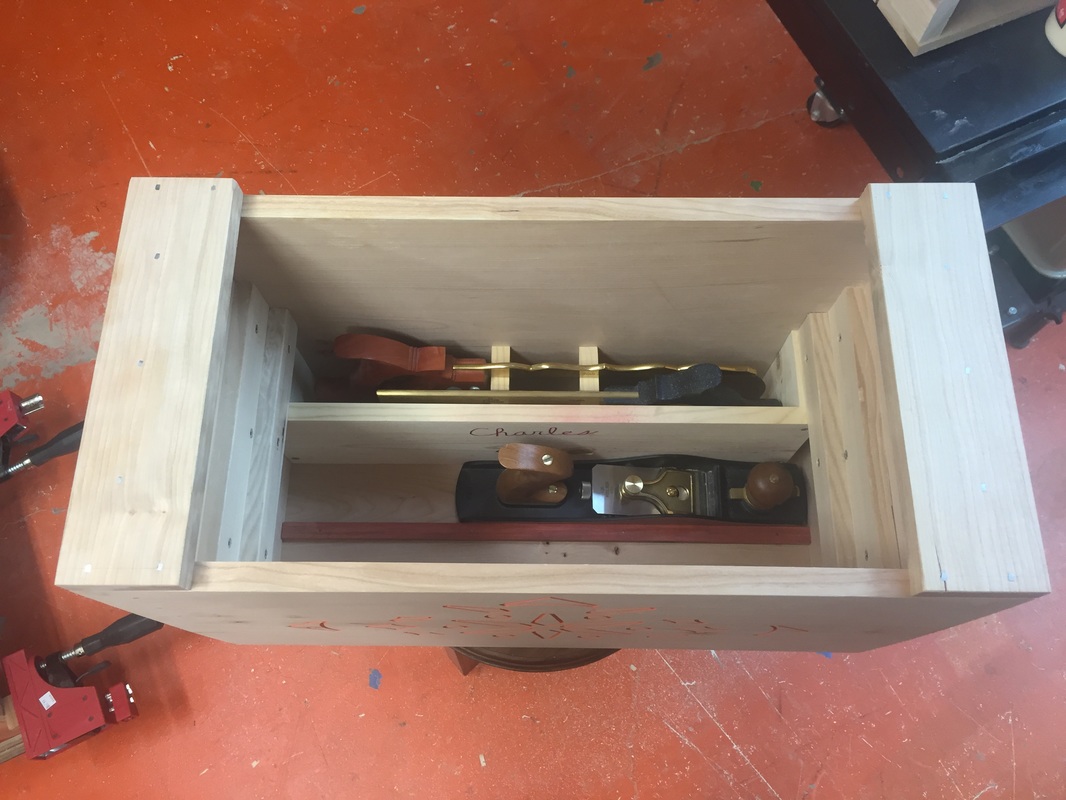 Next I added a few sliding trays to store the loose tools and marking gear. 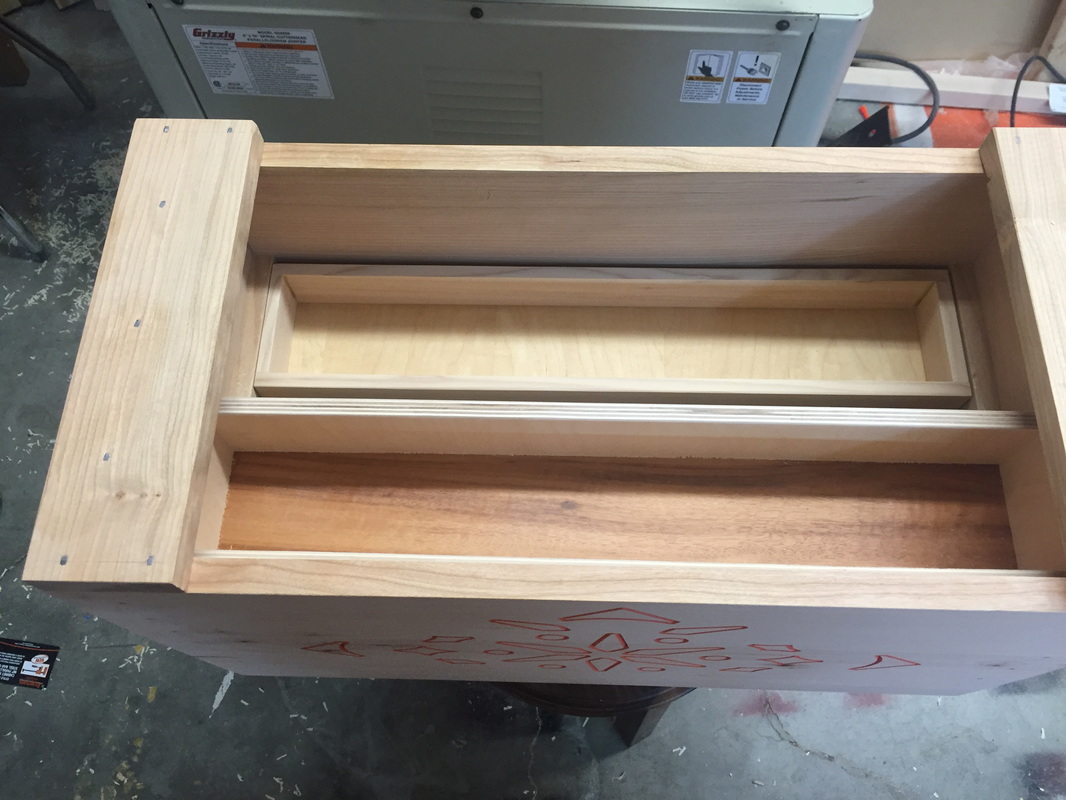 All done! Now I need to fill it with tools.
I don't think any of us have enough tool storage but I am happy to say I think I'm getting close! A couple of years ago I built a rather large workbench with 21 drawers, now this managed to supply almost all of the hand tool storage that I needed but something was missing. About a year later I built a Dutch tool chest in a class taught by Chris Schwarz, I liked this chest because it keep my most used tools at arms reach. The problem is that when the chest is loaded with tools it is very heavy. And for a chest that is supposed to be mobile this was a problem. There was no way I could carry it by myself to and from shows and classes. All of this brings me to today's project, a Japanese Tool Crate. It is about 30% smaller than its Dutch counterpart and is quite a bit easier to carry. 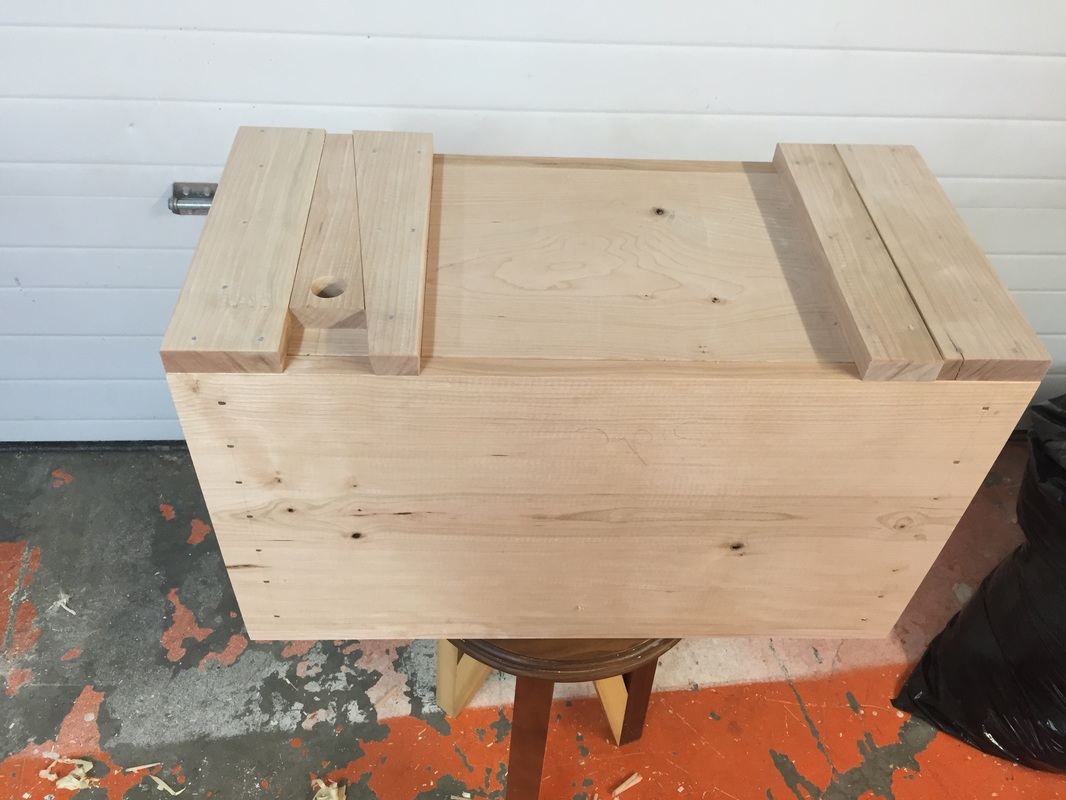 It uses a wedged lid system to lock the lid in place and prevent any tools from falling out if it tips over. All of the pictures I found showed them put together with nails, so I figured when in Rome, building a Japanese chest, to replace a Dutch one, I should use English cut nails. It made sense to me. 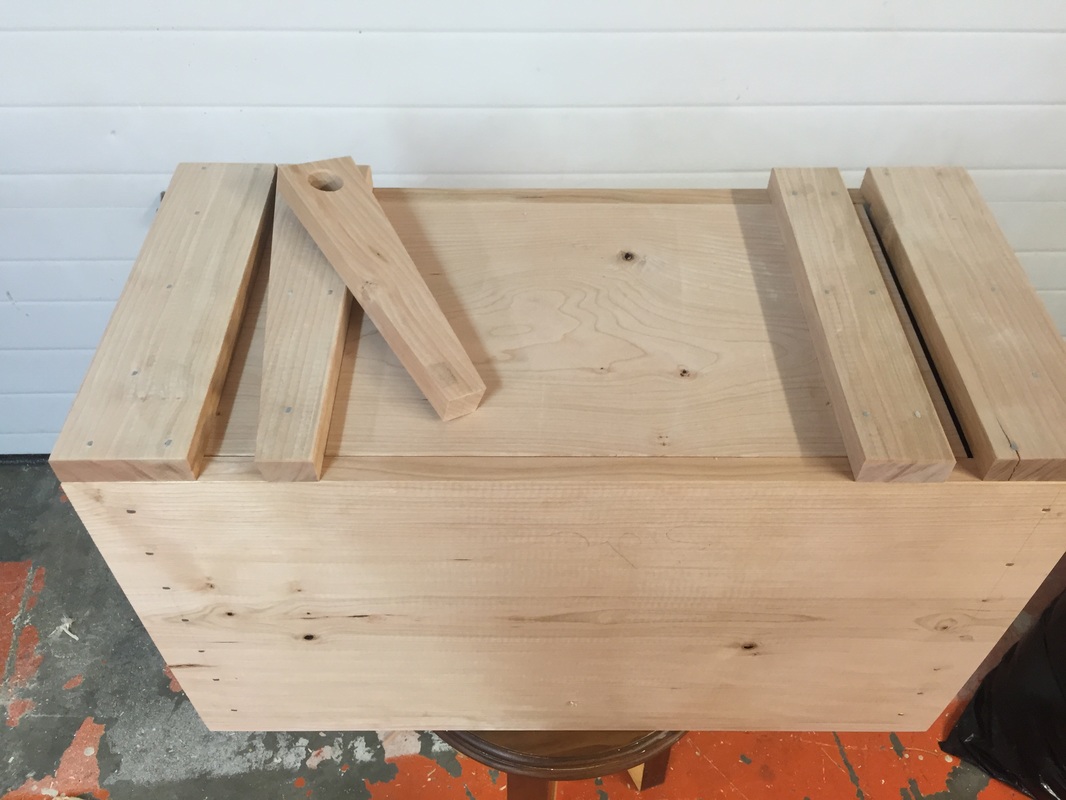 I also put Teak runners on the bottom. They will keep the cherry off the ground and teak can handle water like a pro with no finish. 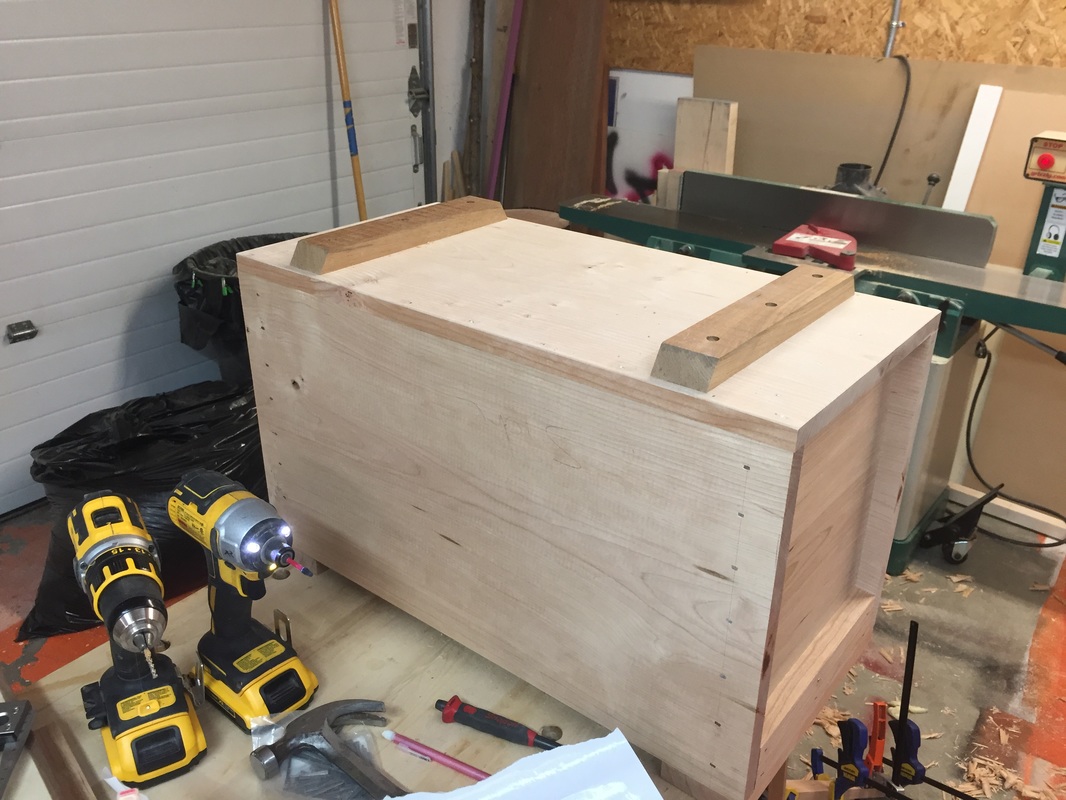 I will work next week on outfitting the inside with saw tills and racks for chisels and layout tools etc...
Now that the bench is finished I have been able to turn my attention to a few other projects. Like this Maple and Tigerwood jewelry box. 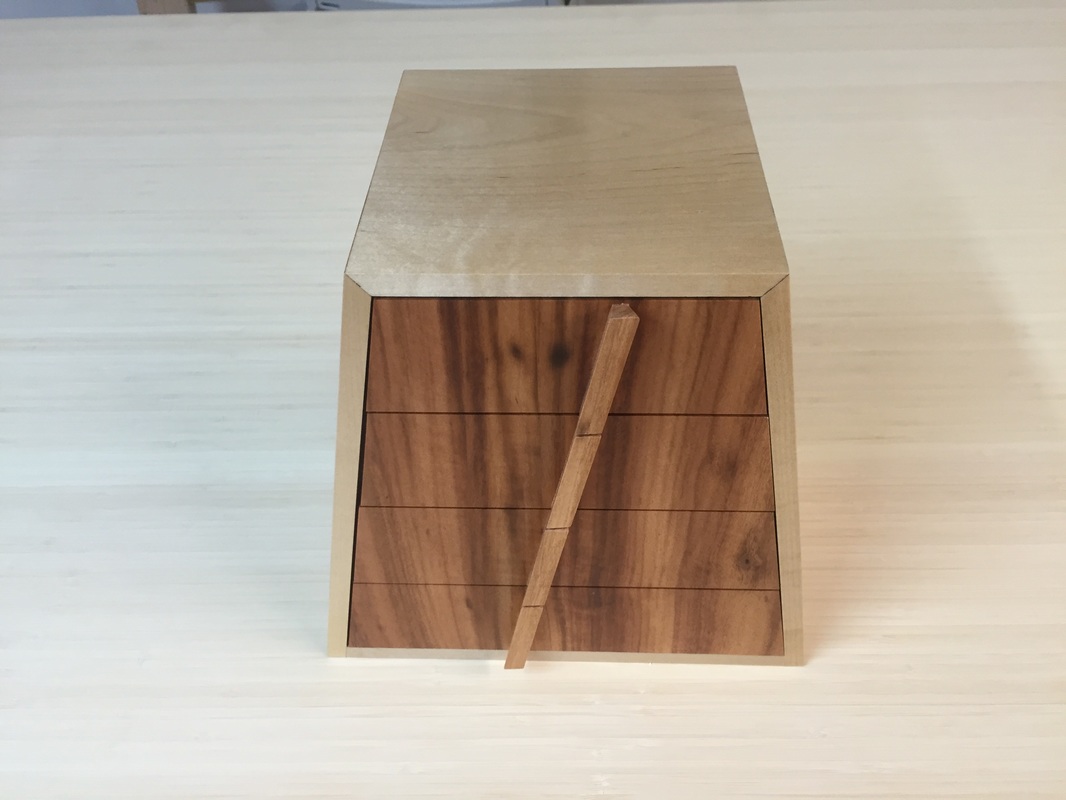 This box had a few challenges but was a fairly easy build all in all.( the drawers do actually line up perfect but one was open a little when i took the picture.) Here are a few pics of the build, the top drawer has a blue flocking but the other three were left with just bare wood. 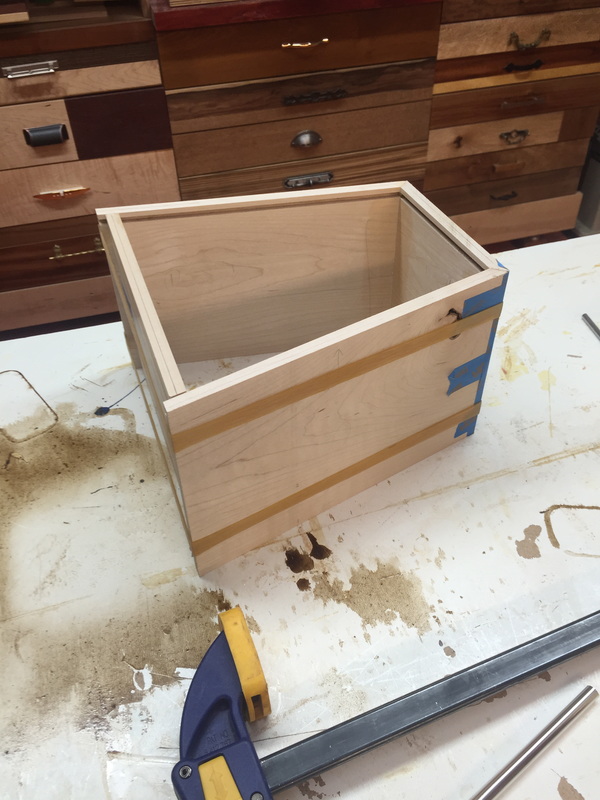 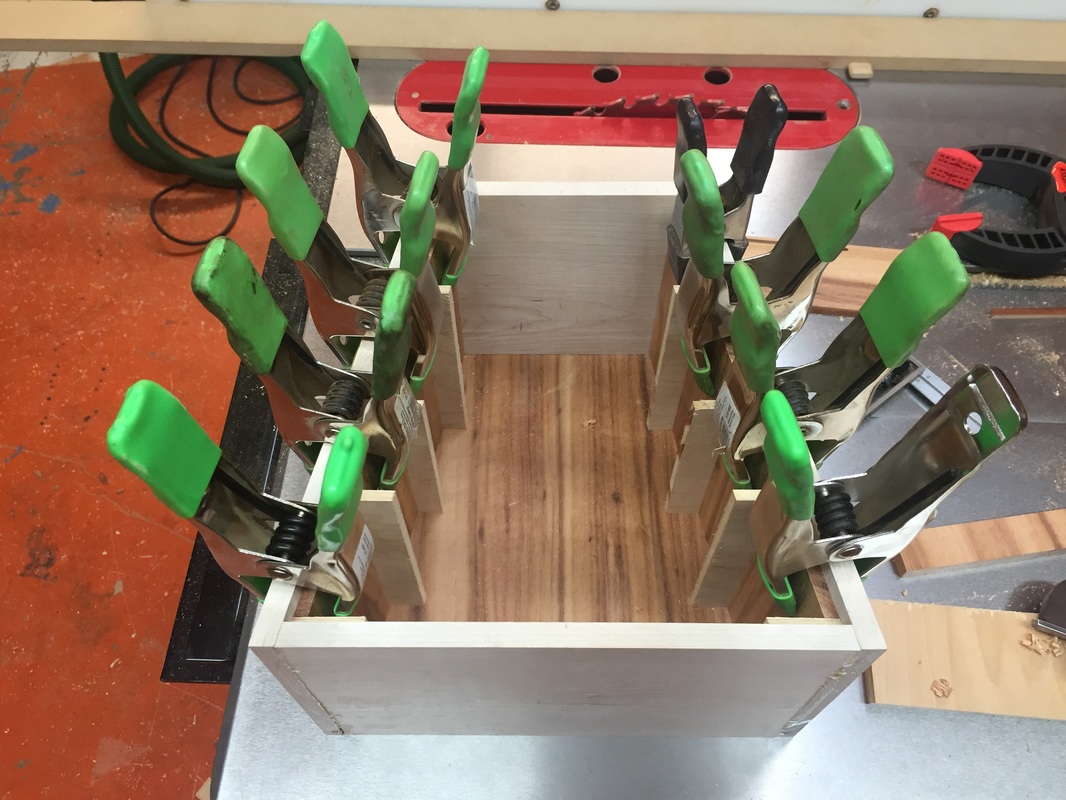 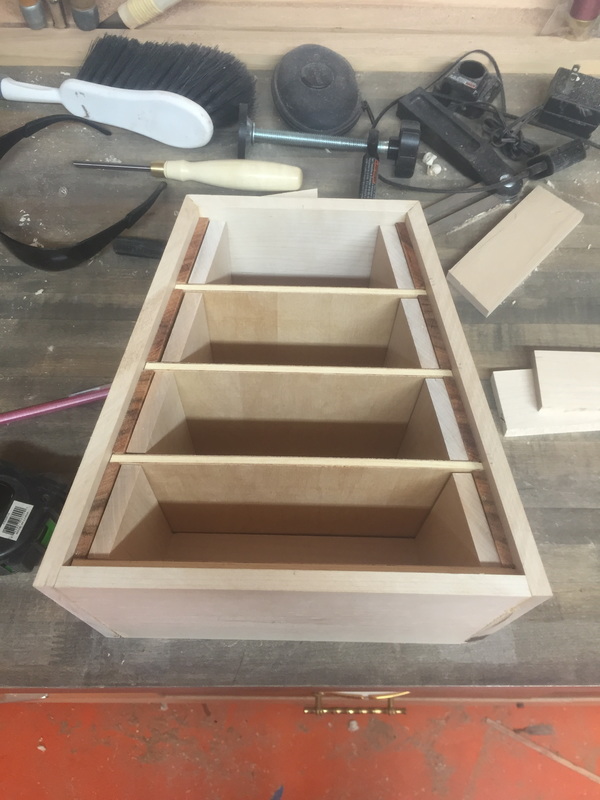 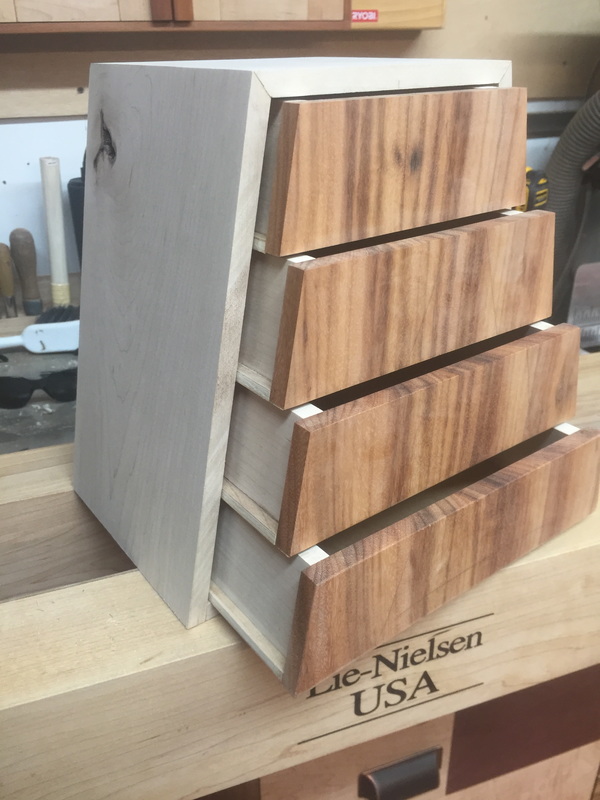 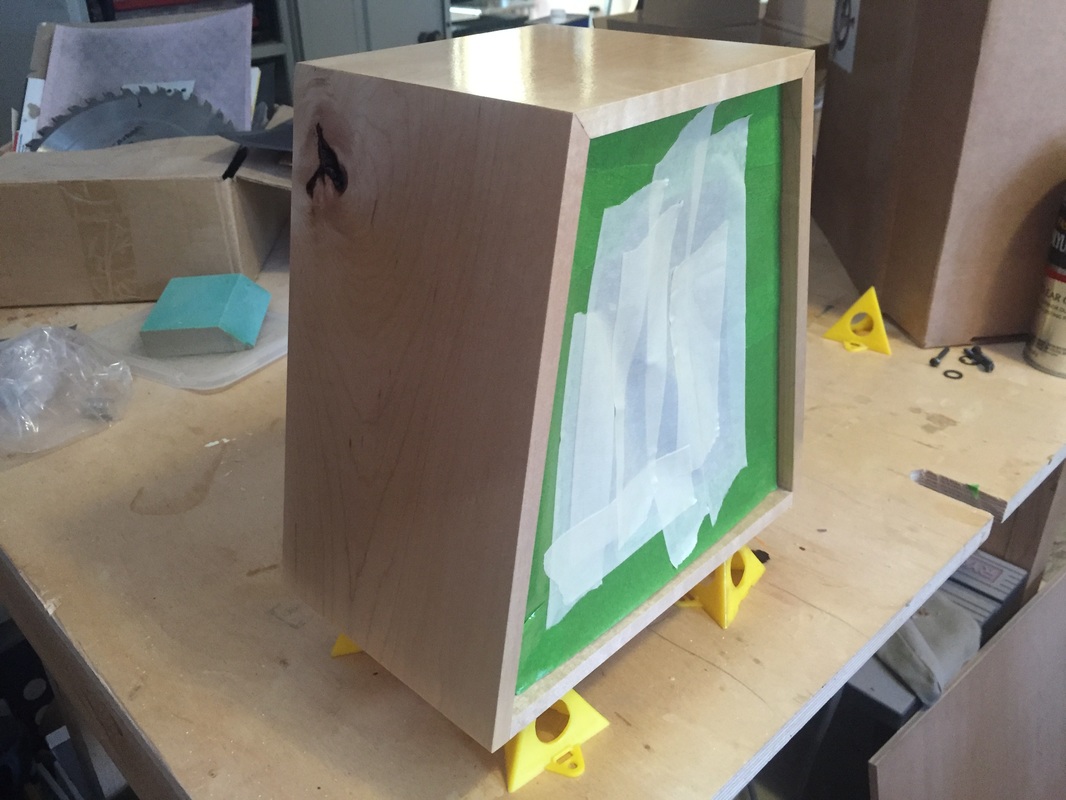 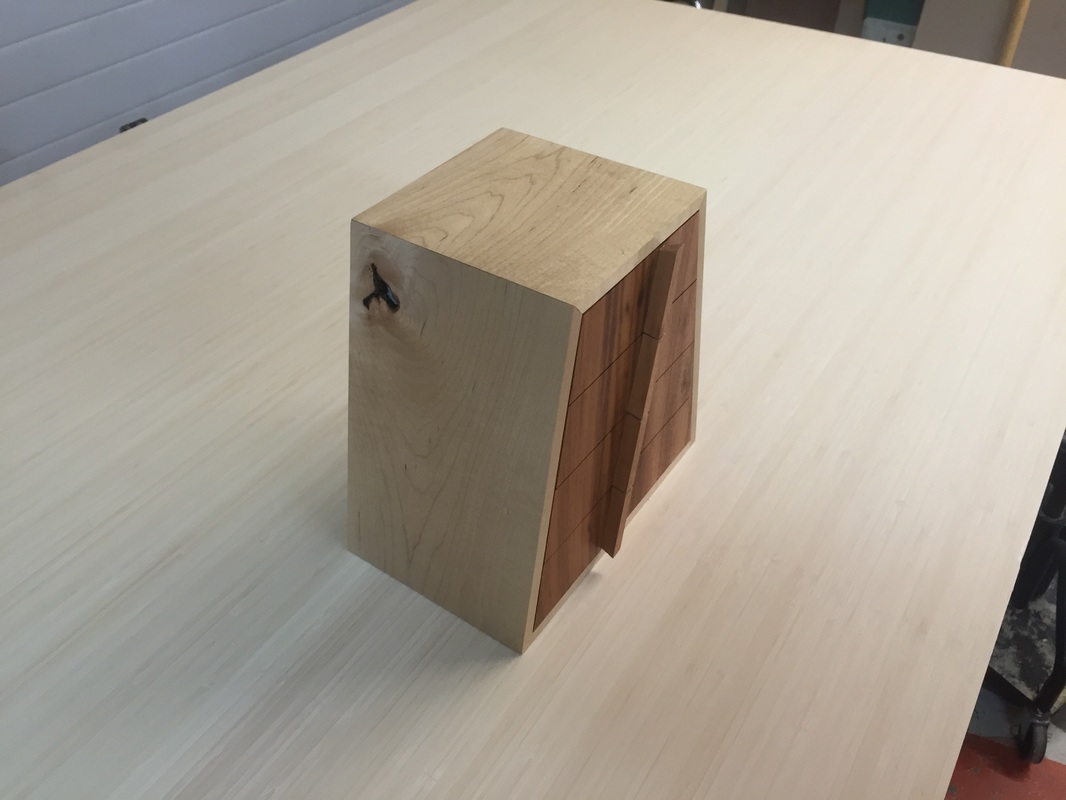 DONE! DONE! DONE! We have made it, all done ready to take to the show with 4 days to spare. Or actually 4 days to work on my piece for the show! Here are some finished pics. Don't forget to buy your raffle tickets.  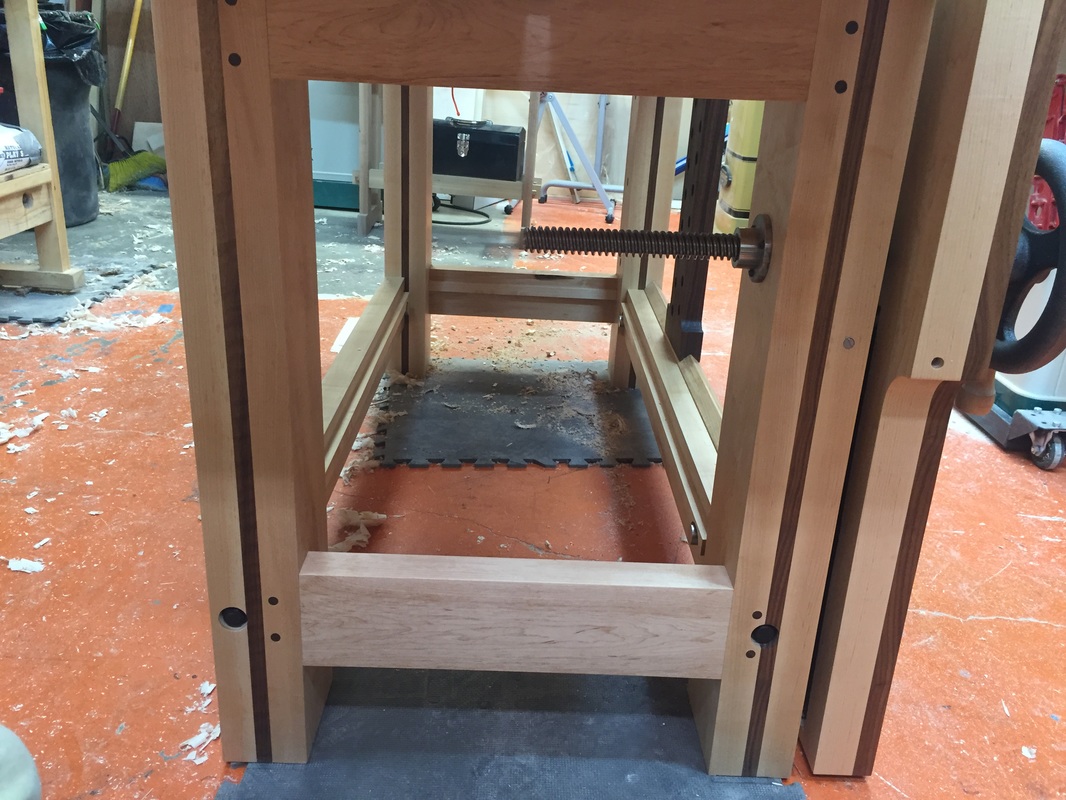 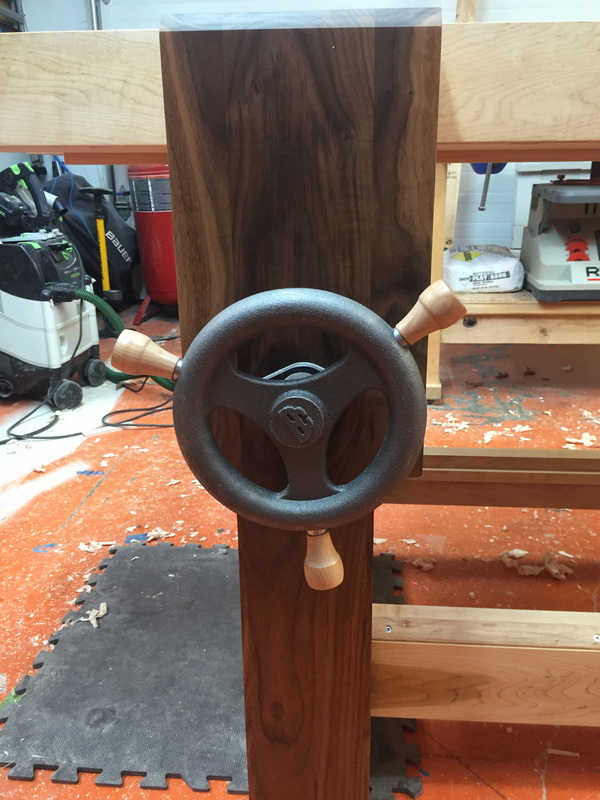 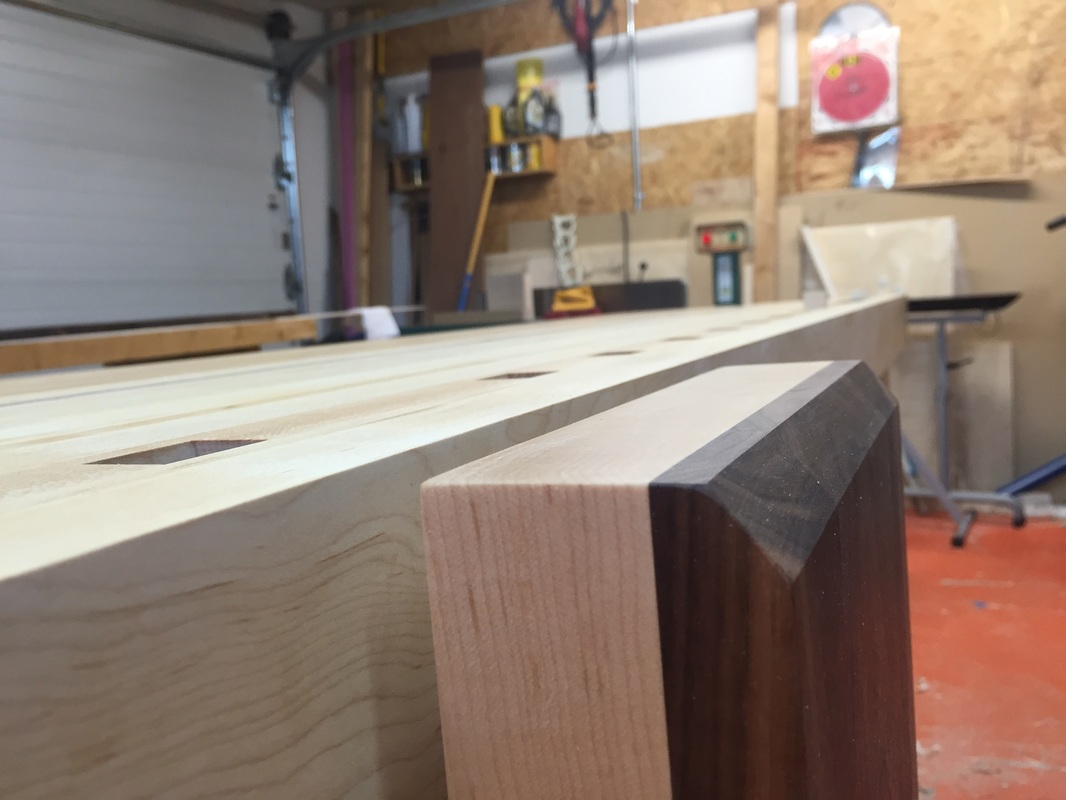 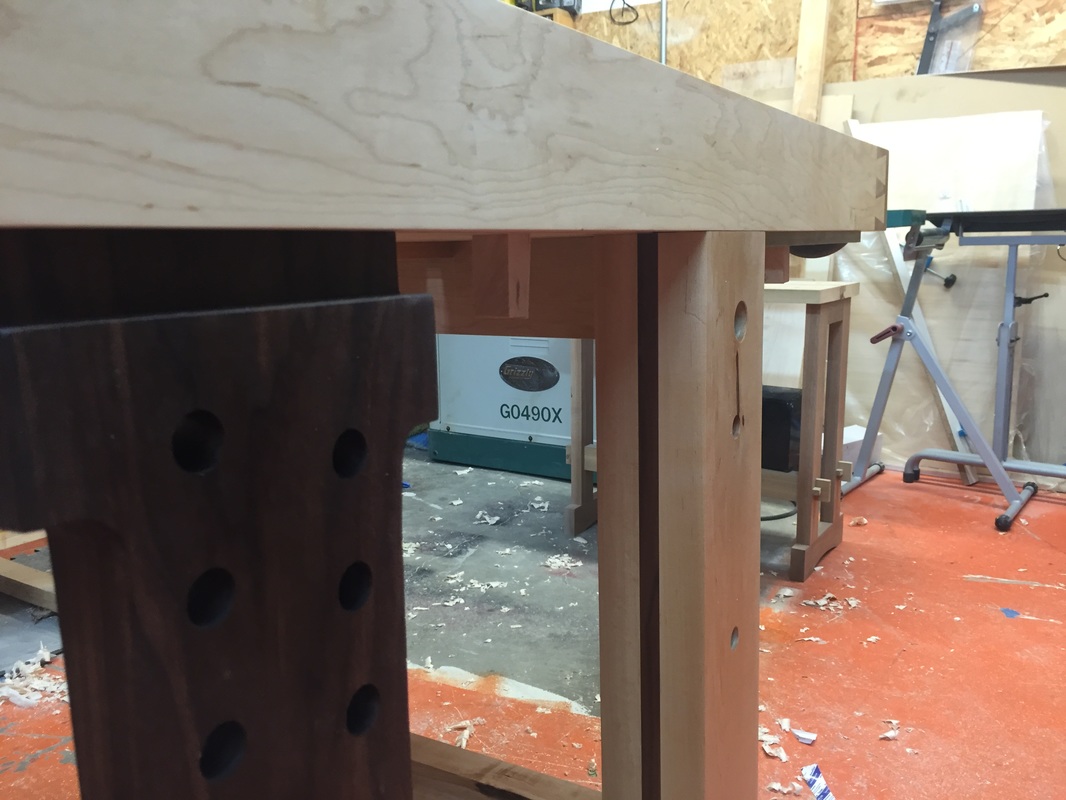 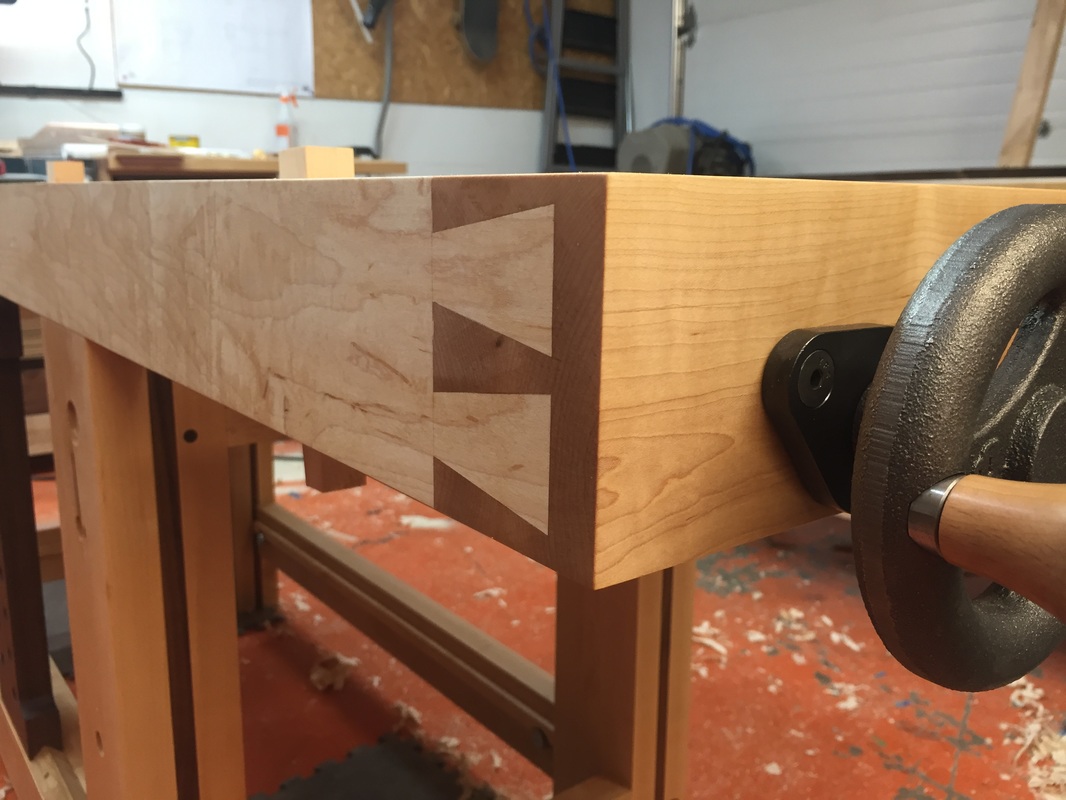 We are sooo close now, all the hardware is installed (but removed for finishing) all that's left is to flatten the top by hand and install the accessories. 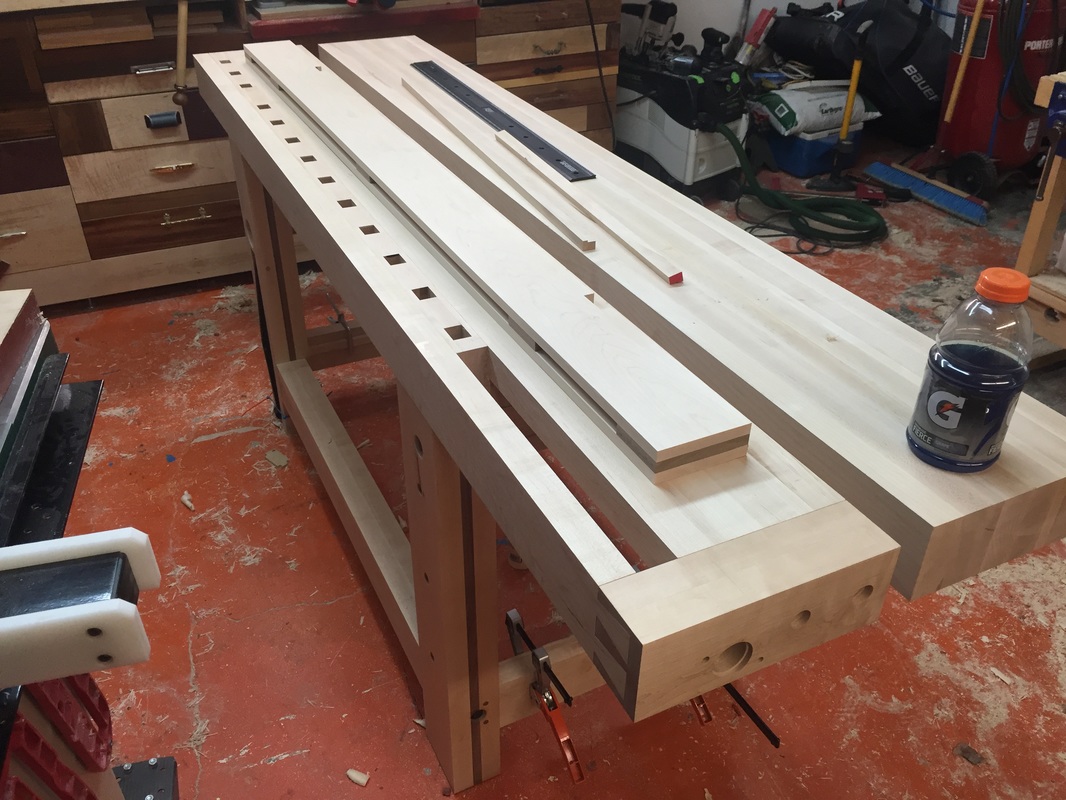 Jim has got the sliding dead man finished and ready to install. 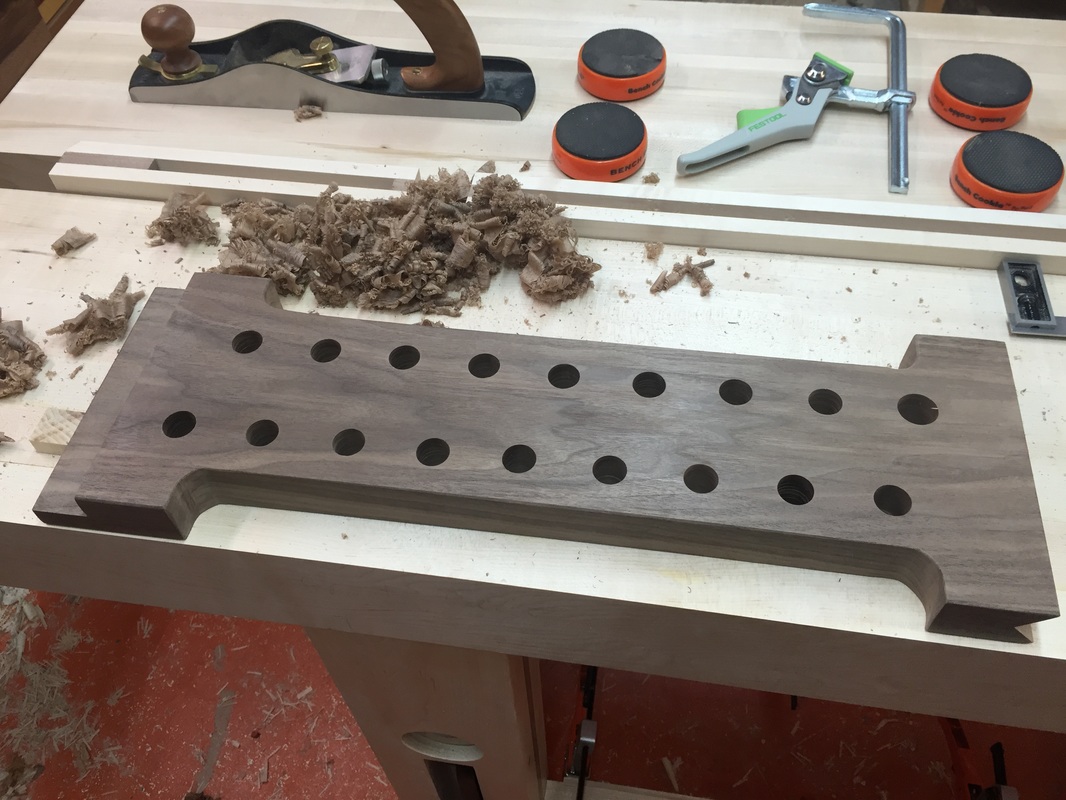 Dave dropped off the ship lapped walnut shelves and I cut the notches for the legs and installed them. They sit loosely on the cleats that run along the lower stretchers.  Pickel inspects the leg vise for smooth operation, I think it passed. 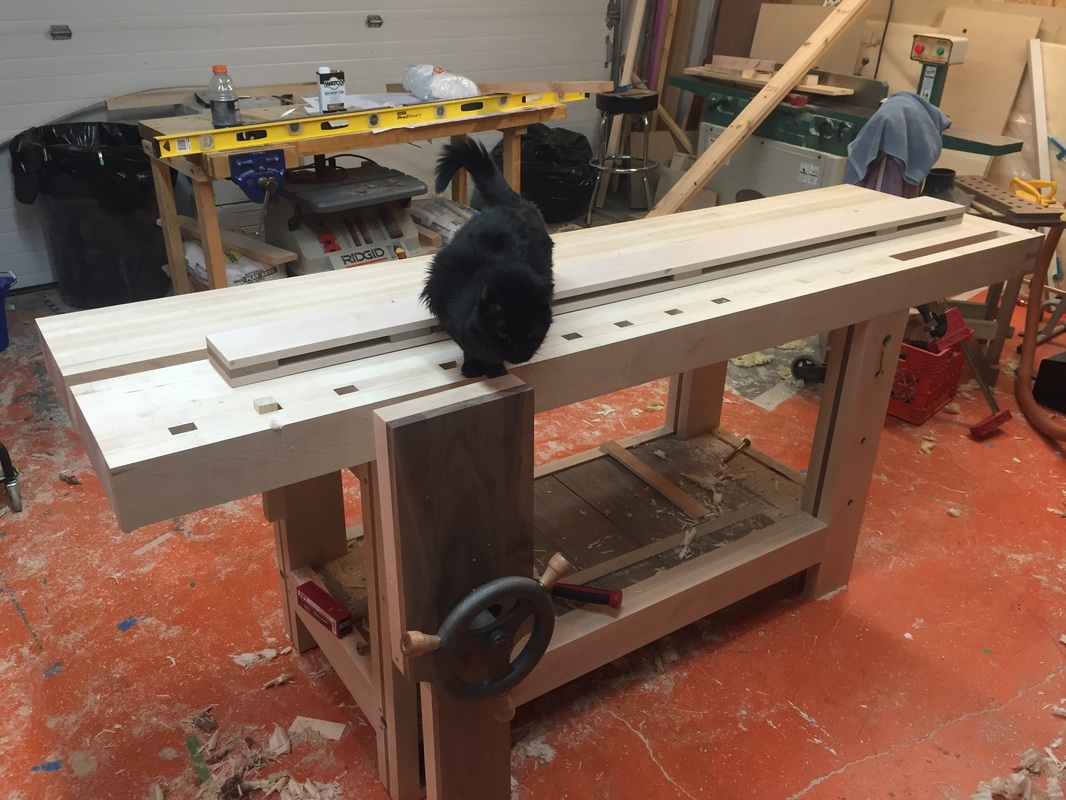 Jonathan spent a few hours getting the top as flat as he could with his superior hand skills. Now I hope to put on a finish by tomorrow night, we will use a Danish oil form the local HD. Get ready to buy your raffle tickets they will go on sale soon!! 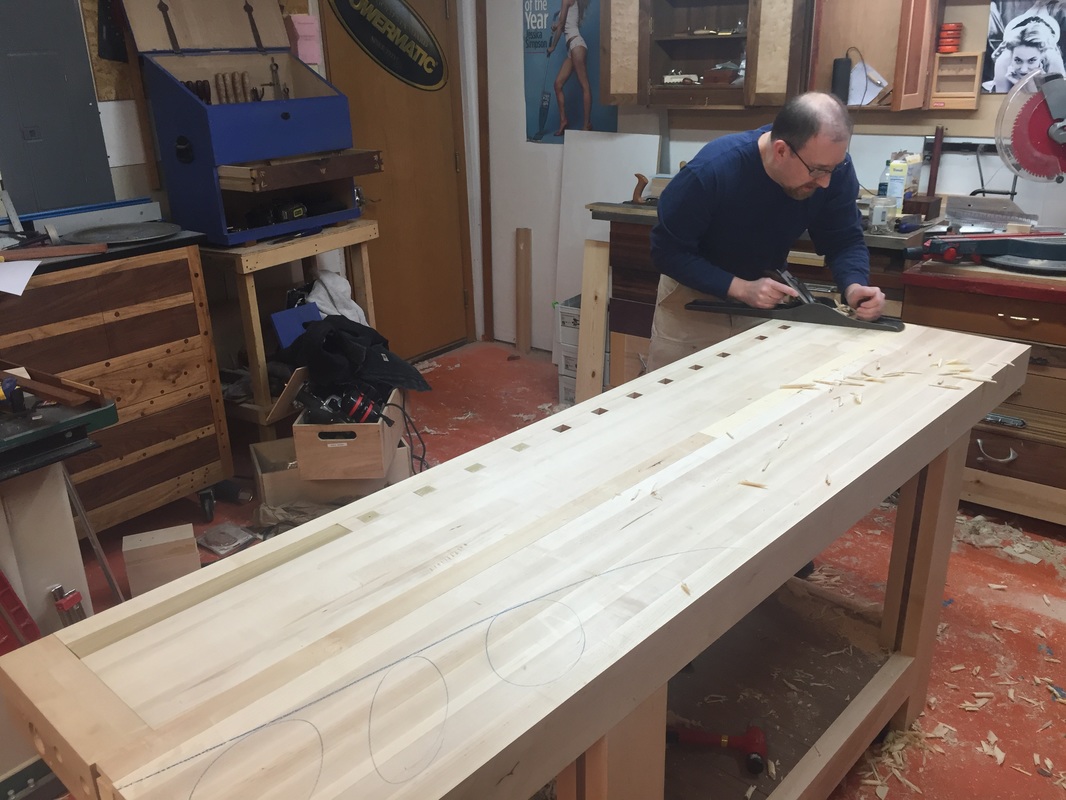 Today's work on the workbench was all about the end cap. I marked out the pins then took the cap over to the drill press to drill the counter bores and through hole for the end vise. 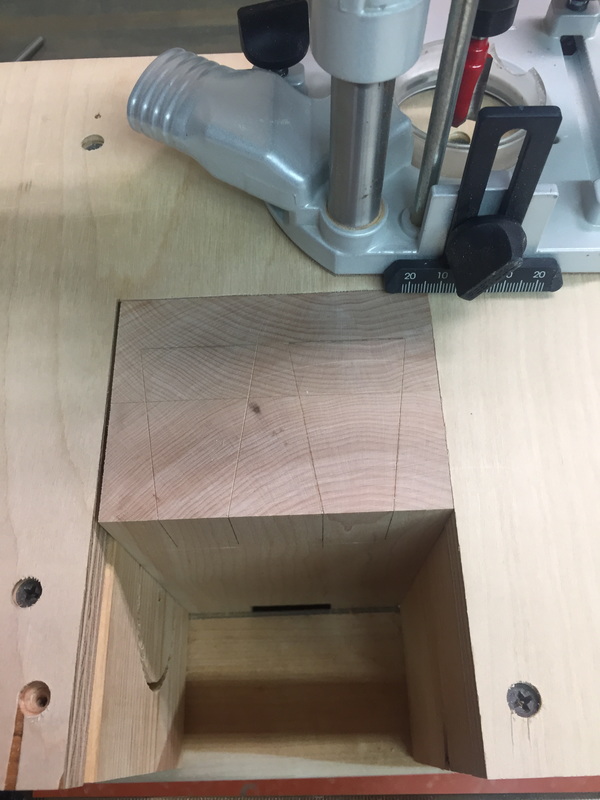 Safety first! using a router to hog out the pins works very quickly and only leaves you a small bit of wood to clean out of the corners by hand with chisels. 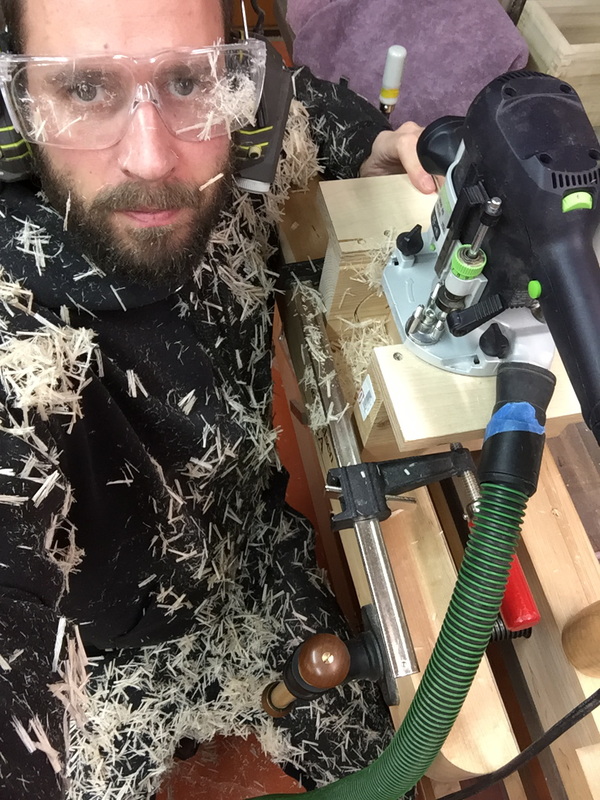 Here we have the LAST piece of the top glued on and most of the leg vise hardware installed. I'm hoping to be done with the bench by Saturday night!!!!! 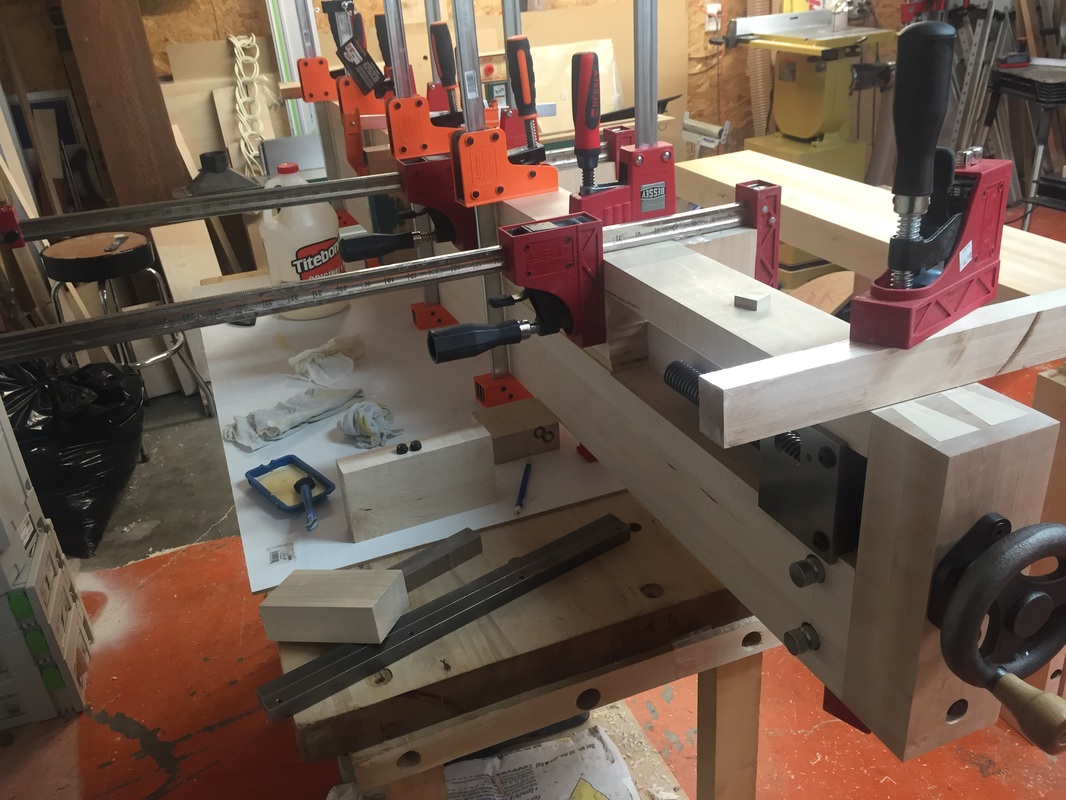 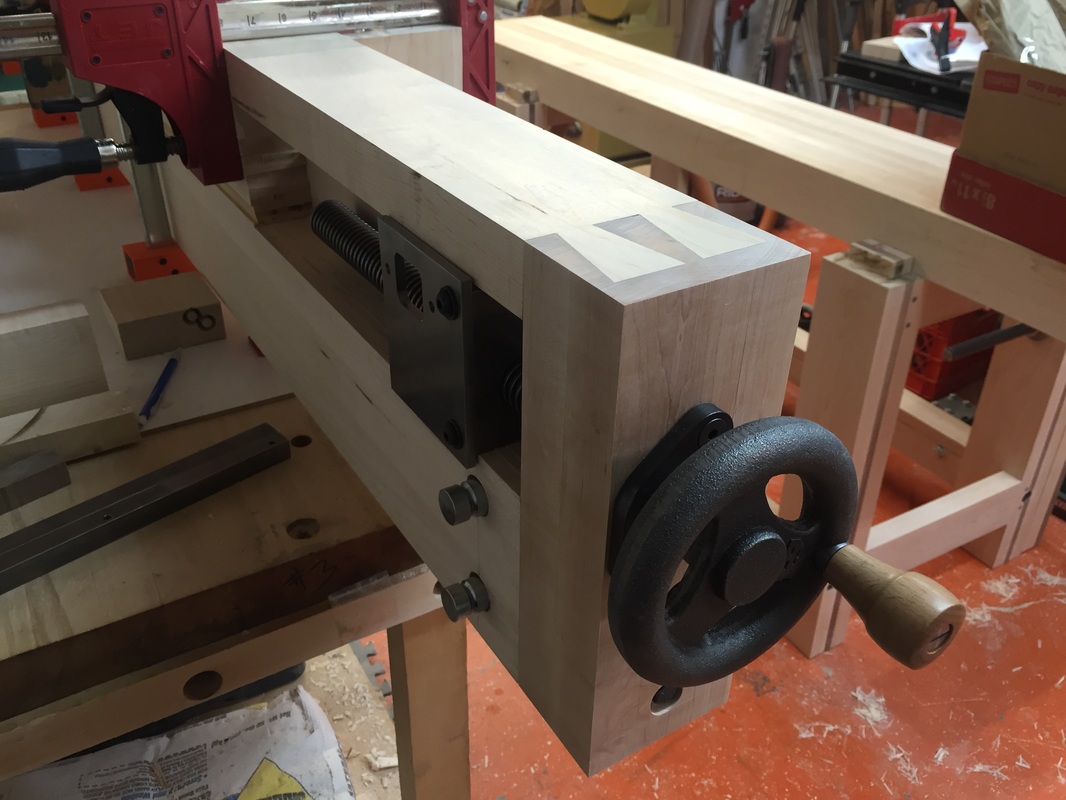 I would have to say this is the largest woodworking project I have done. When I think about it that sounds silly it's just a workbench, but is it? I think fine furniture would be a more appropriate term. Now that the tops are glued up we have been able to turn our attention to more of the detail and technical side of the build. Here we are routing out the mortise on the end of the bench that will house the tail vise assembly. This is done in many passes with a router and a 3/4" spiral up-cut bit. 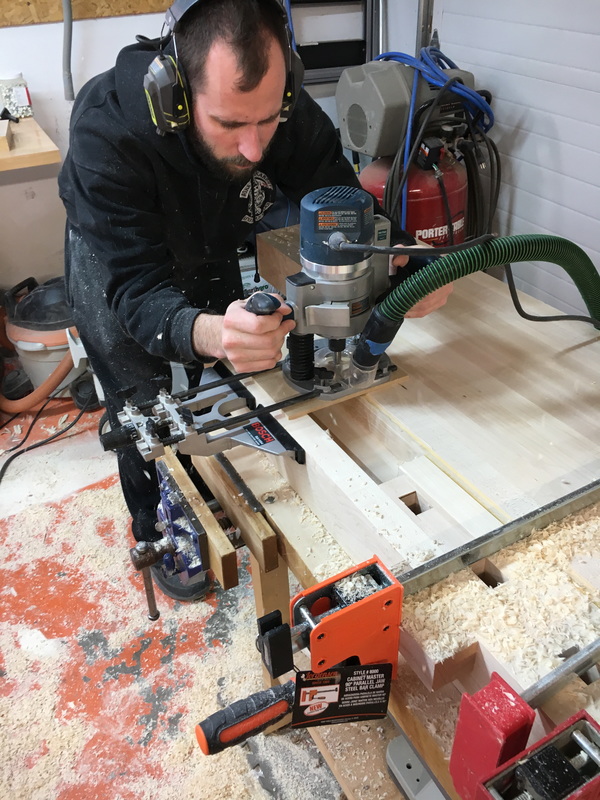 After we excavated that material we were able to glue in the dog strip. As you can see the strip has warped between the time it was made and now which was only a few days. We are able to pull it straight with clamps so its not a big problem. 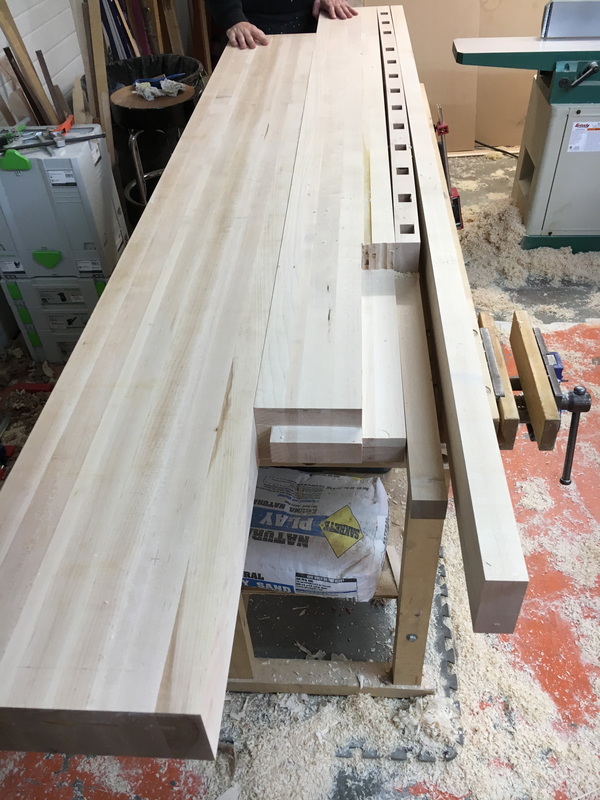 With dovetails this big we used the band saw as opposed to a hand saw to cut the tails, then used a router and coping saw to clear out most of the waste. Once that was done we used a pairing chisel to finish it off. 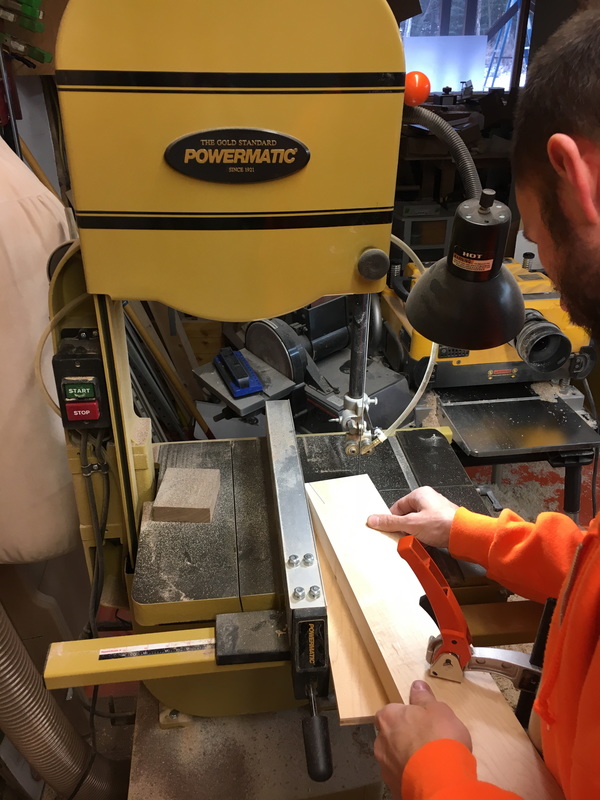 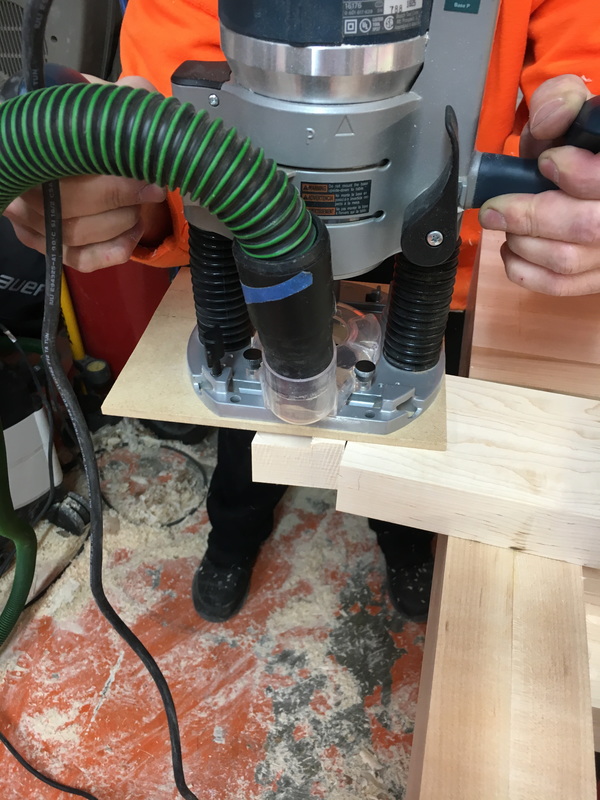 Now we drilled the holes for the carriage bolts and barrel nuts that hold the end cap in place. This can be stressful trying to blindly line up the holes for the barrel nuts in the bottom of the bench top. 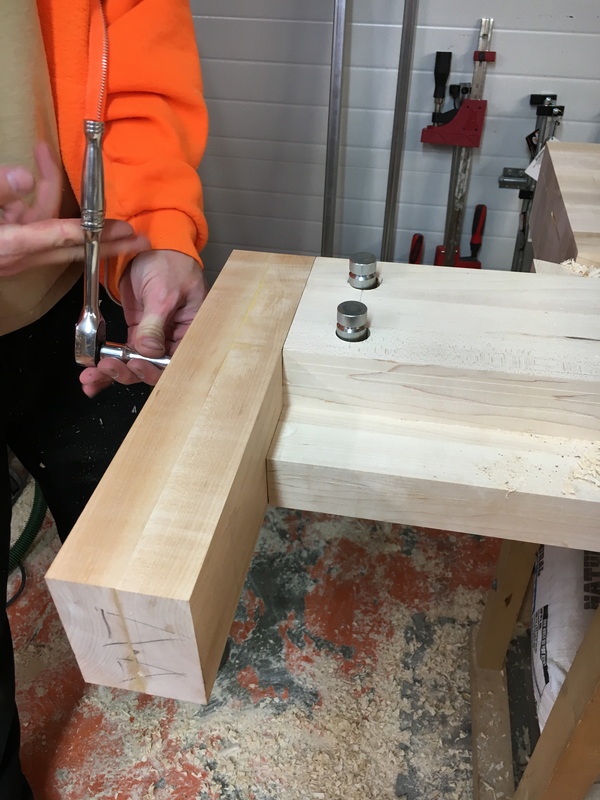 The joinery on the end of the bench for the tail vise is complete now to fit the end cap, but I have to get the dishes done before my wife comes home so that will have to wait til tomorrow. 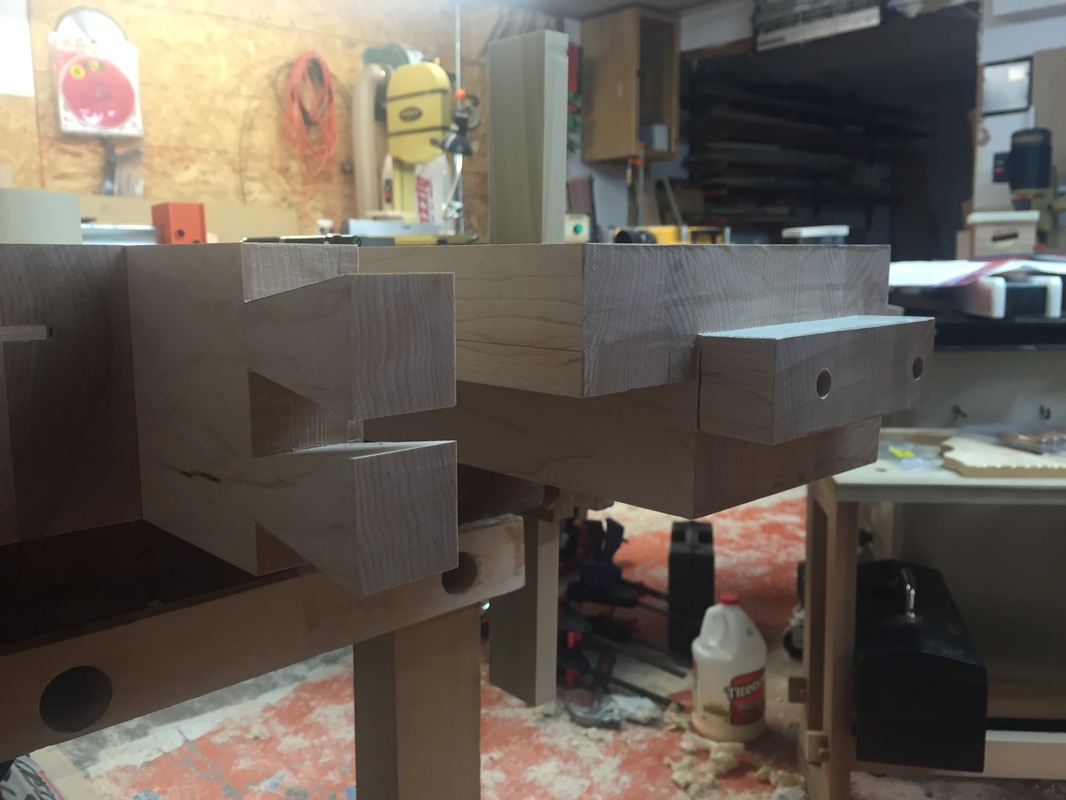 My shop is starting to feel the pains of a month long build. Some places have amassed more than a foot of saw dust, along with every tool I own being not where I can find it. We are on the home stretch though, a lot of work has been done over the weekend and today. 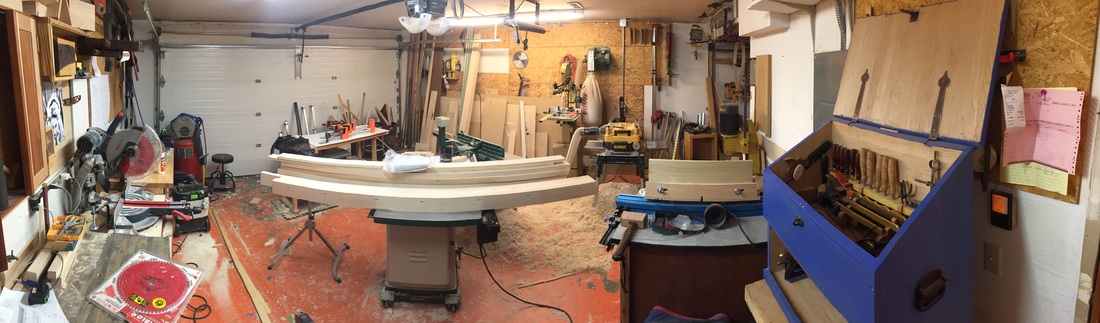 We managed to get three glue ups done in the last three days which was a nice treat. As far as glue goes now all we have to do is glue on the front strip and dog holes. 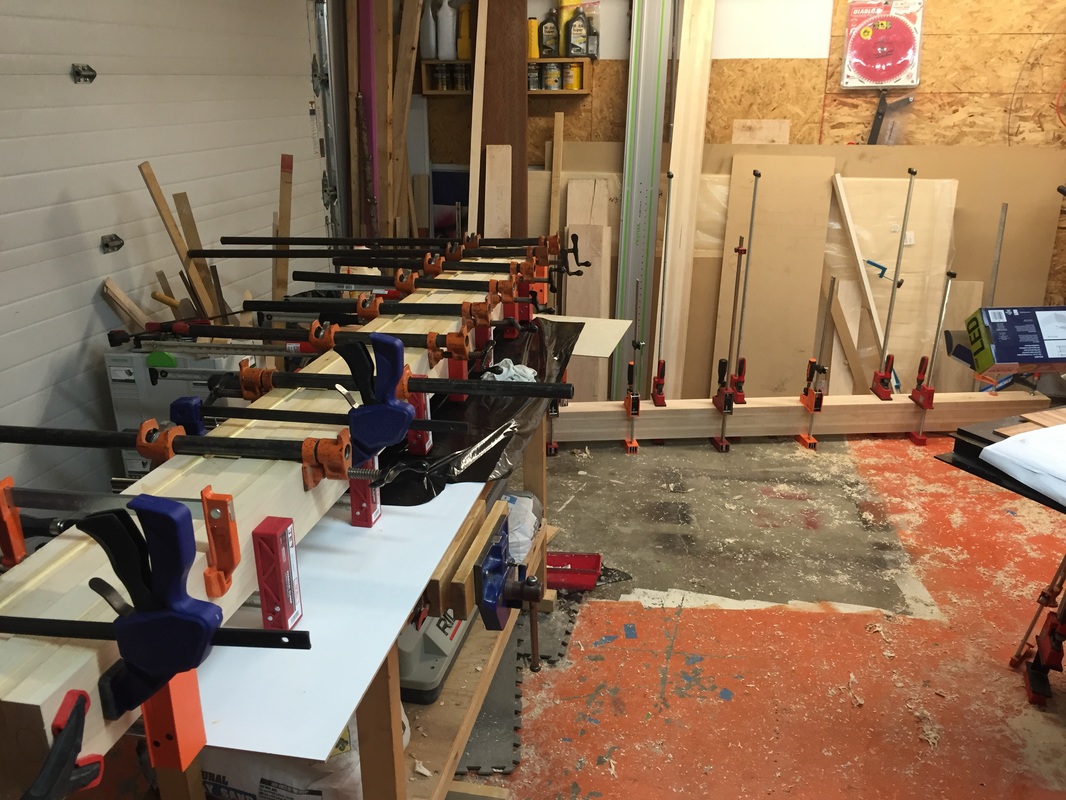 We had to run each of the top halves over the jointer and through the planer before the last glue up because the final width would not fit on my jointer. 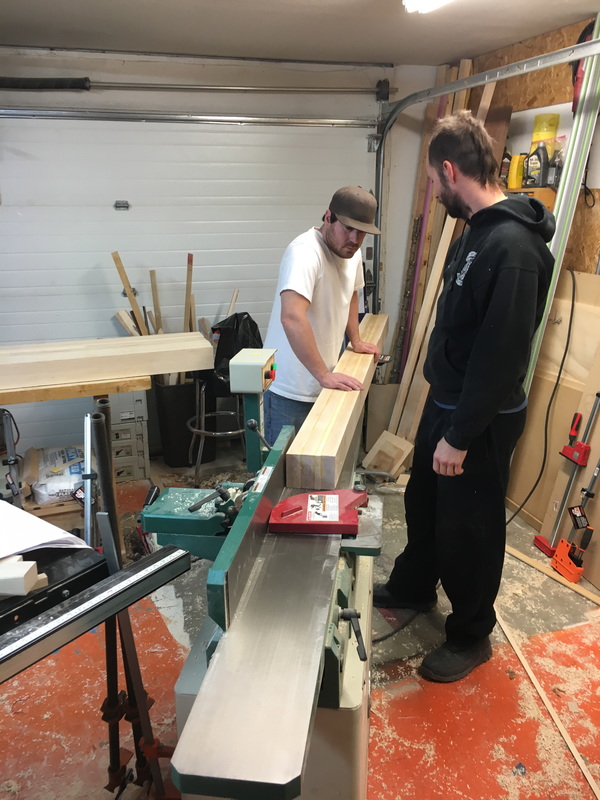  Once they were relatively flat again we glued the two halves together. 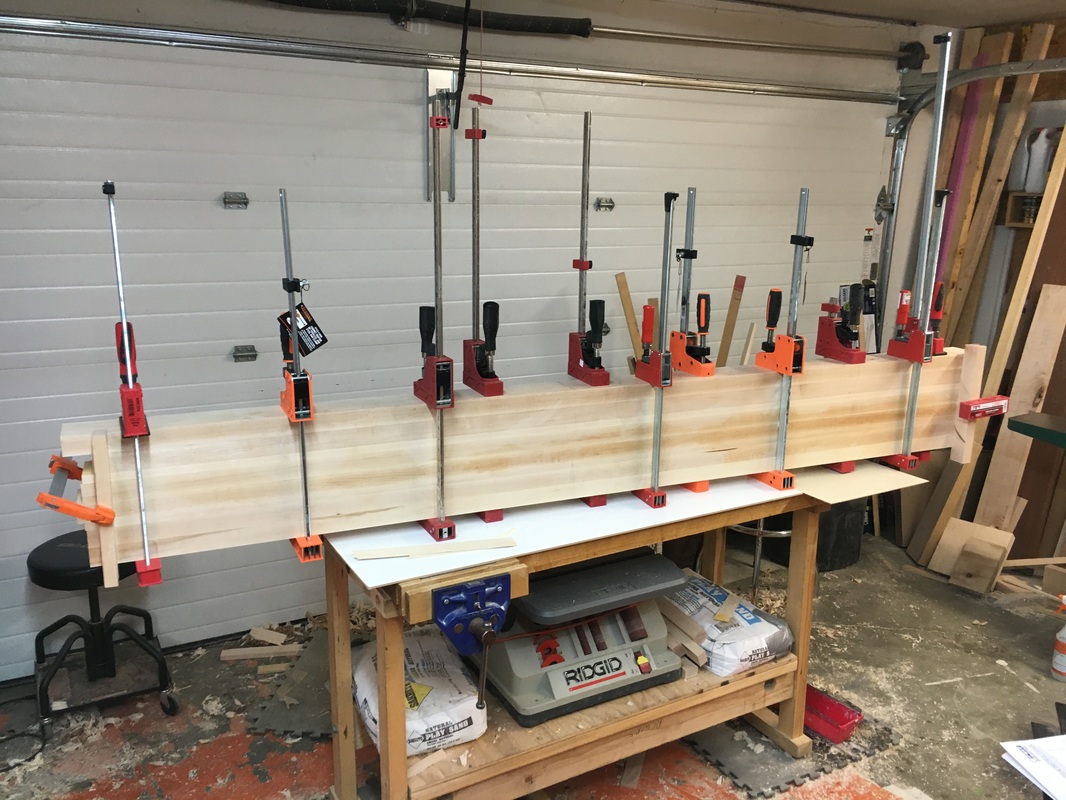 It's starting to look like a bench top (don't worry the dog strip doesn't actually go there!) 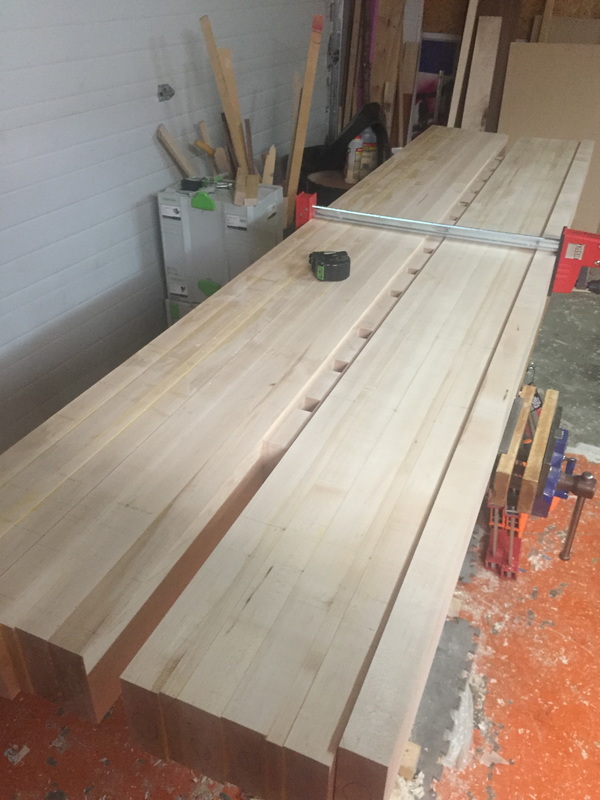 Here I am cutting the front half to final size. I'm tired and ready for a few days rest, but we are so close must keep moving forward. Hopefully we will be done in 4 days at least that's the goal anyway, we shall see. 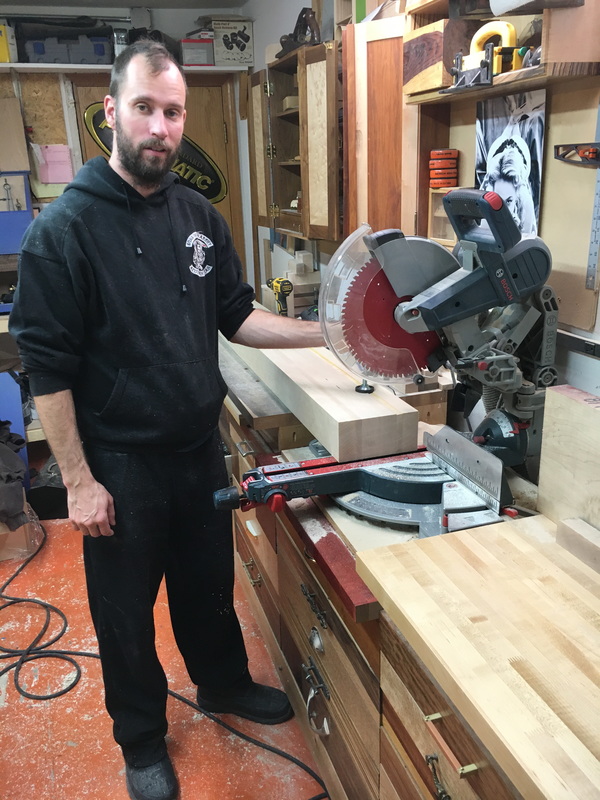 The woodworking never ends as work on the top continues. Today we were able to mill 90% of the boards to within a fraction of final size. This will allow us to glue up everything and then trim the slightest bit off to get her right to final size. I marked out the lines for the domino's, then started cutting. I think we put about 6-7 in between every board. 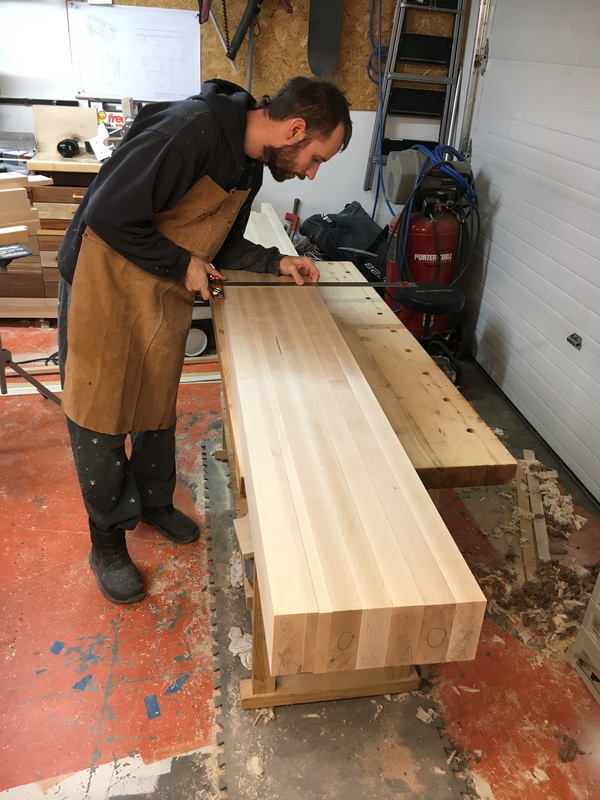  Next we brought over all the clamps we would need plus all the glue supplies as well. I laid a white board down on the bench so the glue does not stick to it. 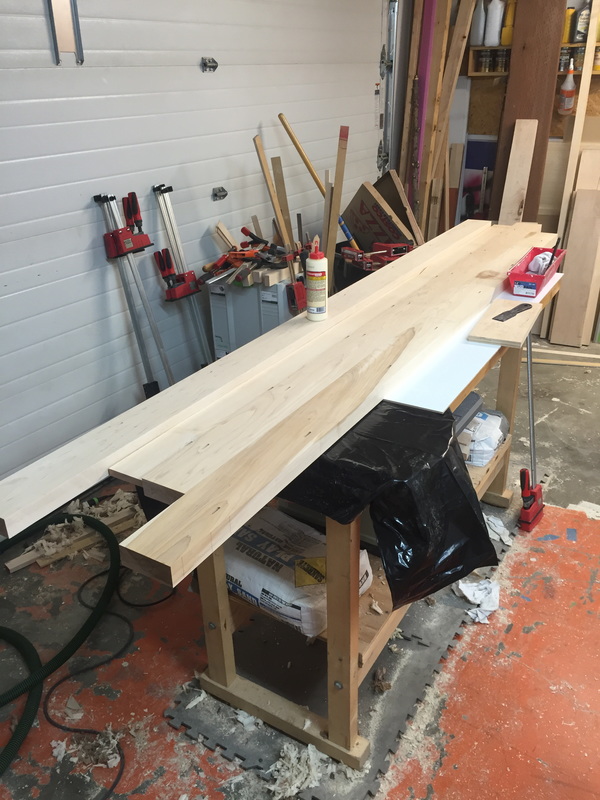 Now time for the glue, this time I did it in a time lapse video to add drama! now for some reason I cannot figure out how to stop it from rotating the video upon upload, so you'll have to turn your head a little lol. You can never have enough clamps! Only not enough. That's a fact Google it.  |
AuthorGoogle told me that if I started a blog my page ranking would go up! So here it goes. Archives
March 2016
Categories |
 RSS Feed